When your trusty trail rig starts jerking you around, spitting, or sputtering, it is usually trying to tell you something. That is ok though. It just means it is time for some attention and perhaps a well deserved upgrade. Sometimes these repairs or modifications are a simple job and sometimes it can be a more comprehensive operation. Either way Off Road Xtreme recommends sourcing quality parts from reliable suppliers.
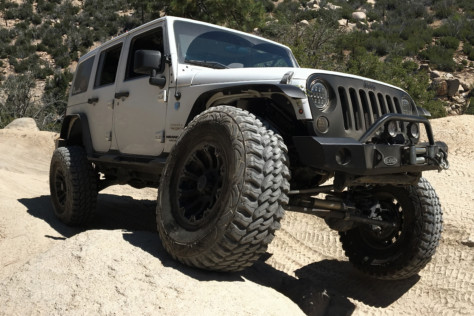
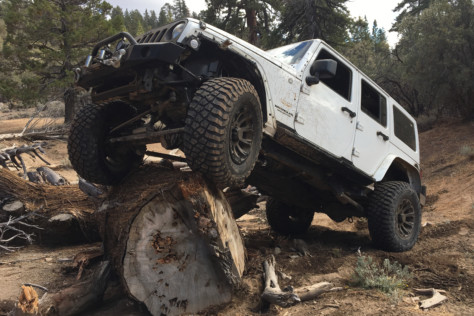
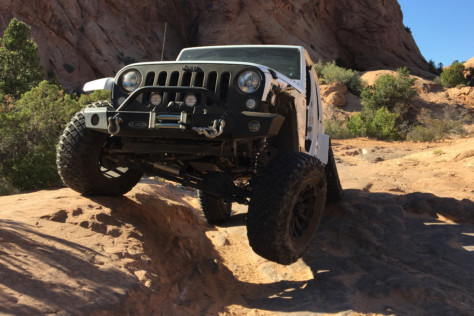
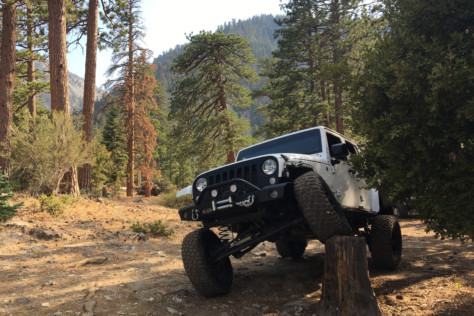
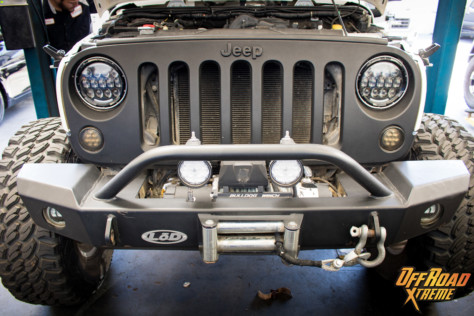
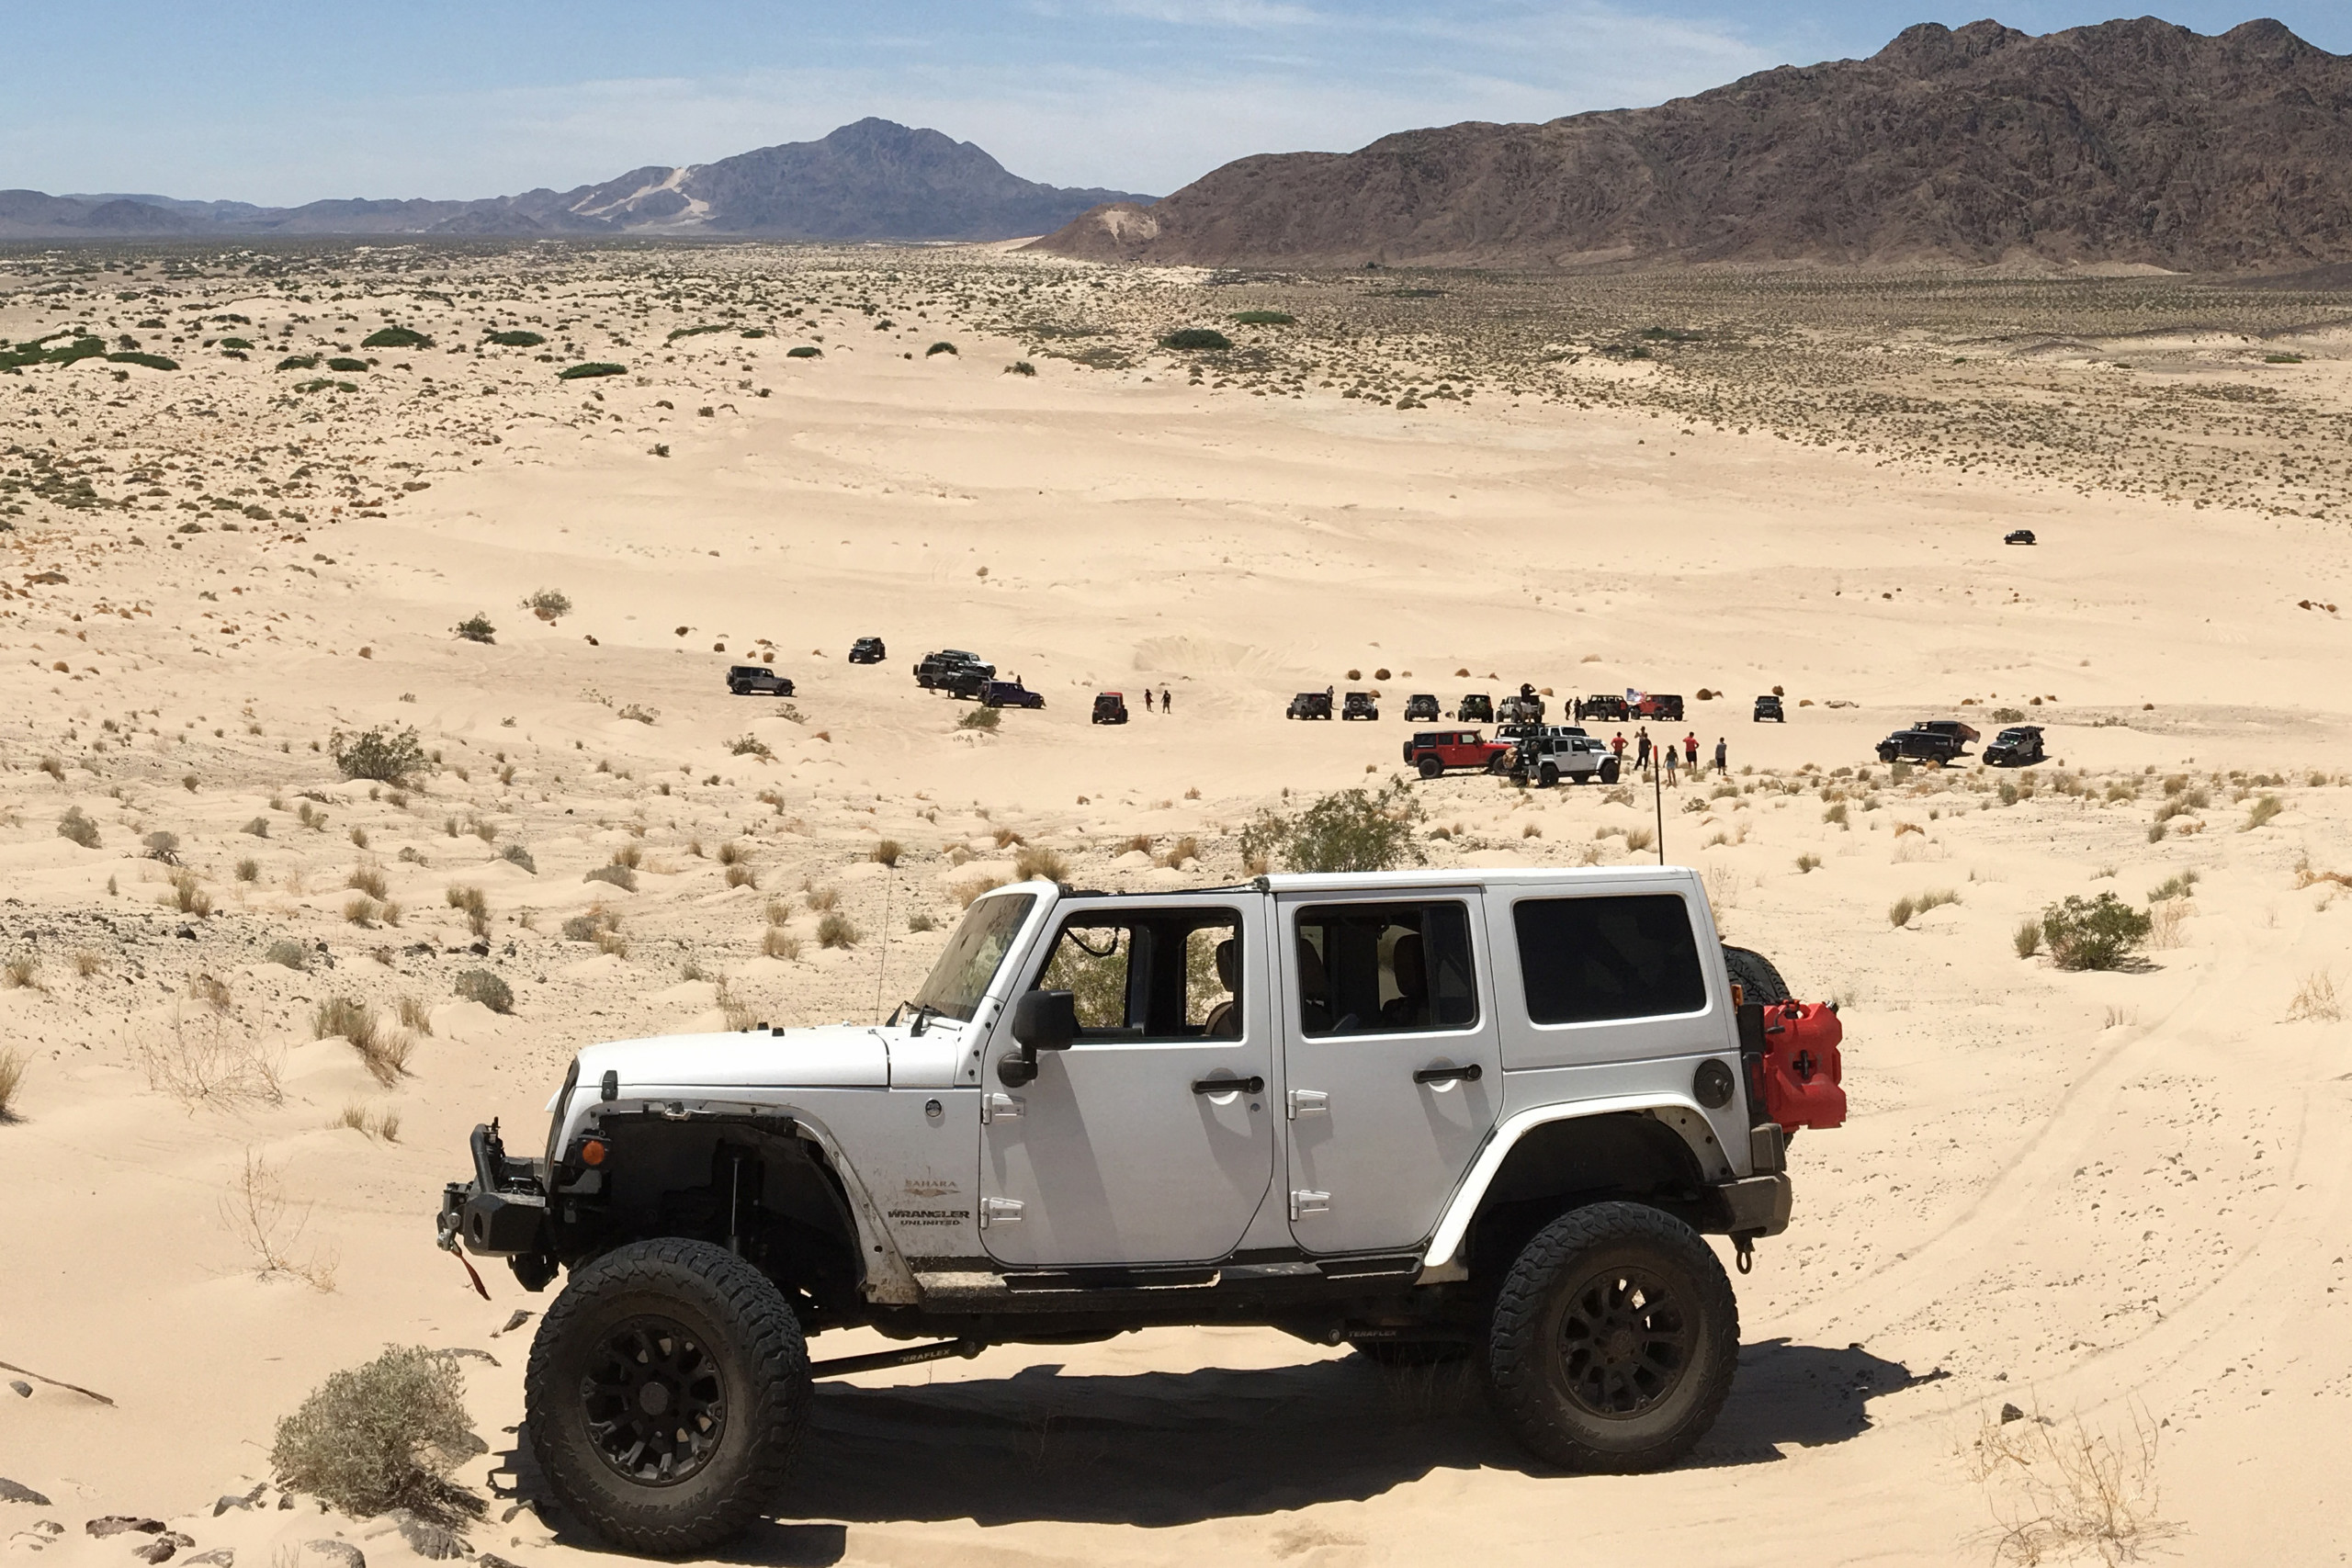
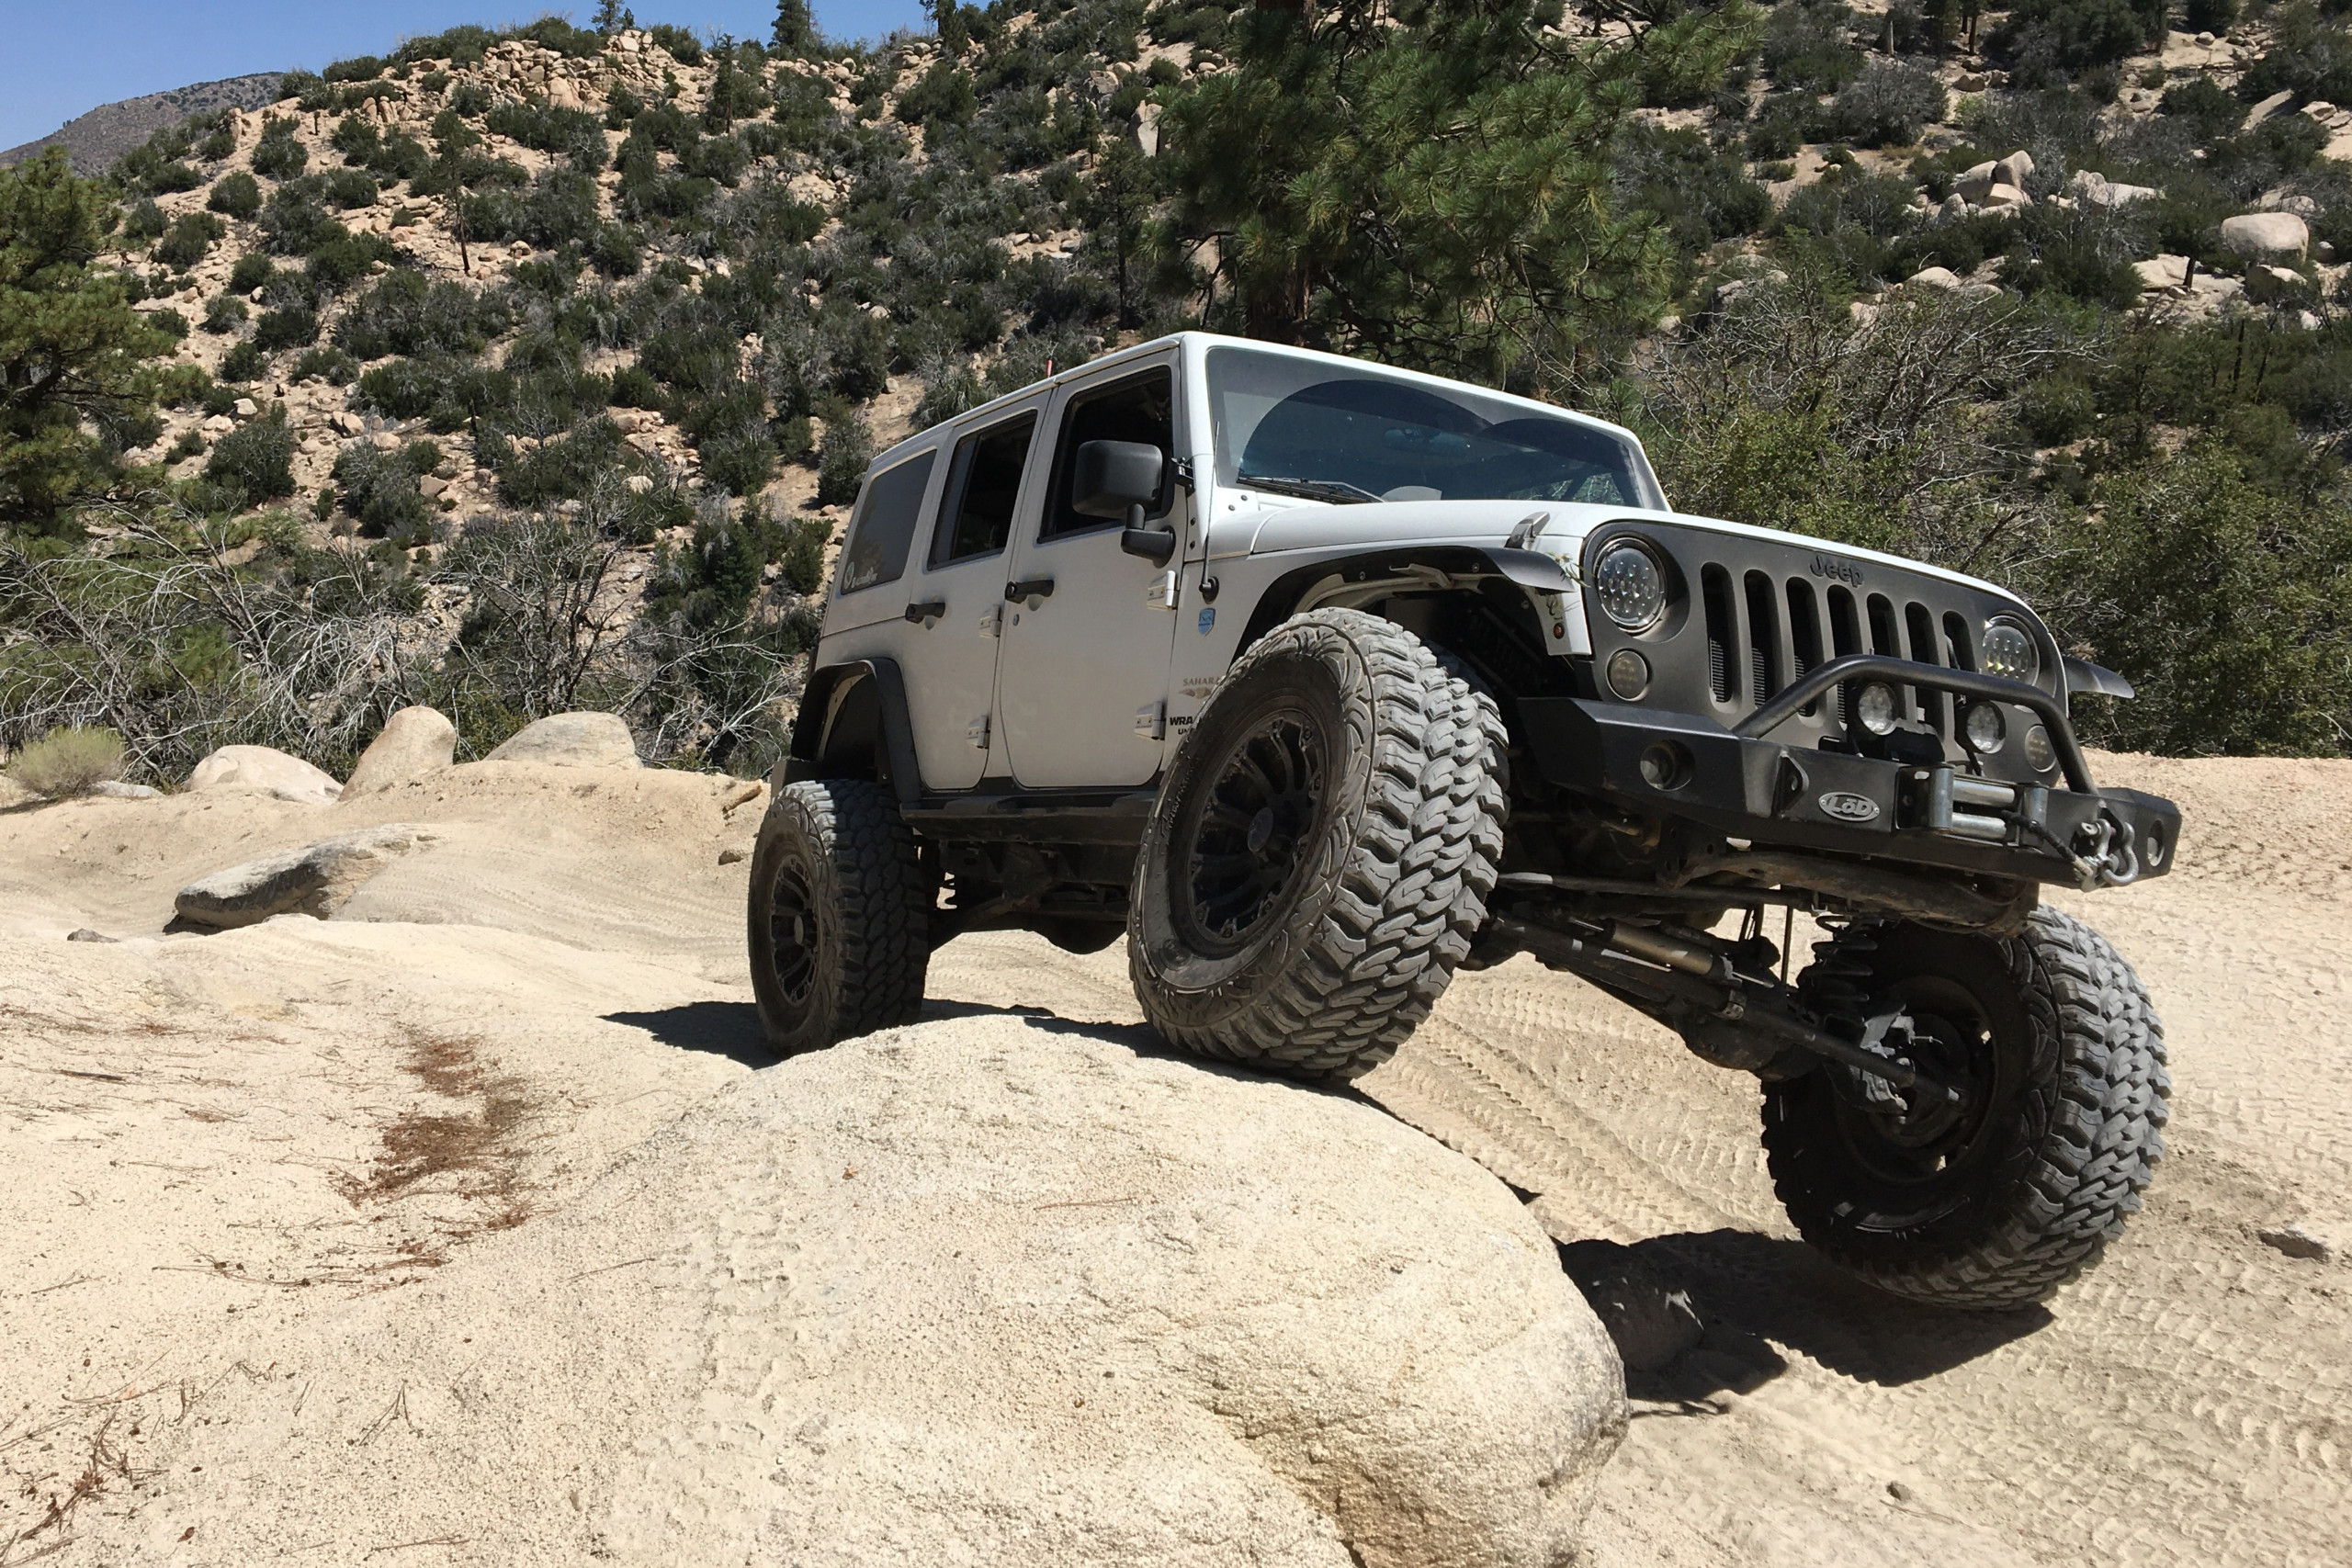
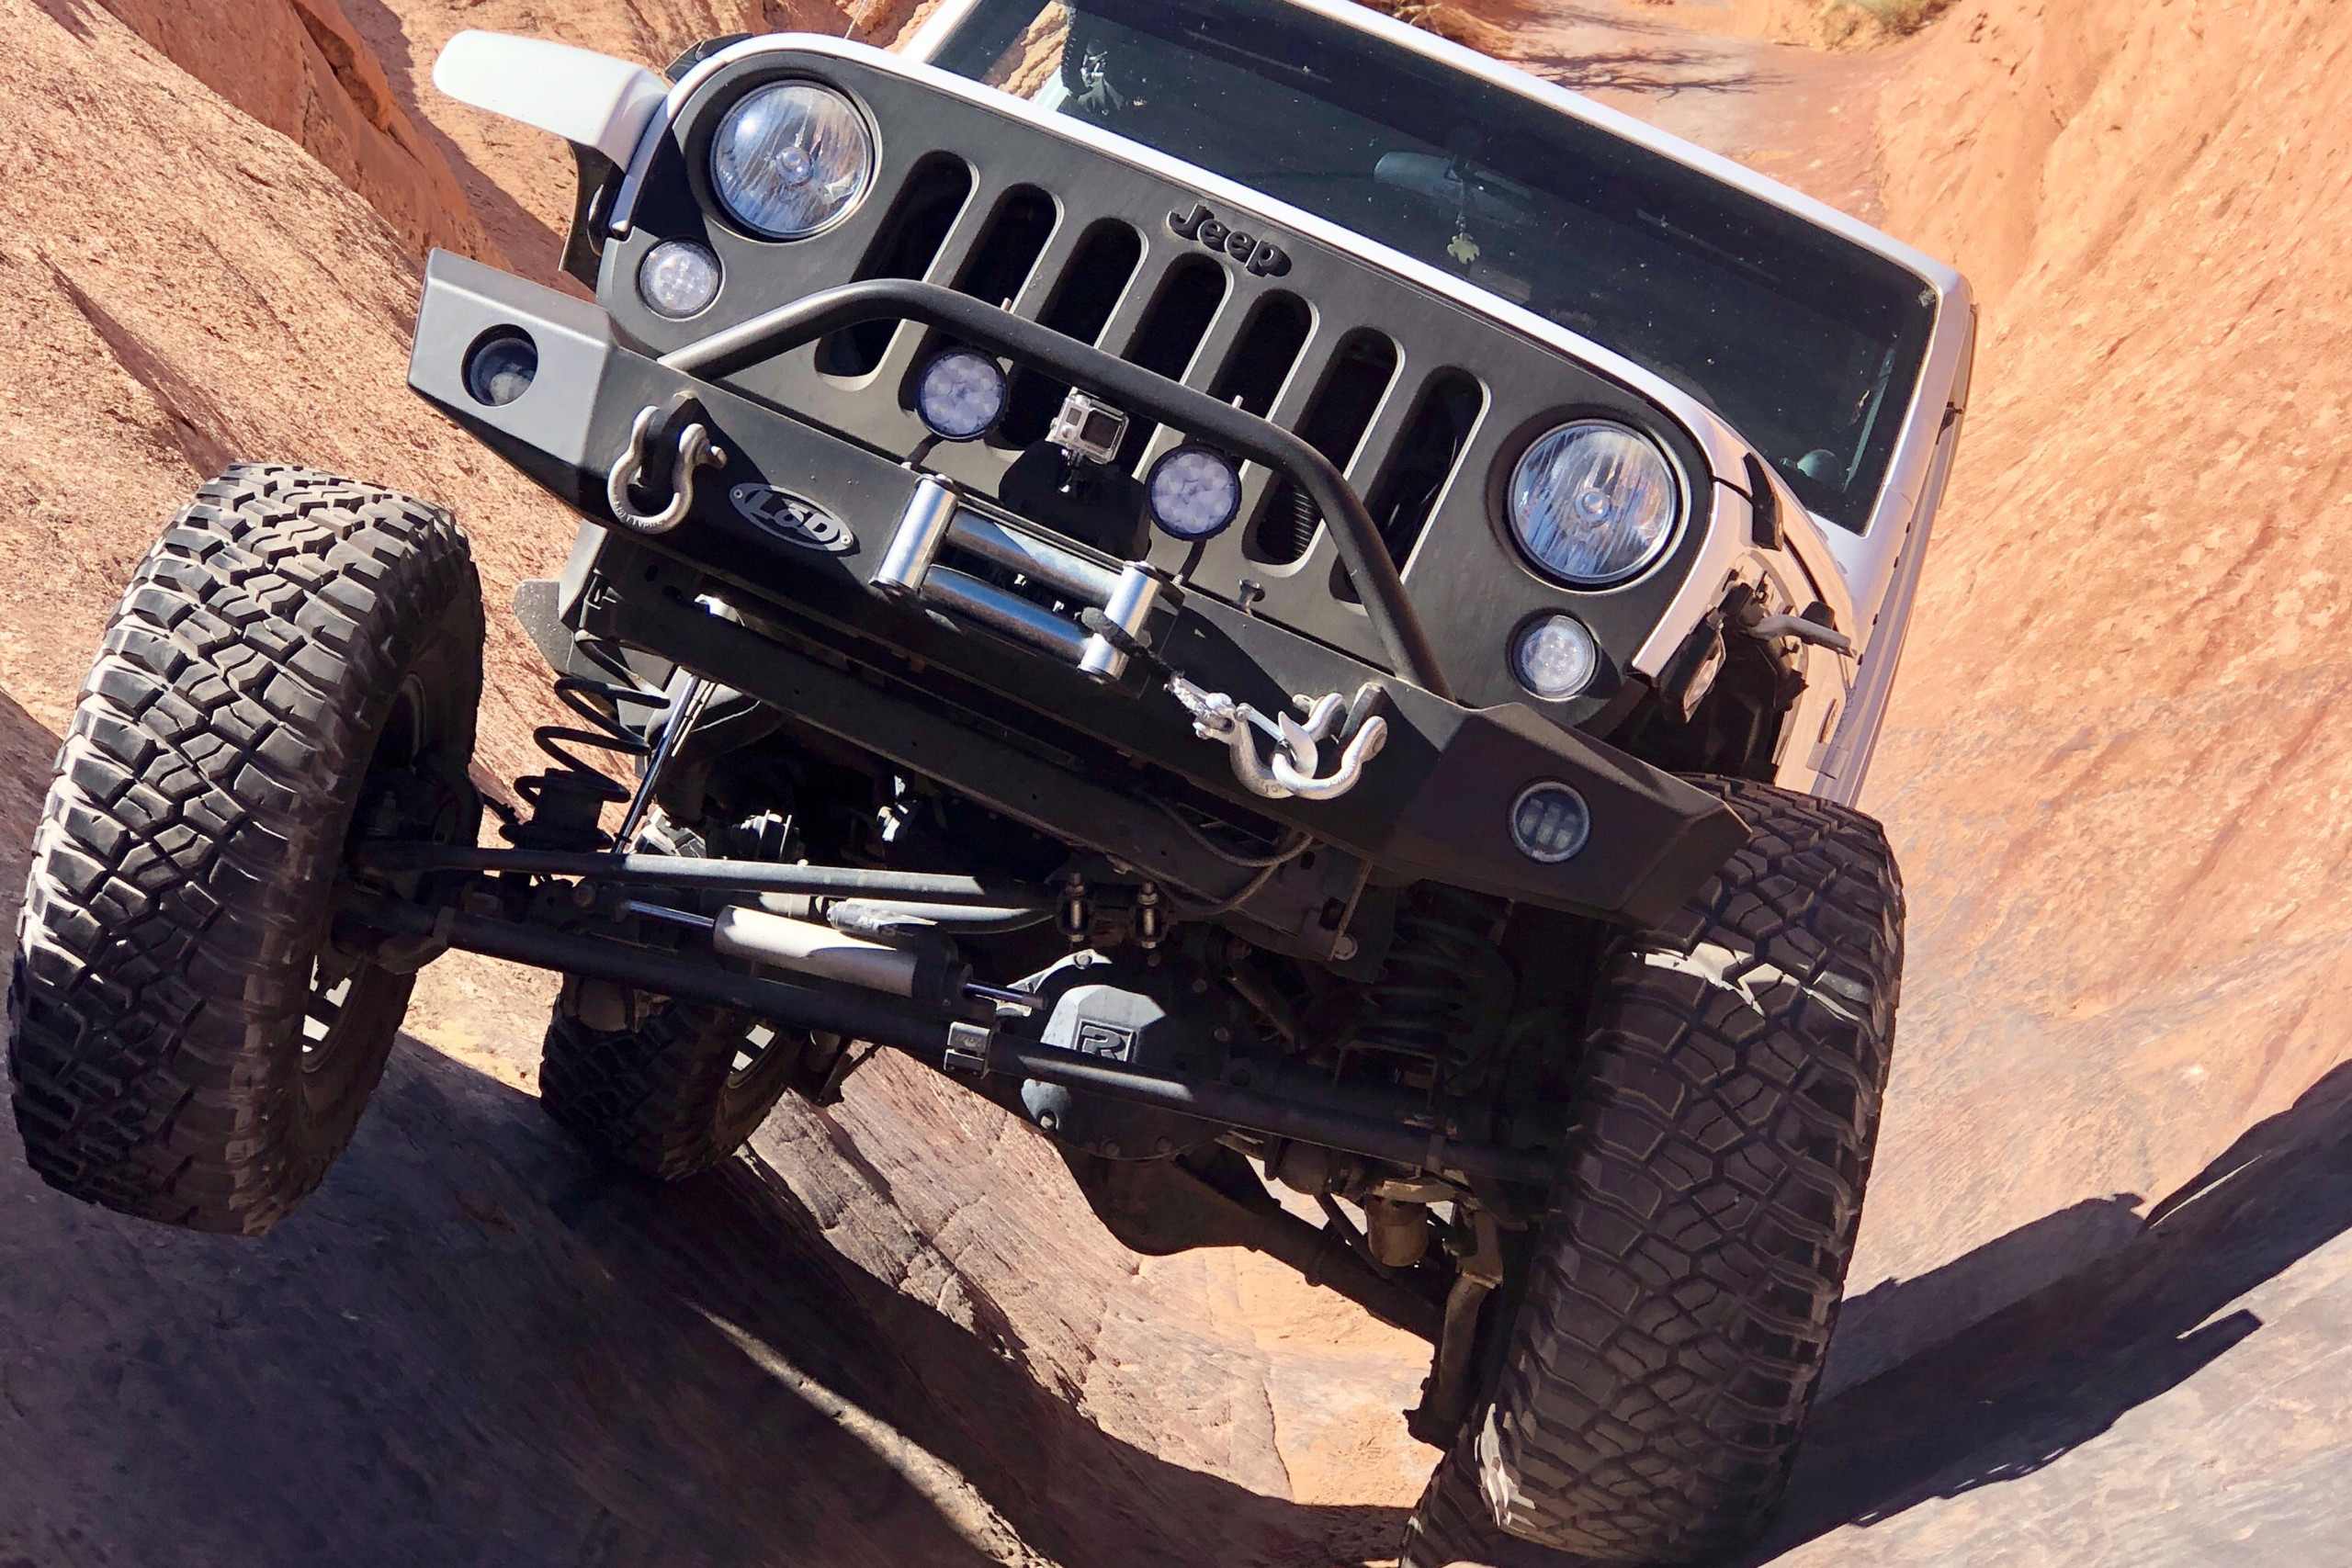
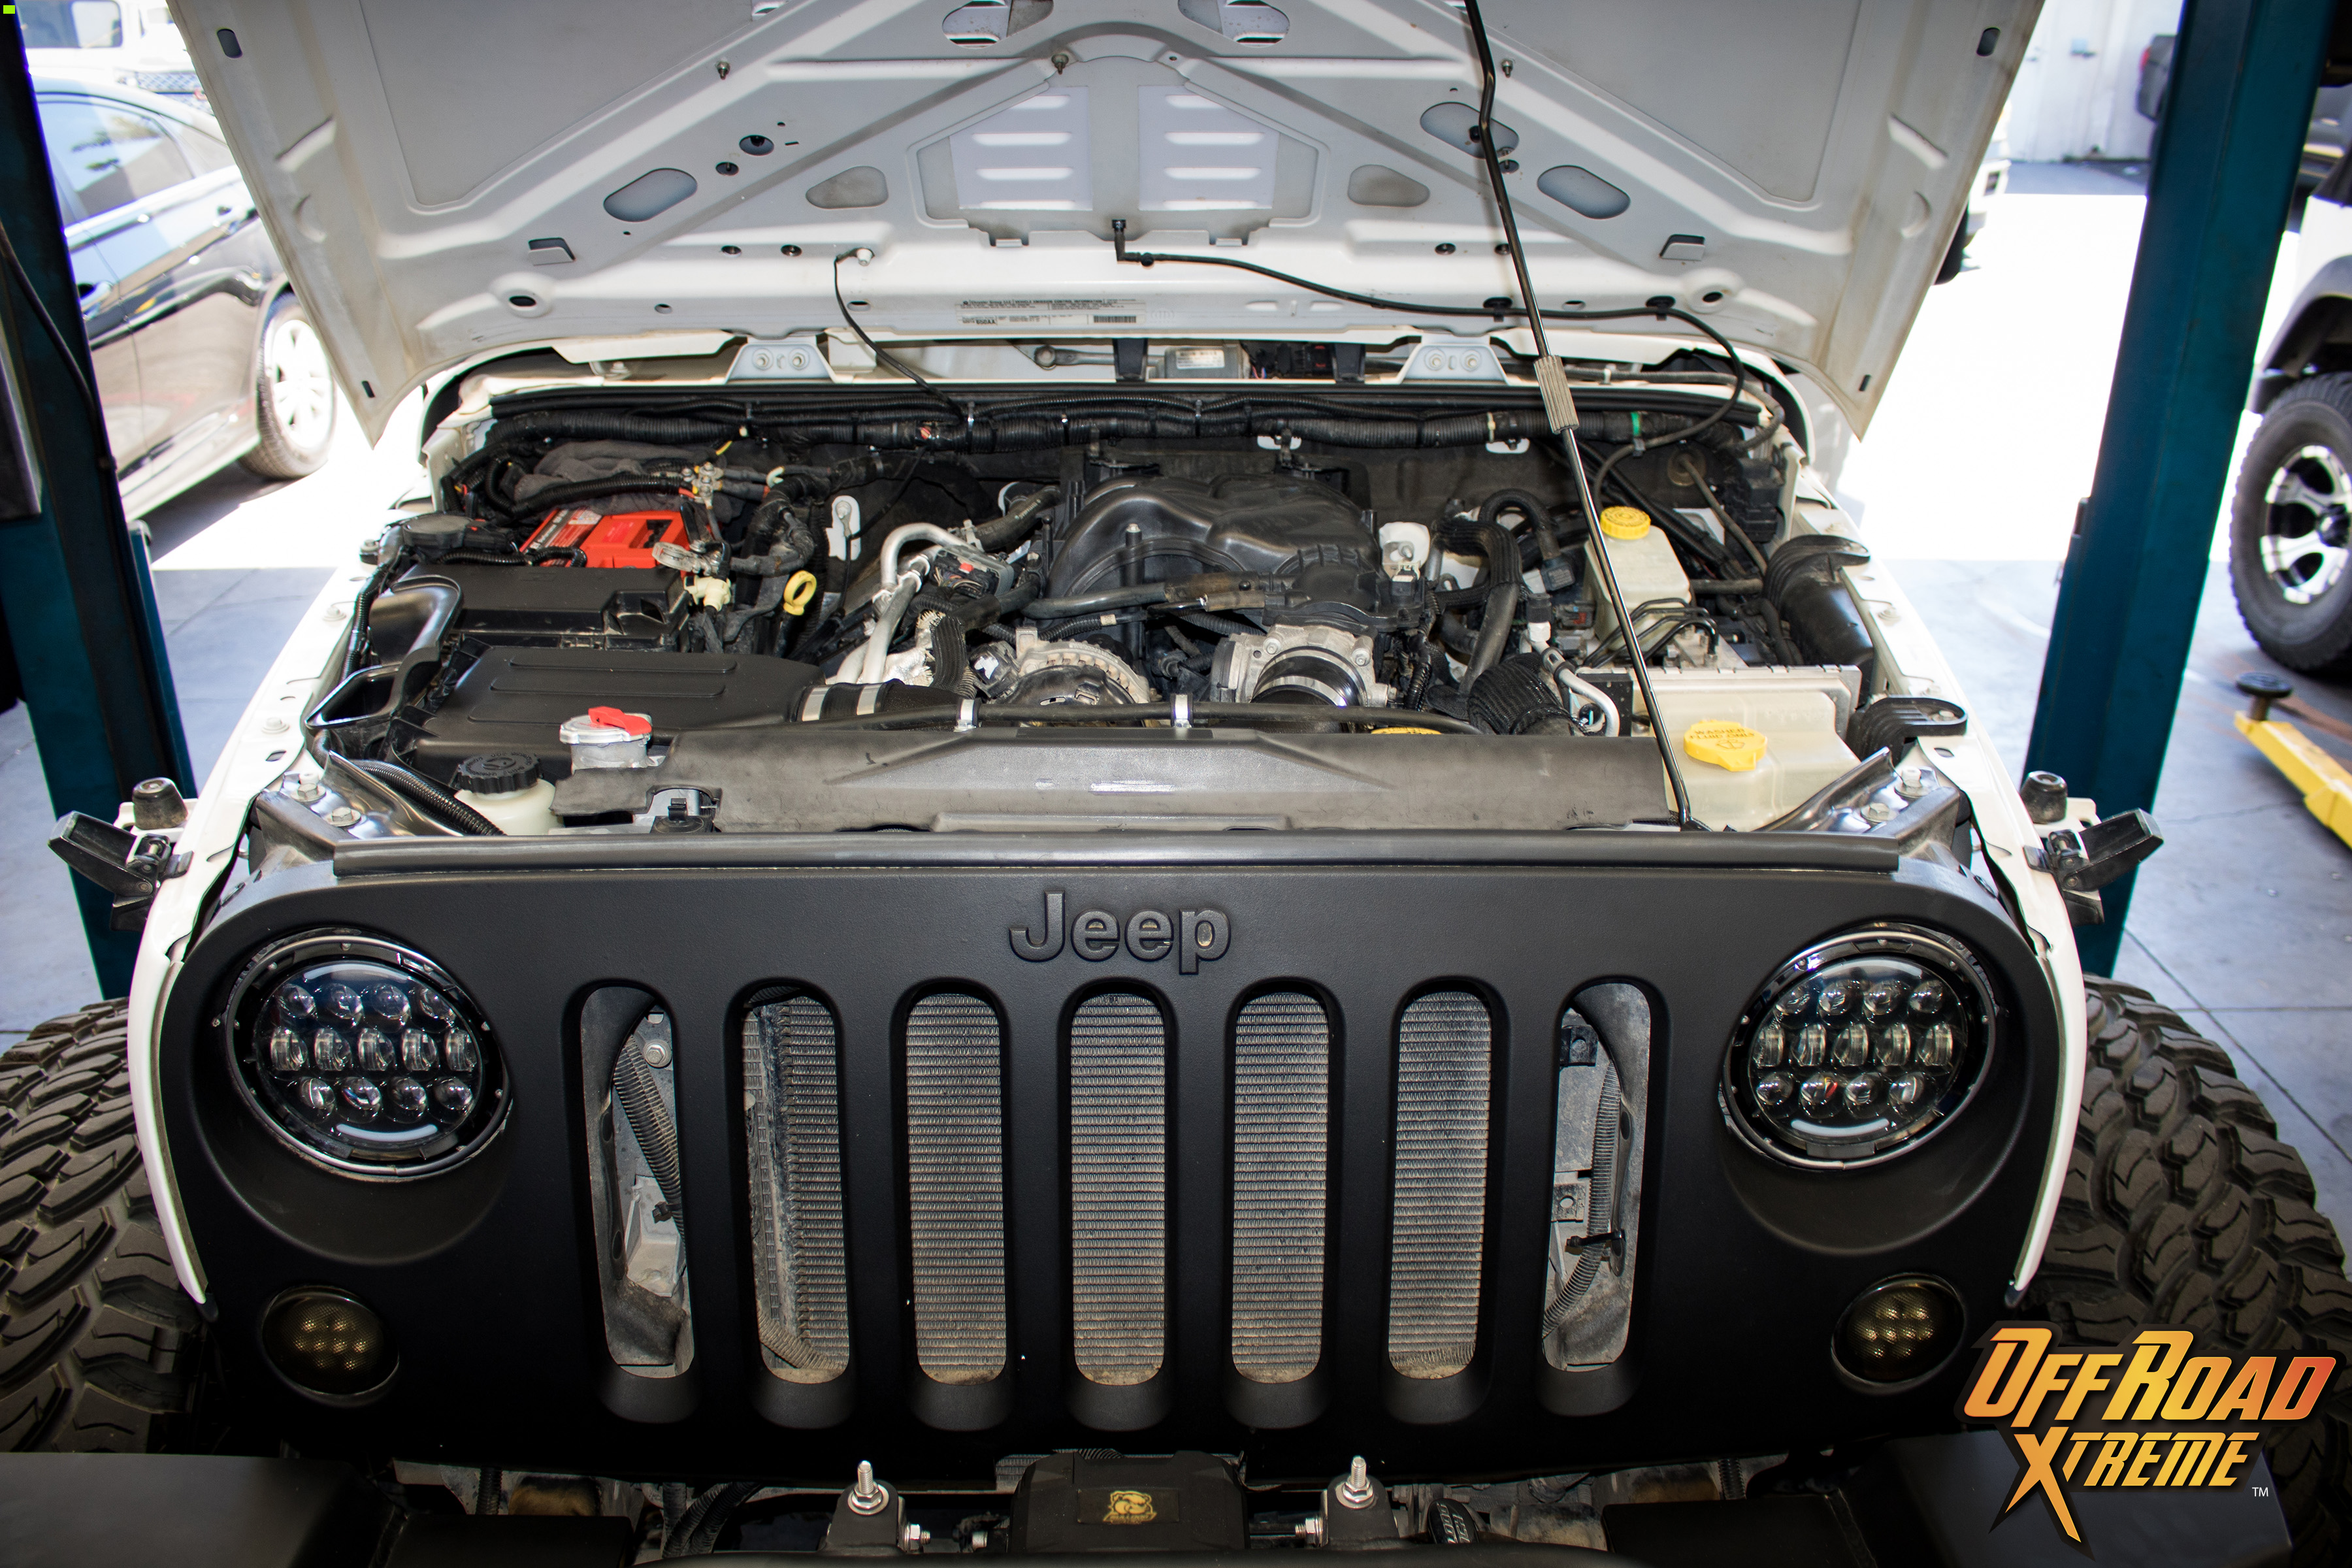
Our friend Derek has a pretty built 2012 Jeep Wrangler JK Sahara. It has the 3.6 liter motor and a manual transmission. He had a clutch replaced once before but after a few years and many dirt miles later, it started giving him trouble again. This Jeep sees a lot of trail running with his friends from @empire_jeep_club and @allterrain_grg in the mountains and deserts of Southern California. The original OEM clutch let go at around 96,000 miles. Derek had a premium Clutch Master’s Clutch installed and it was going strong at 142,100 miles, still gripping, but eventually the throwout bearing unit had failed.
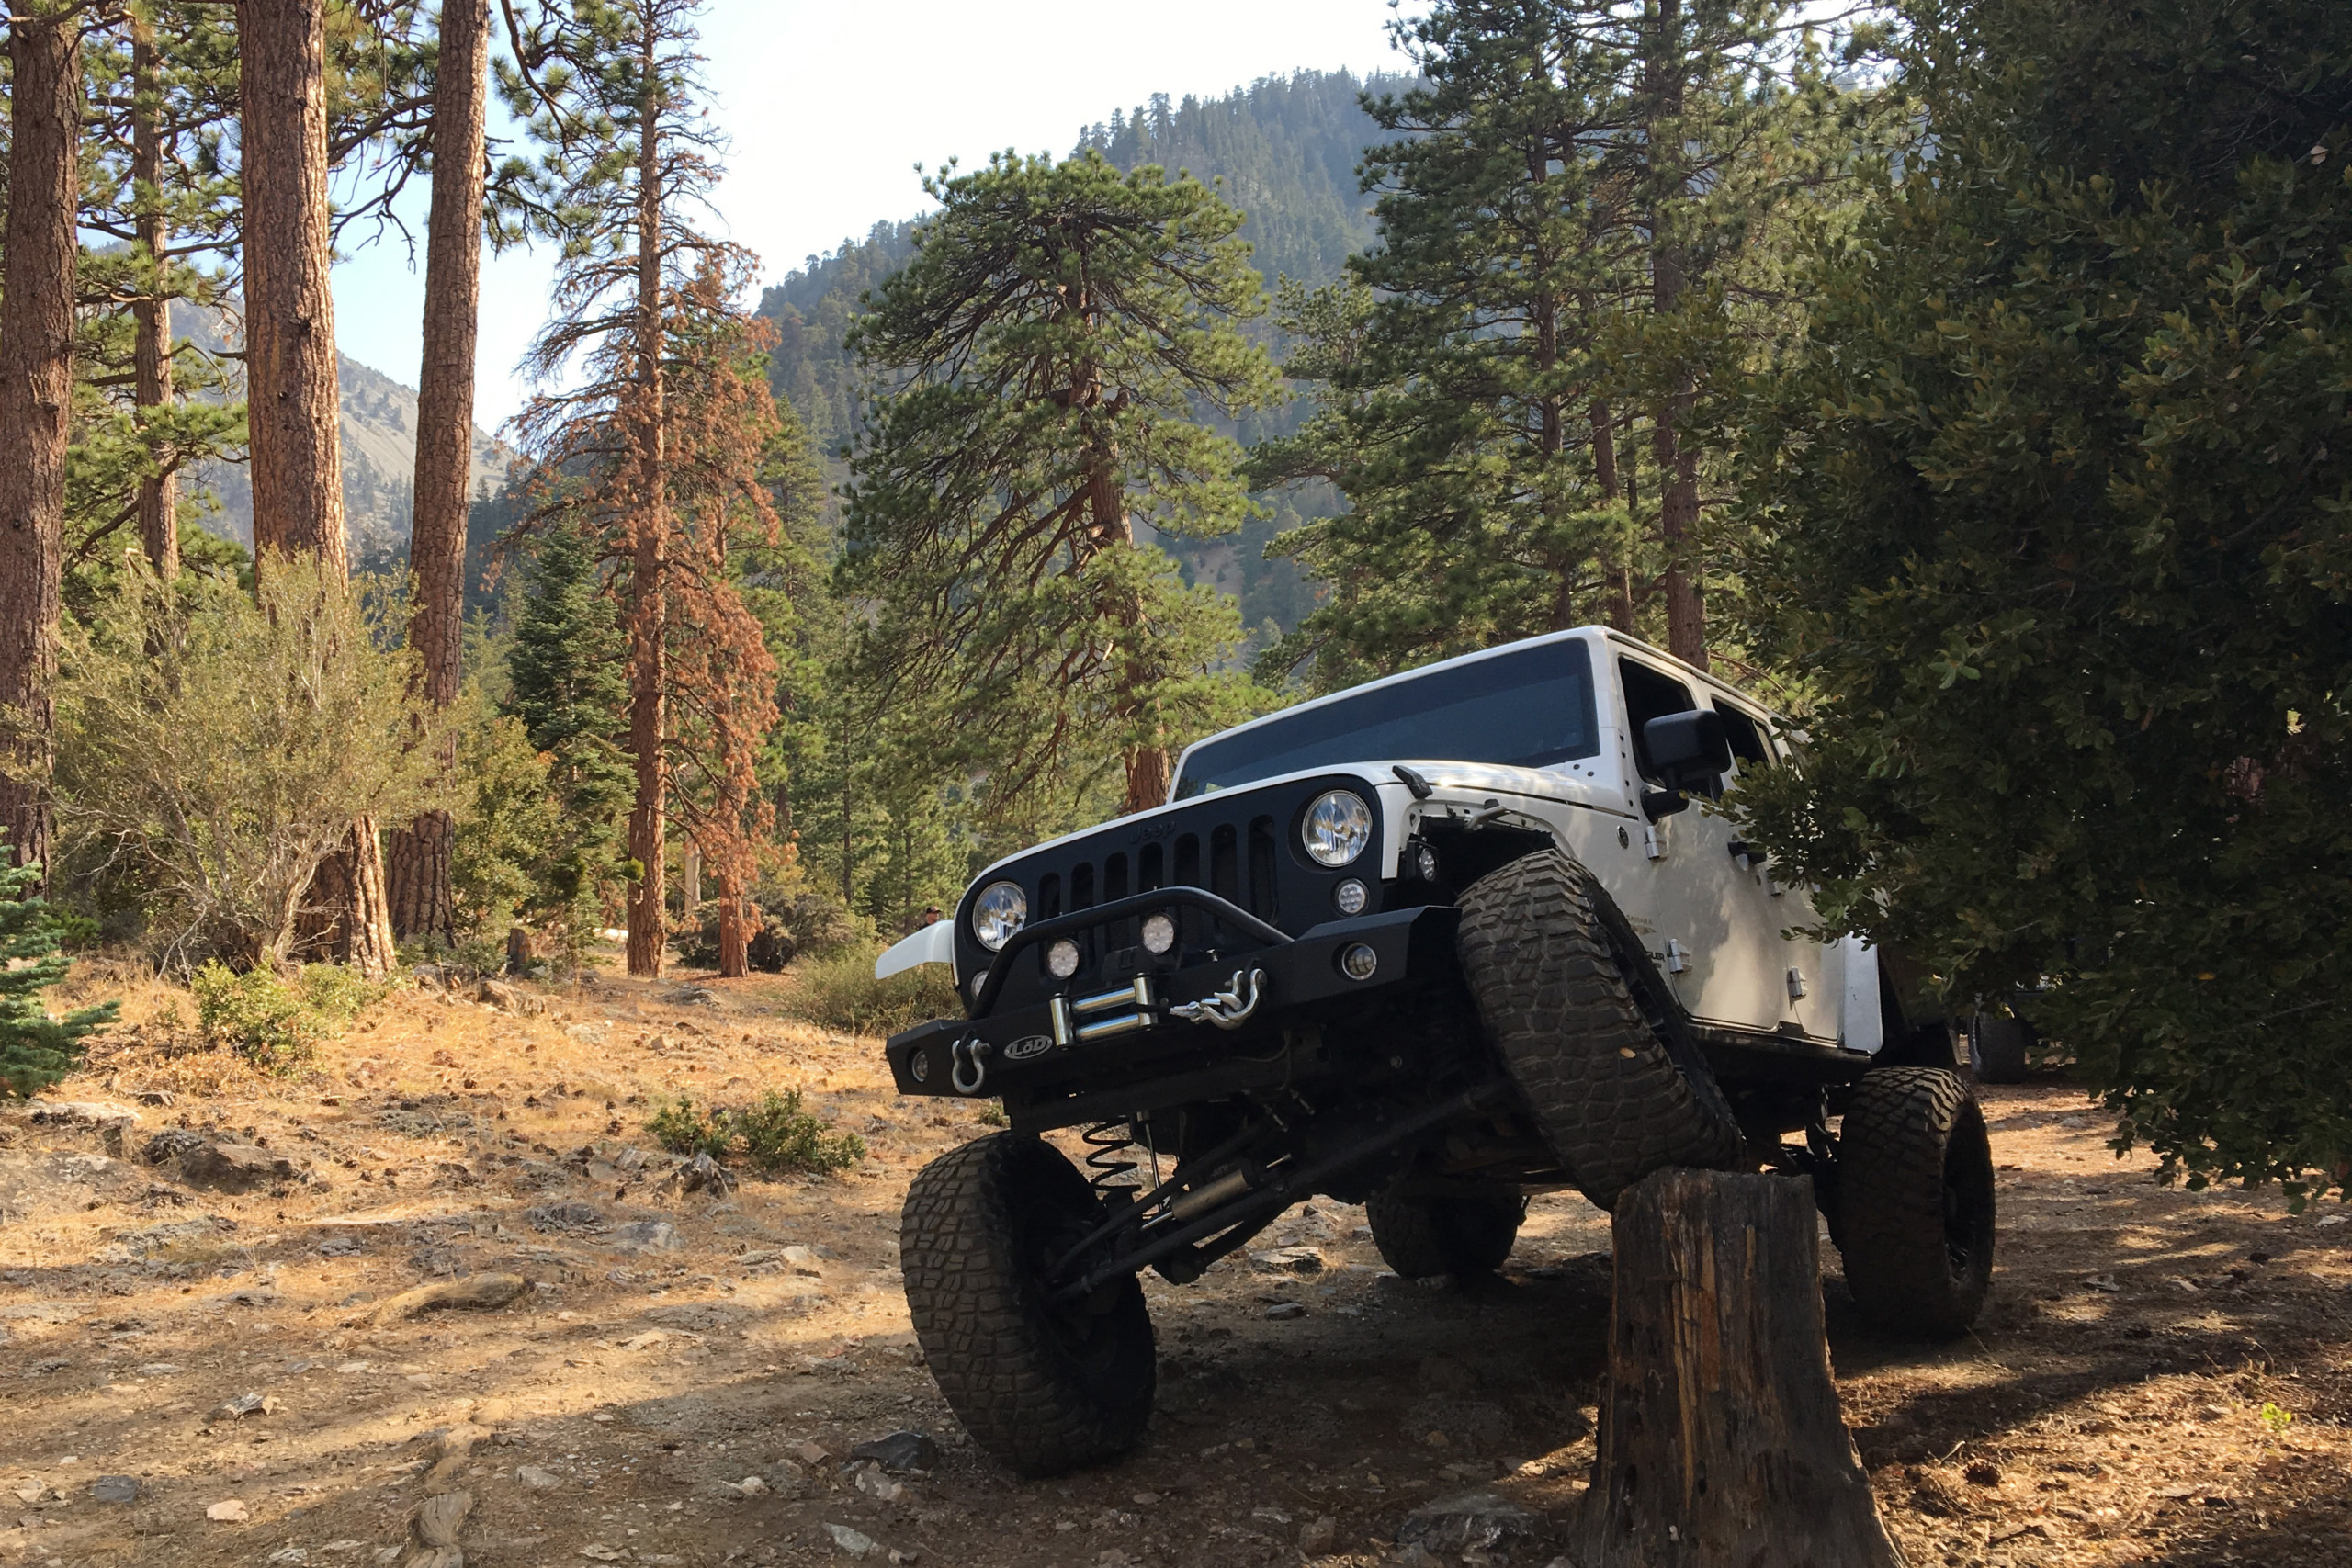
Off-Road Enthusiast Do Not Mess Around And Source Quality Parts From Reputable Suppliers.
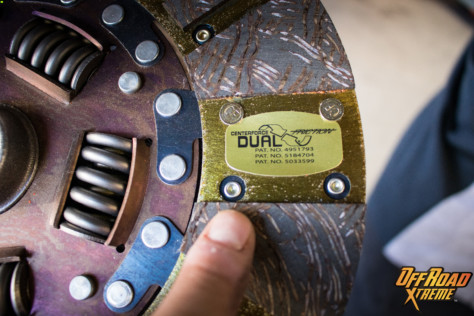
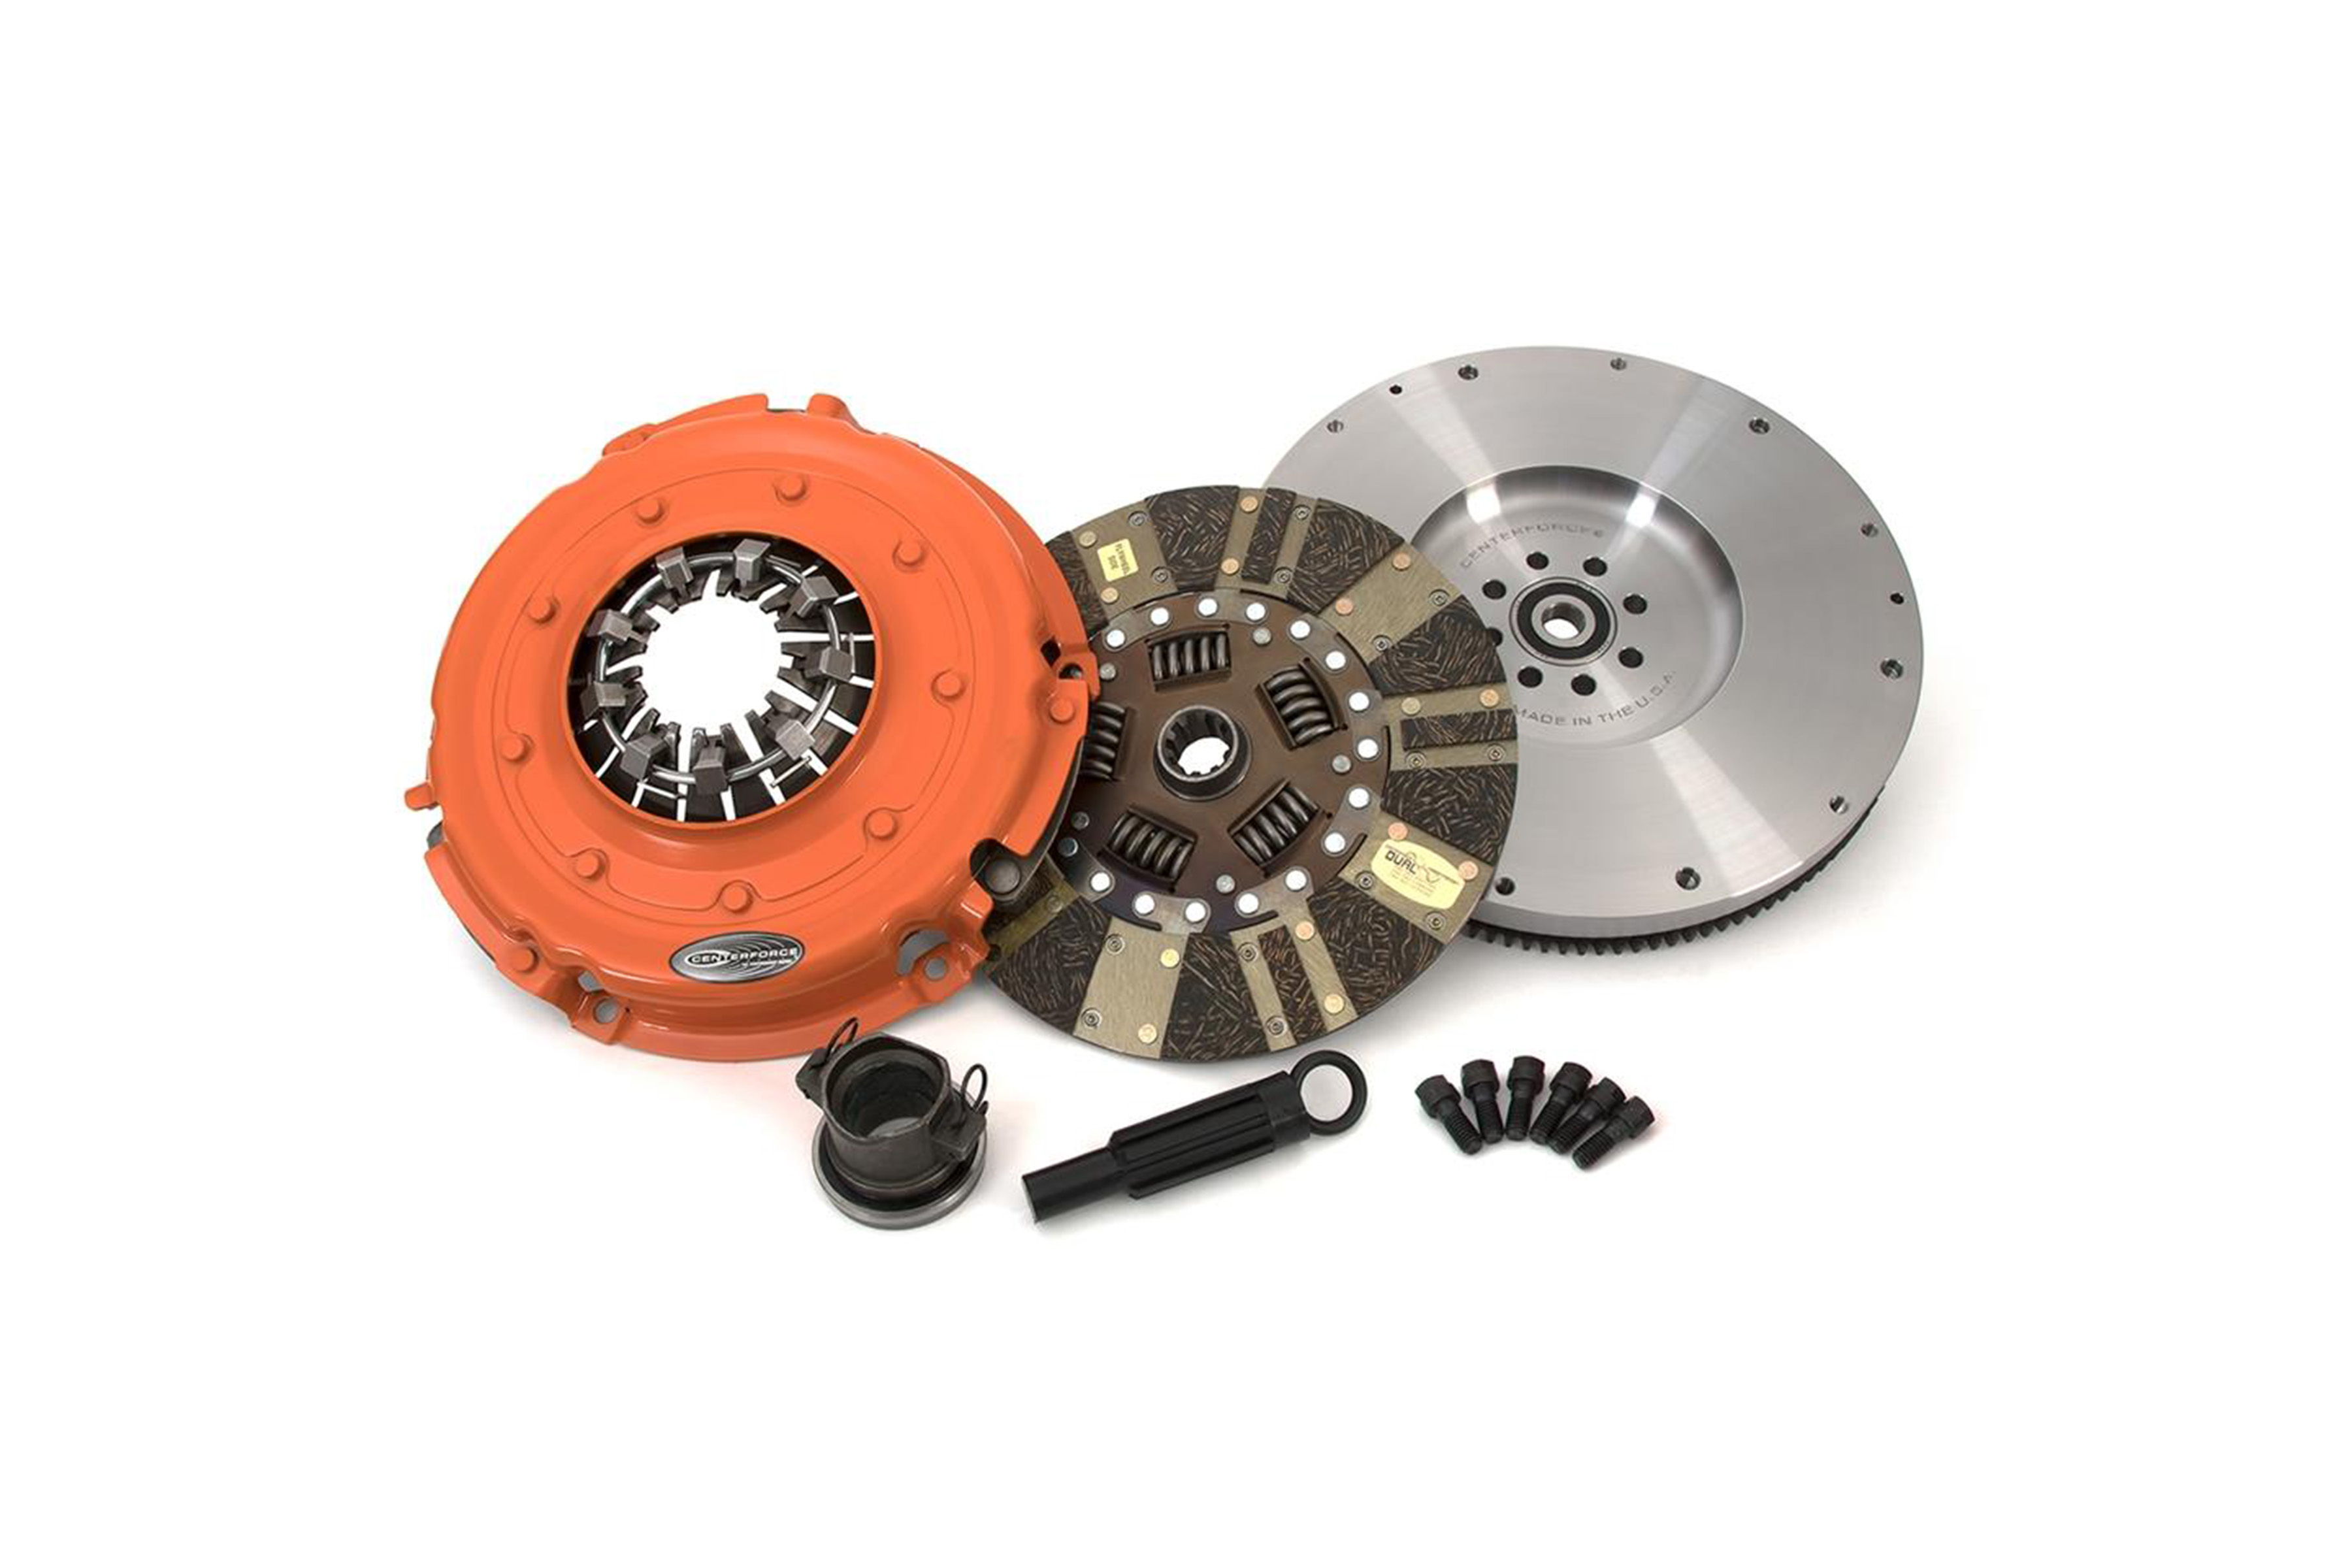
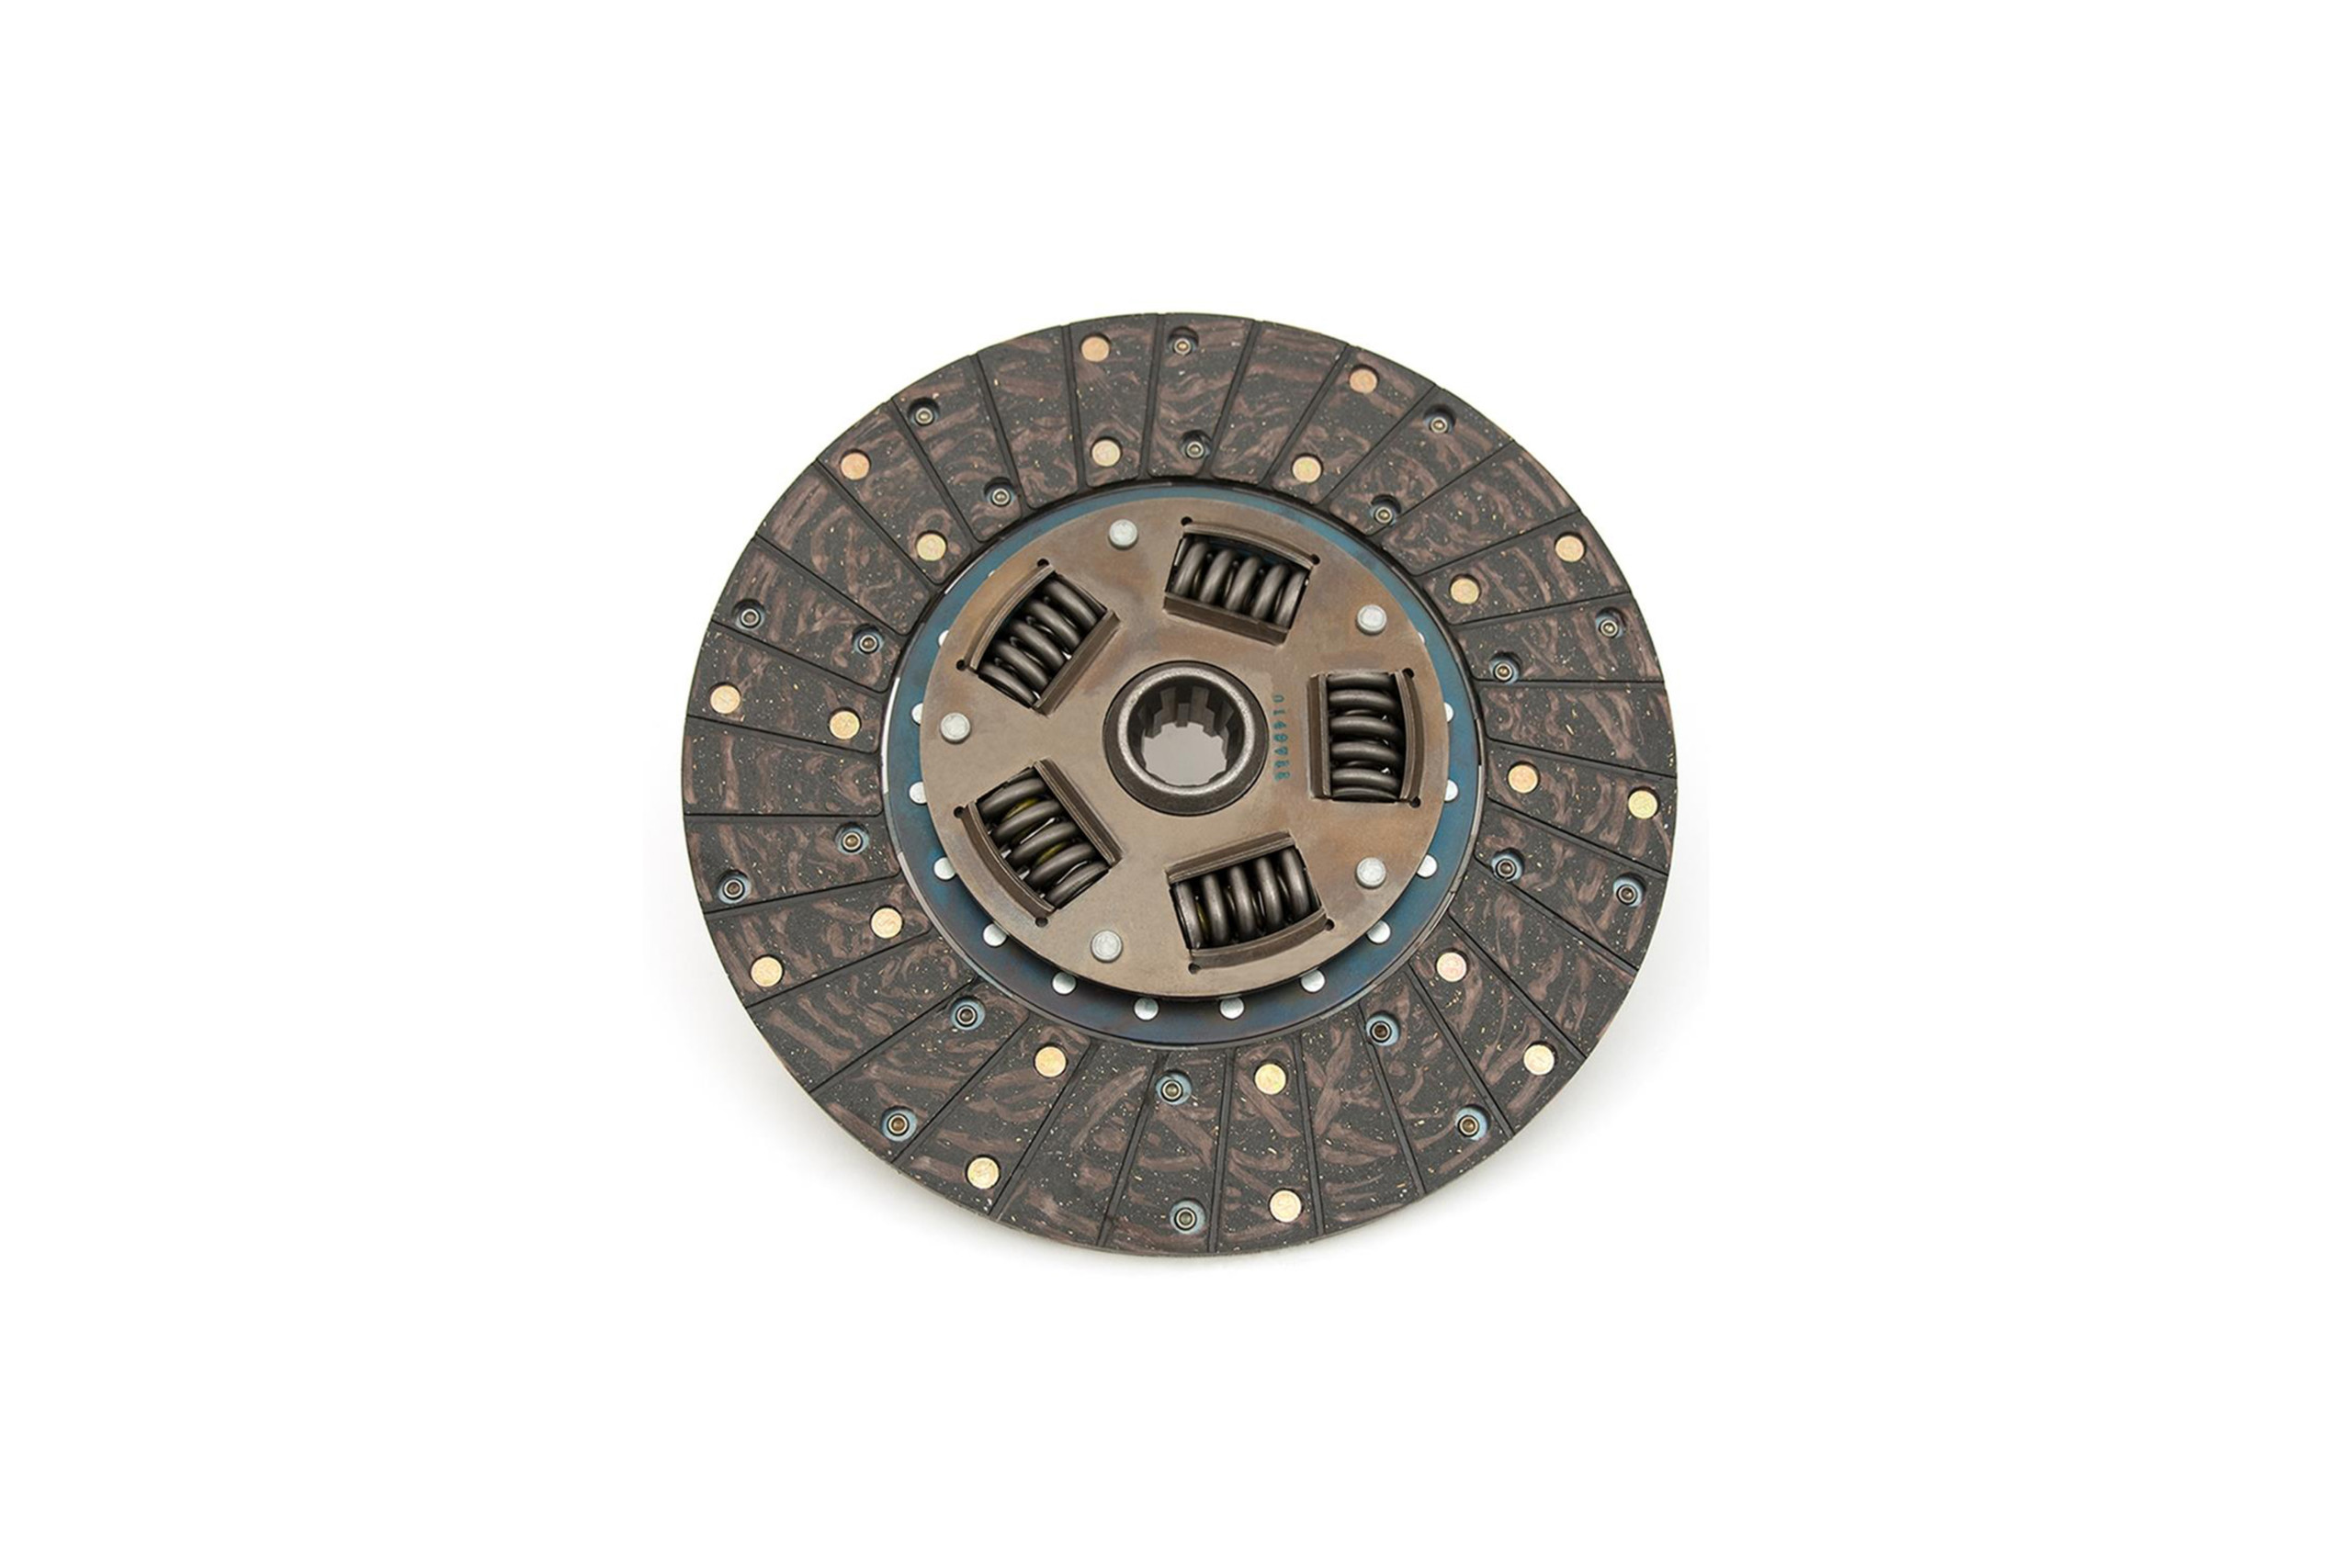
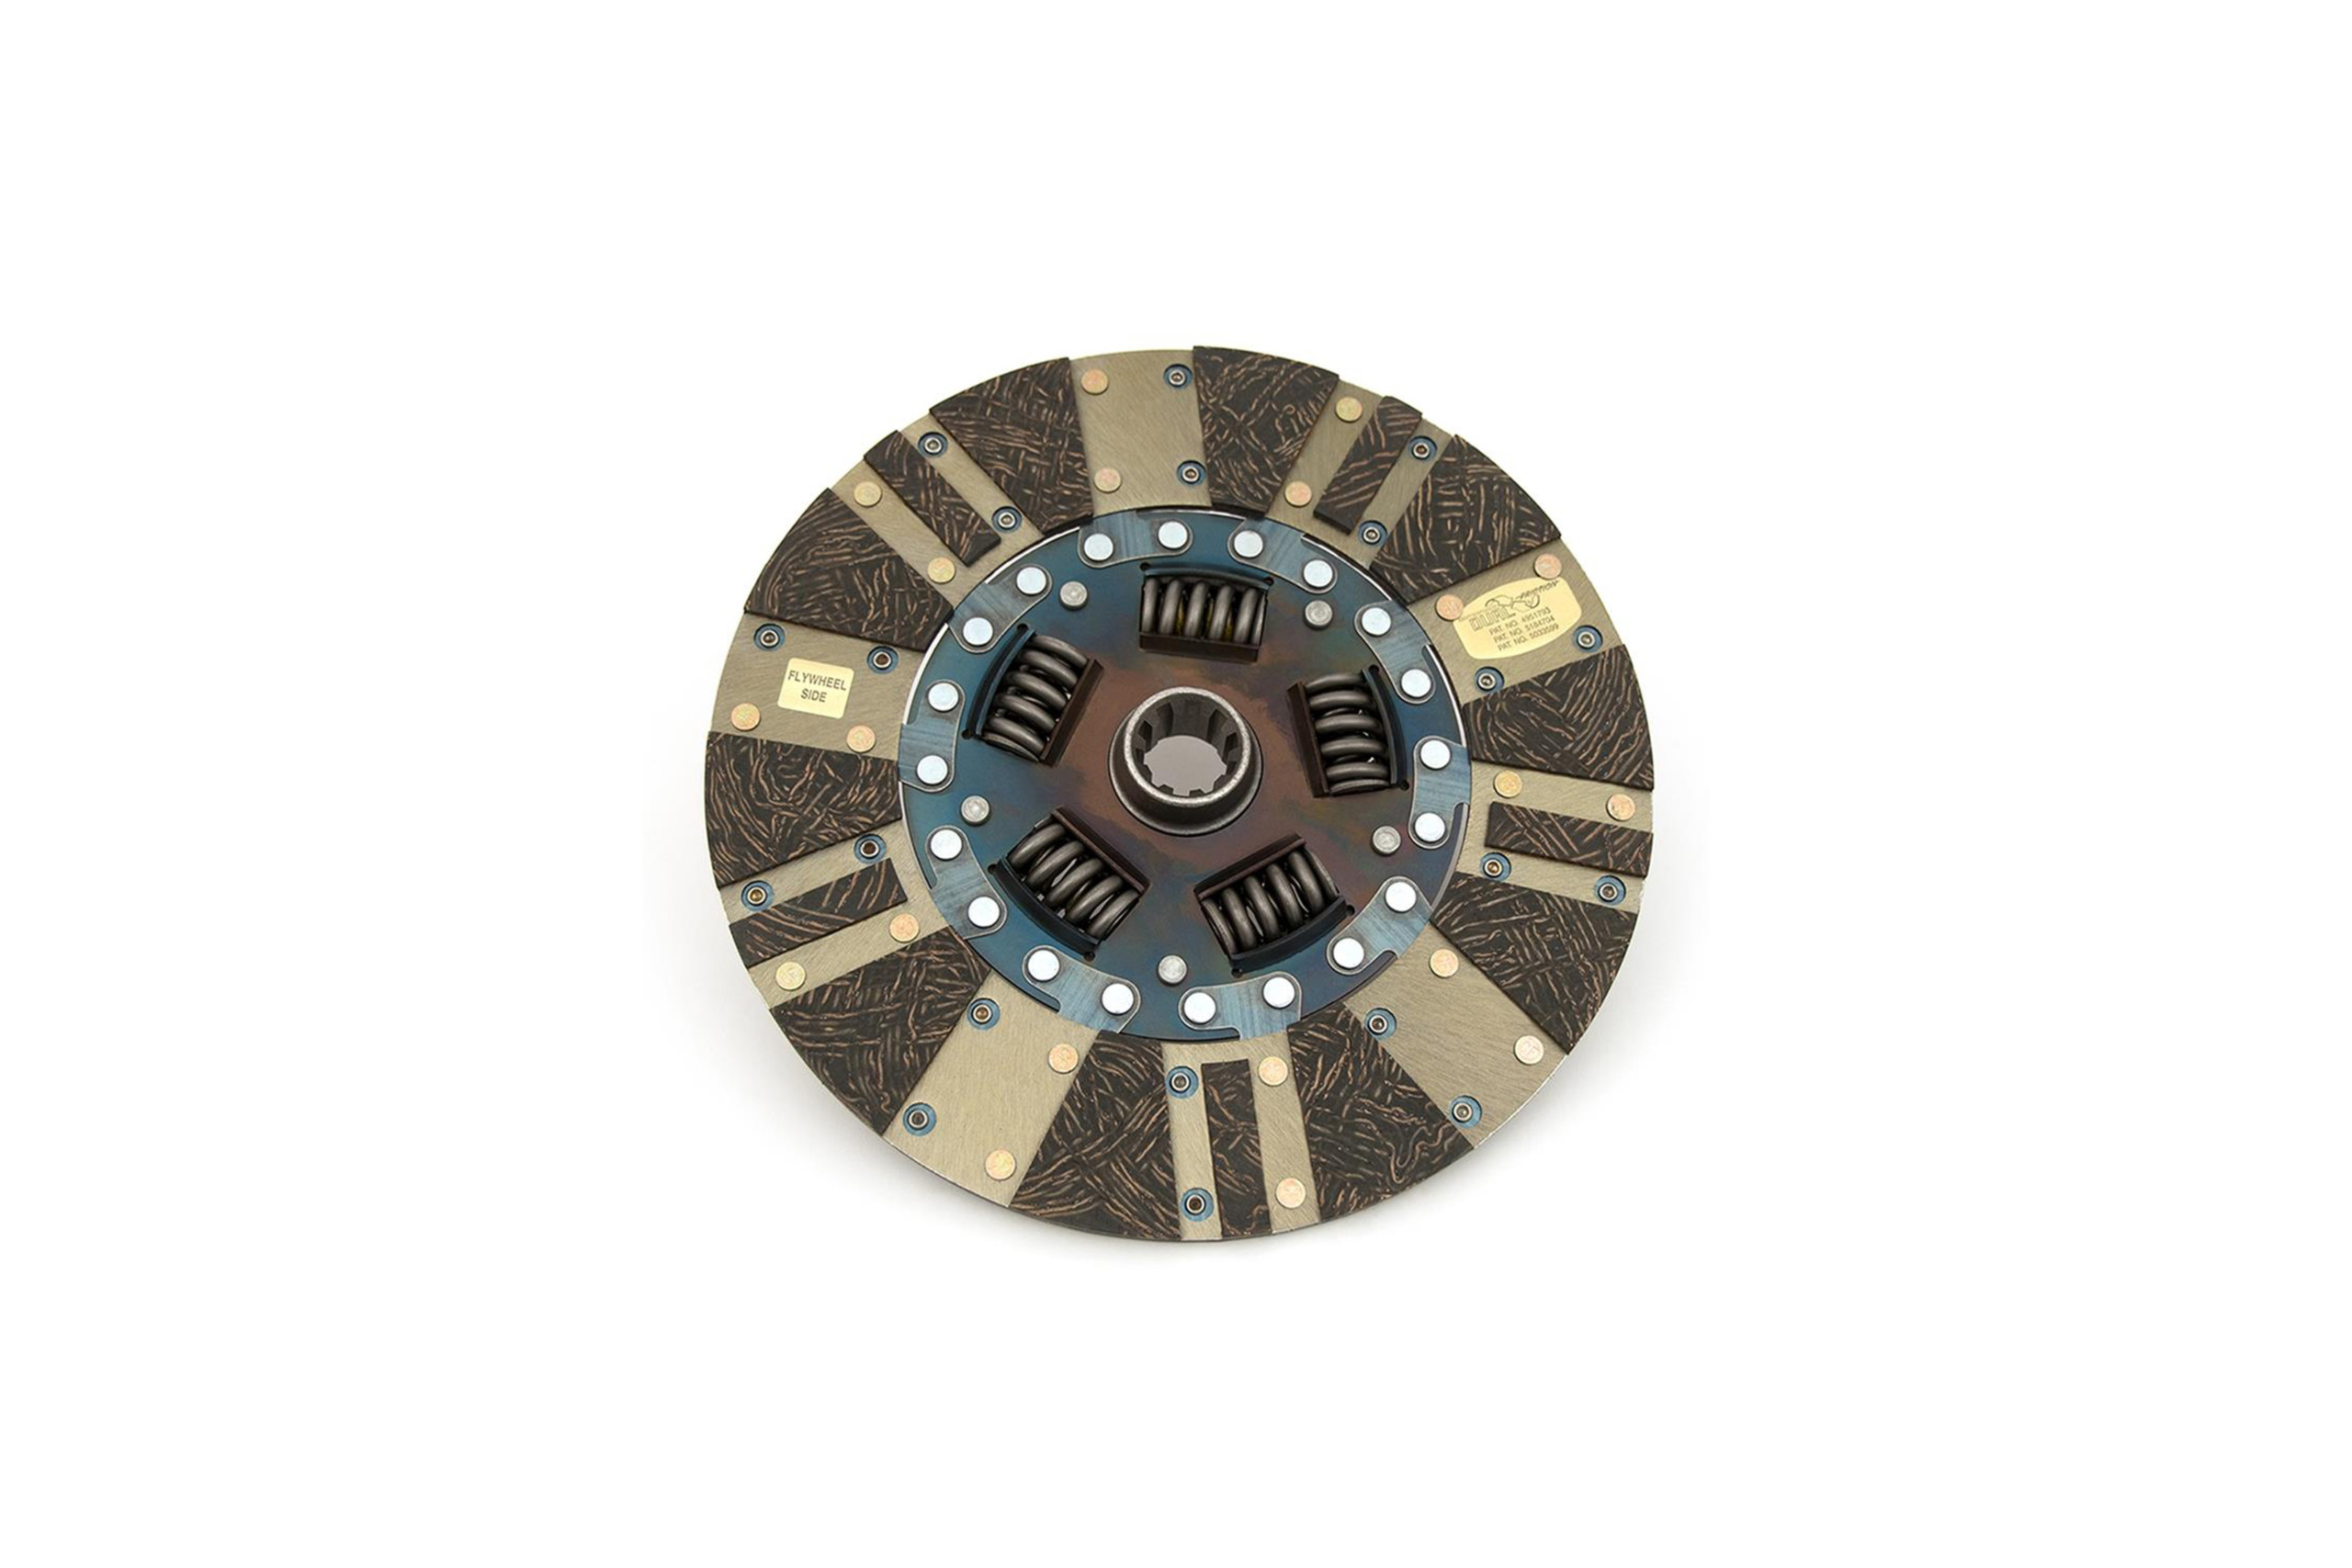
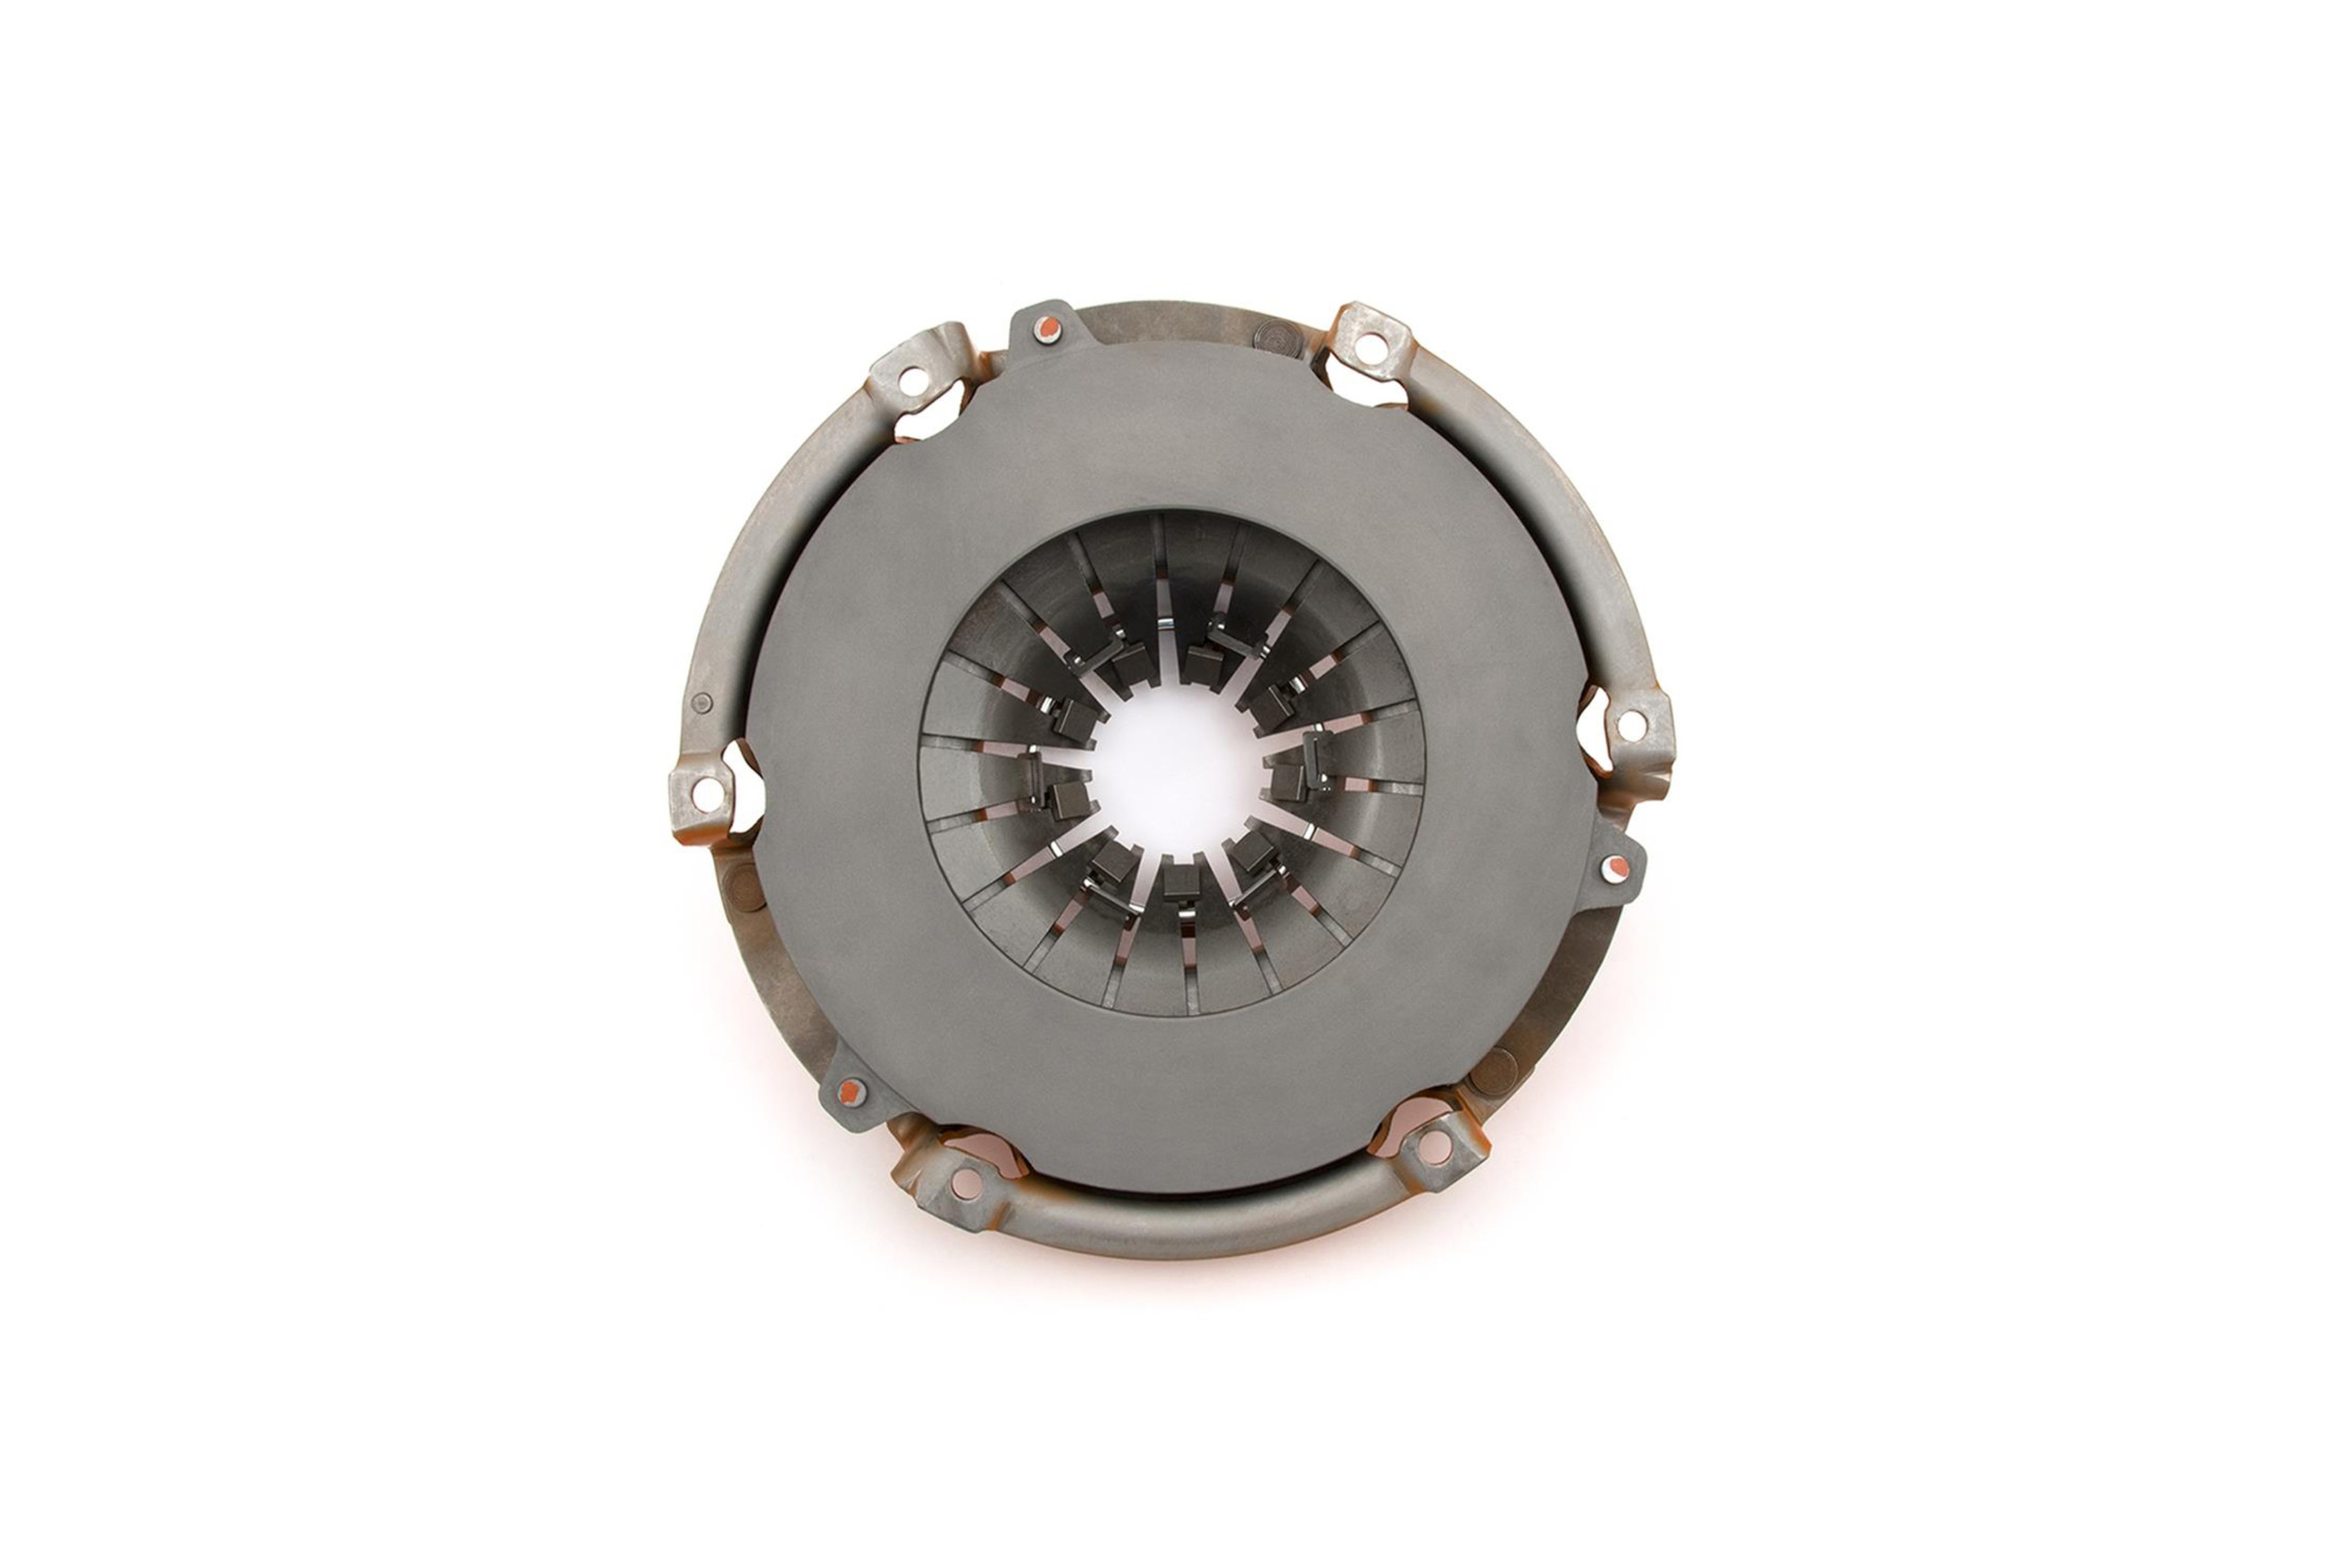
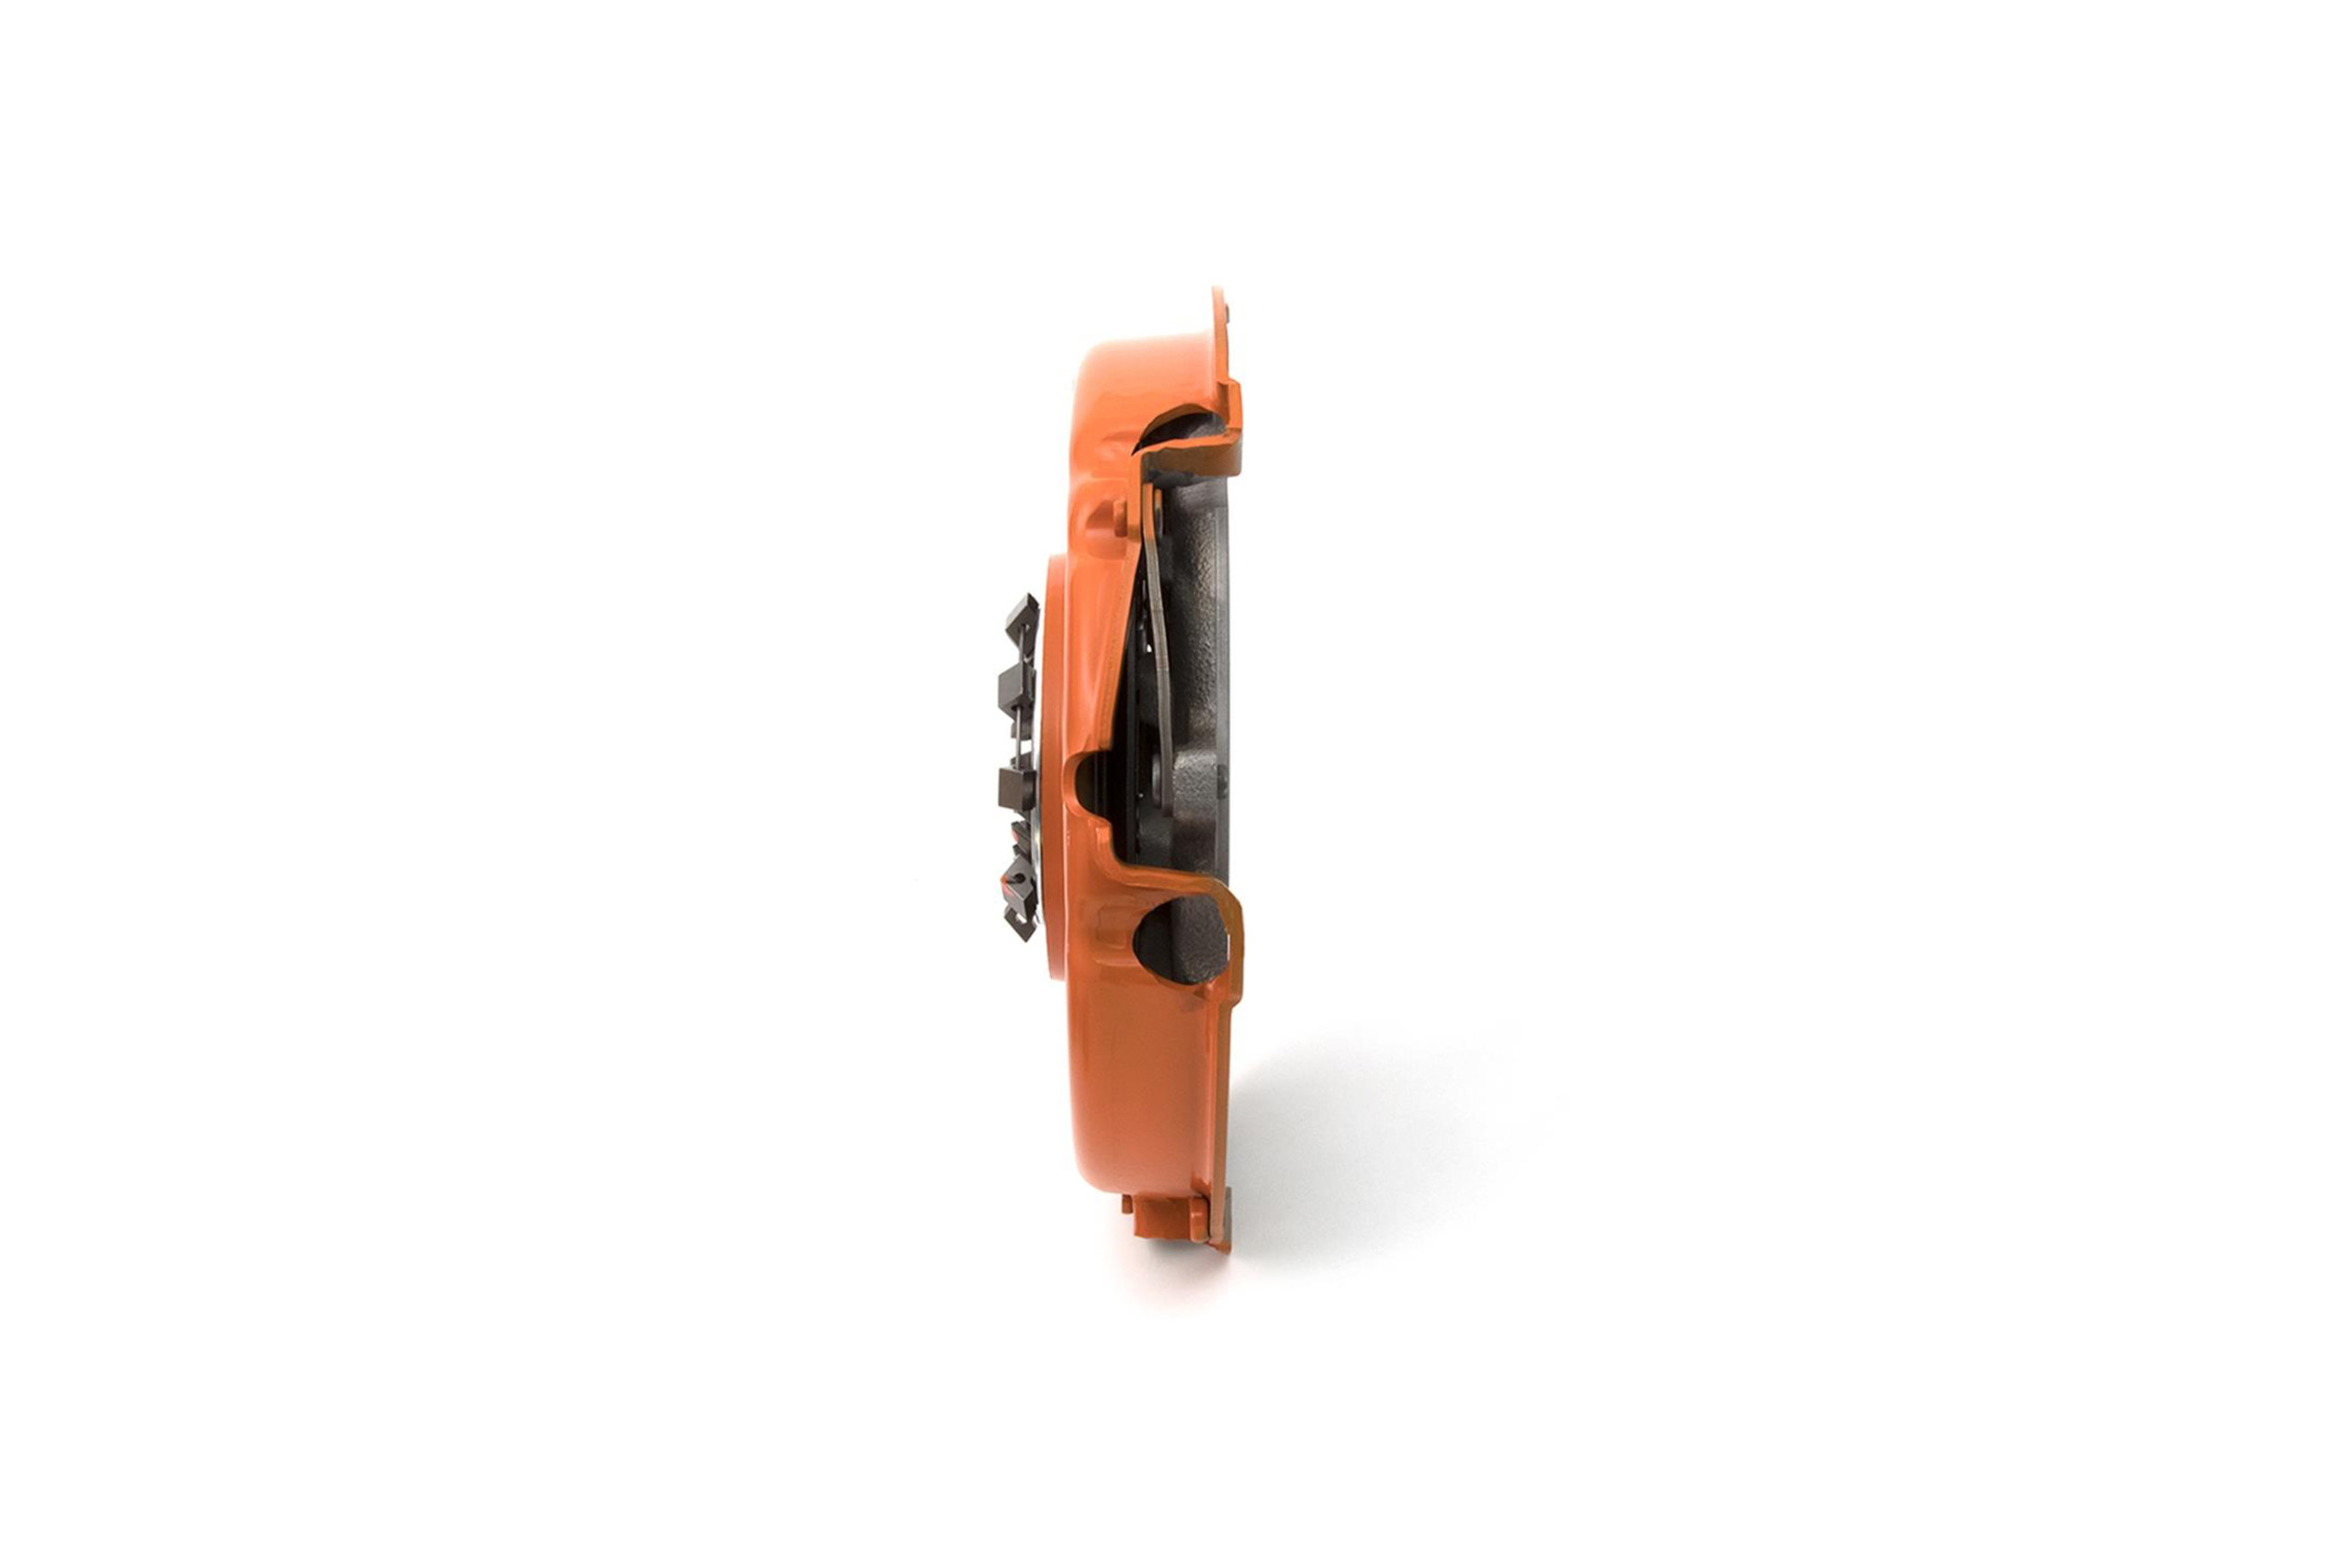
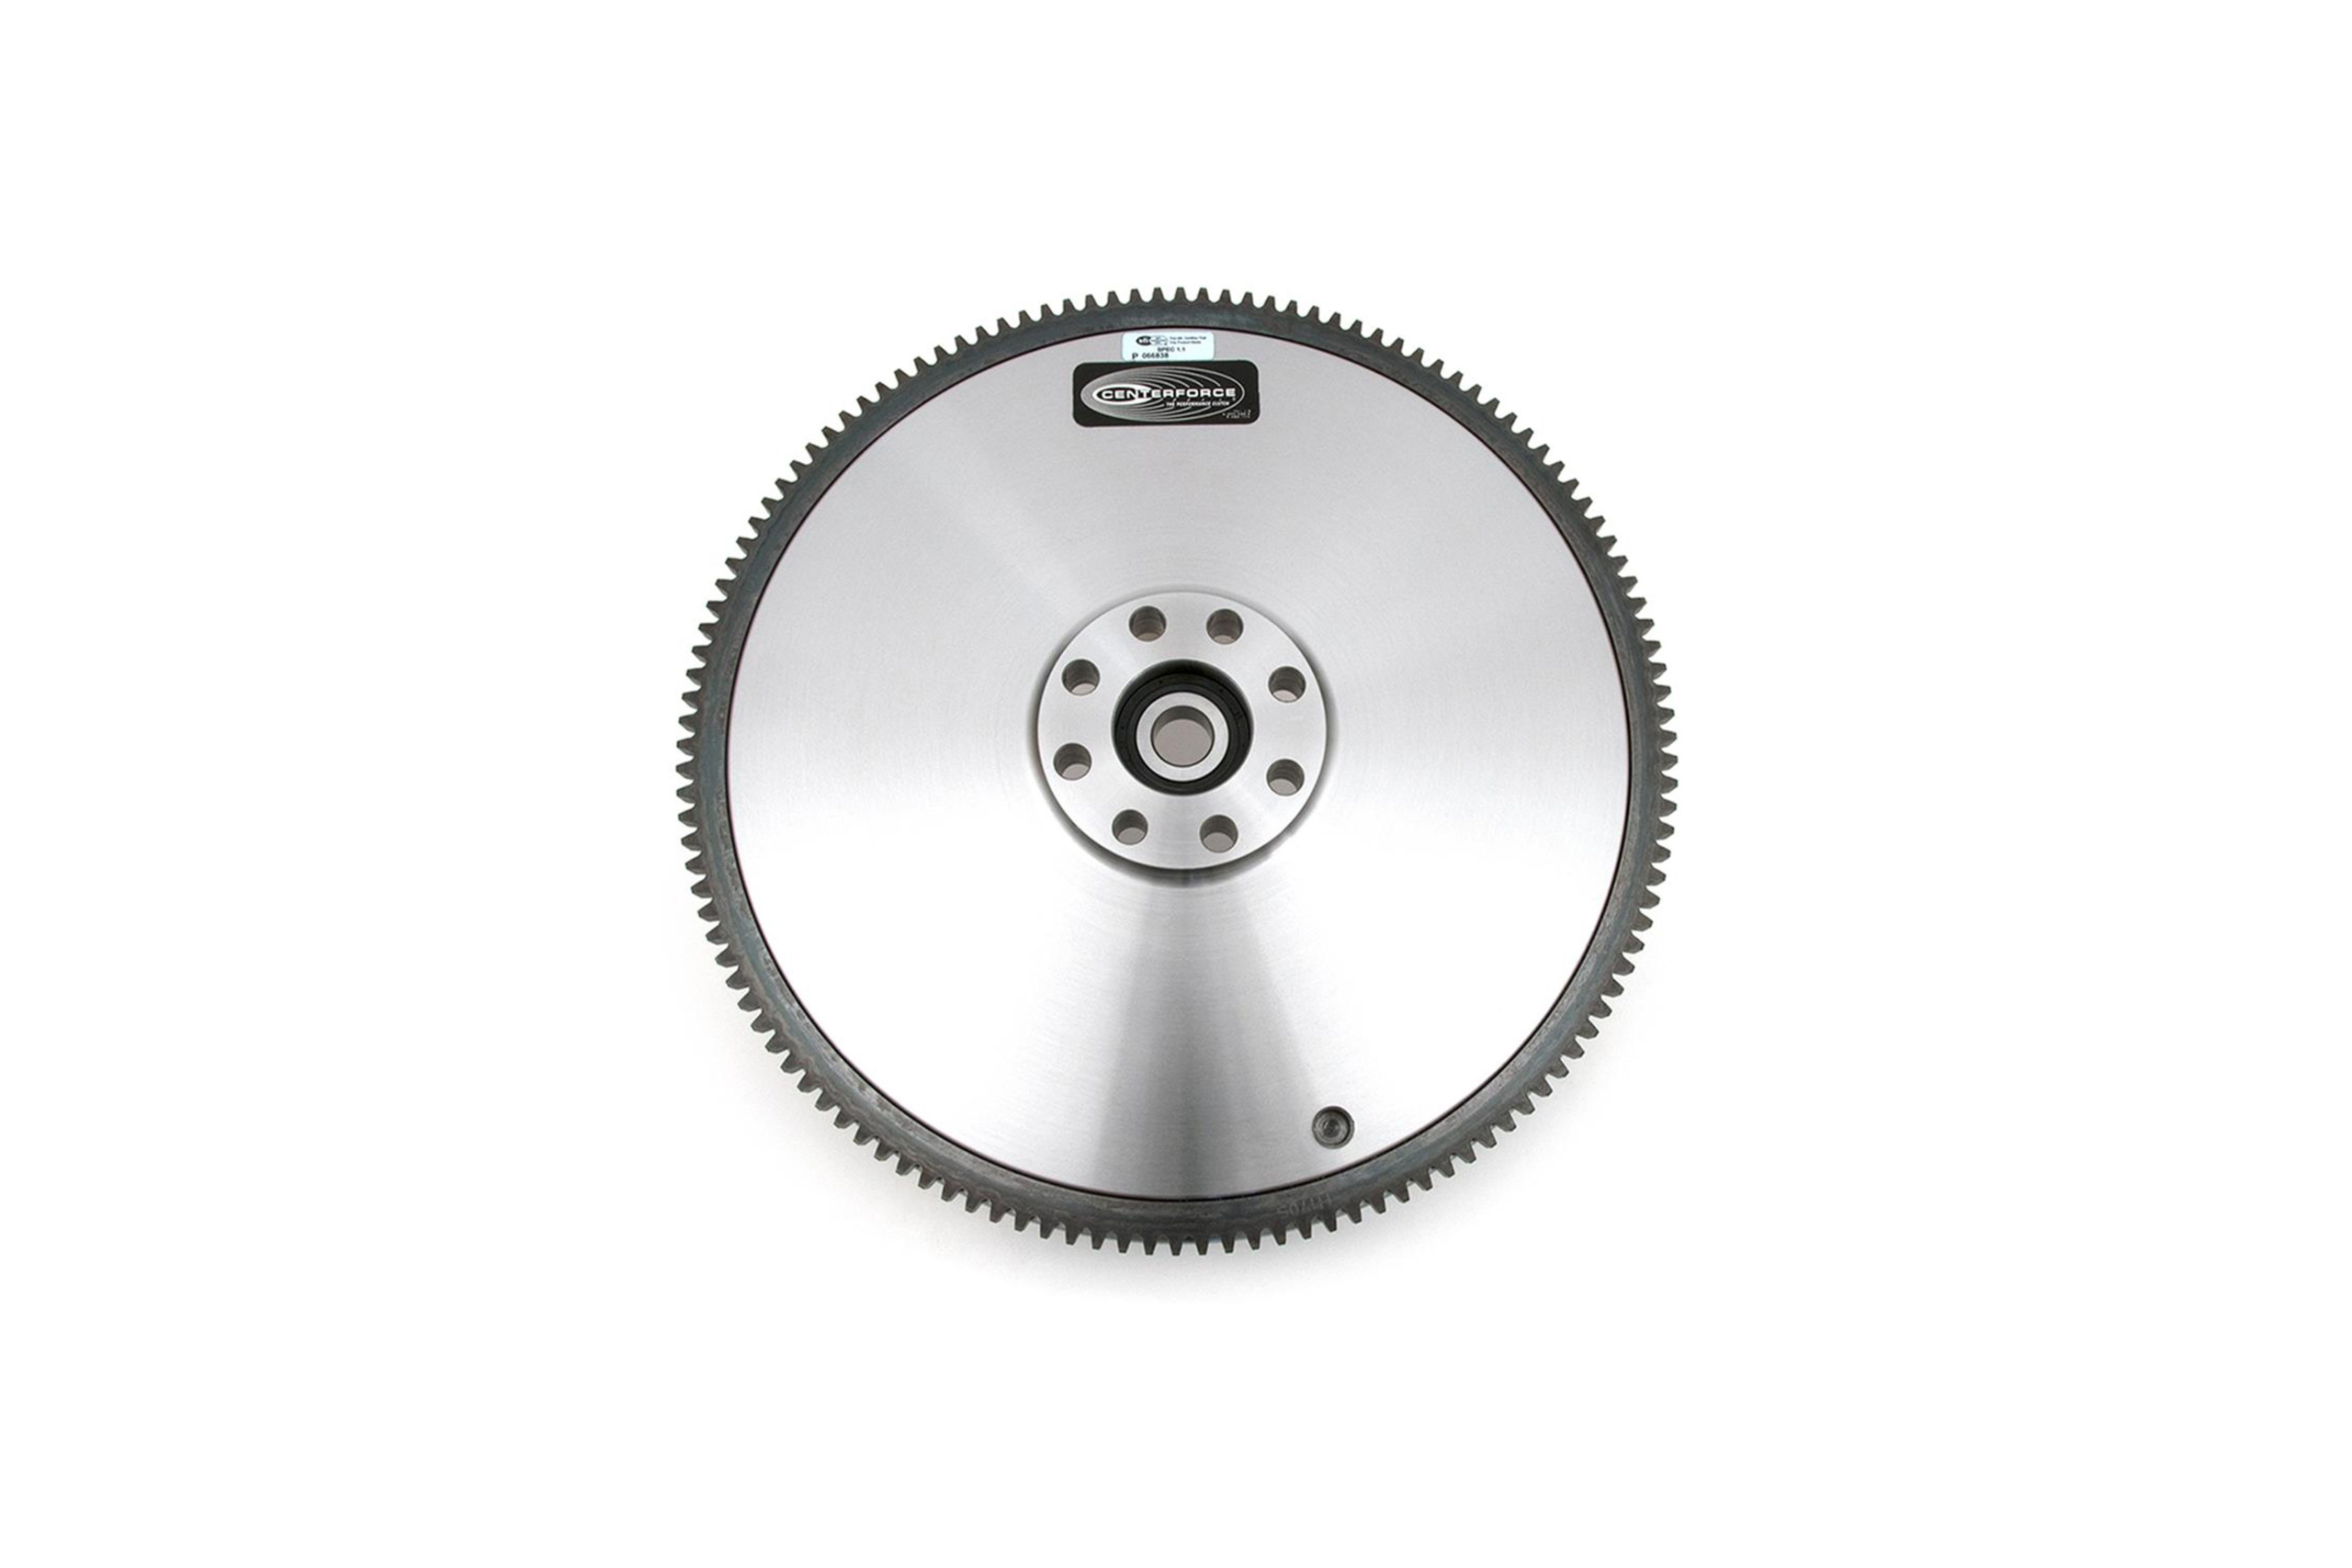
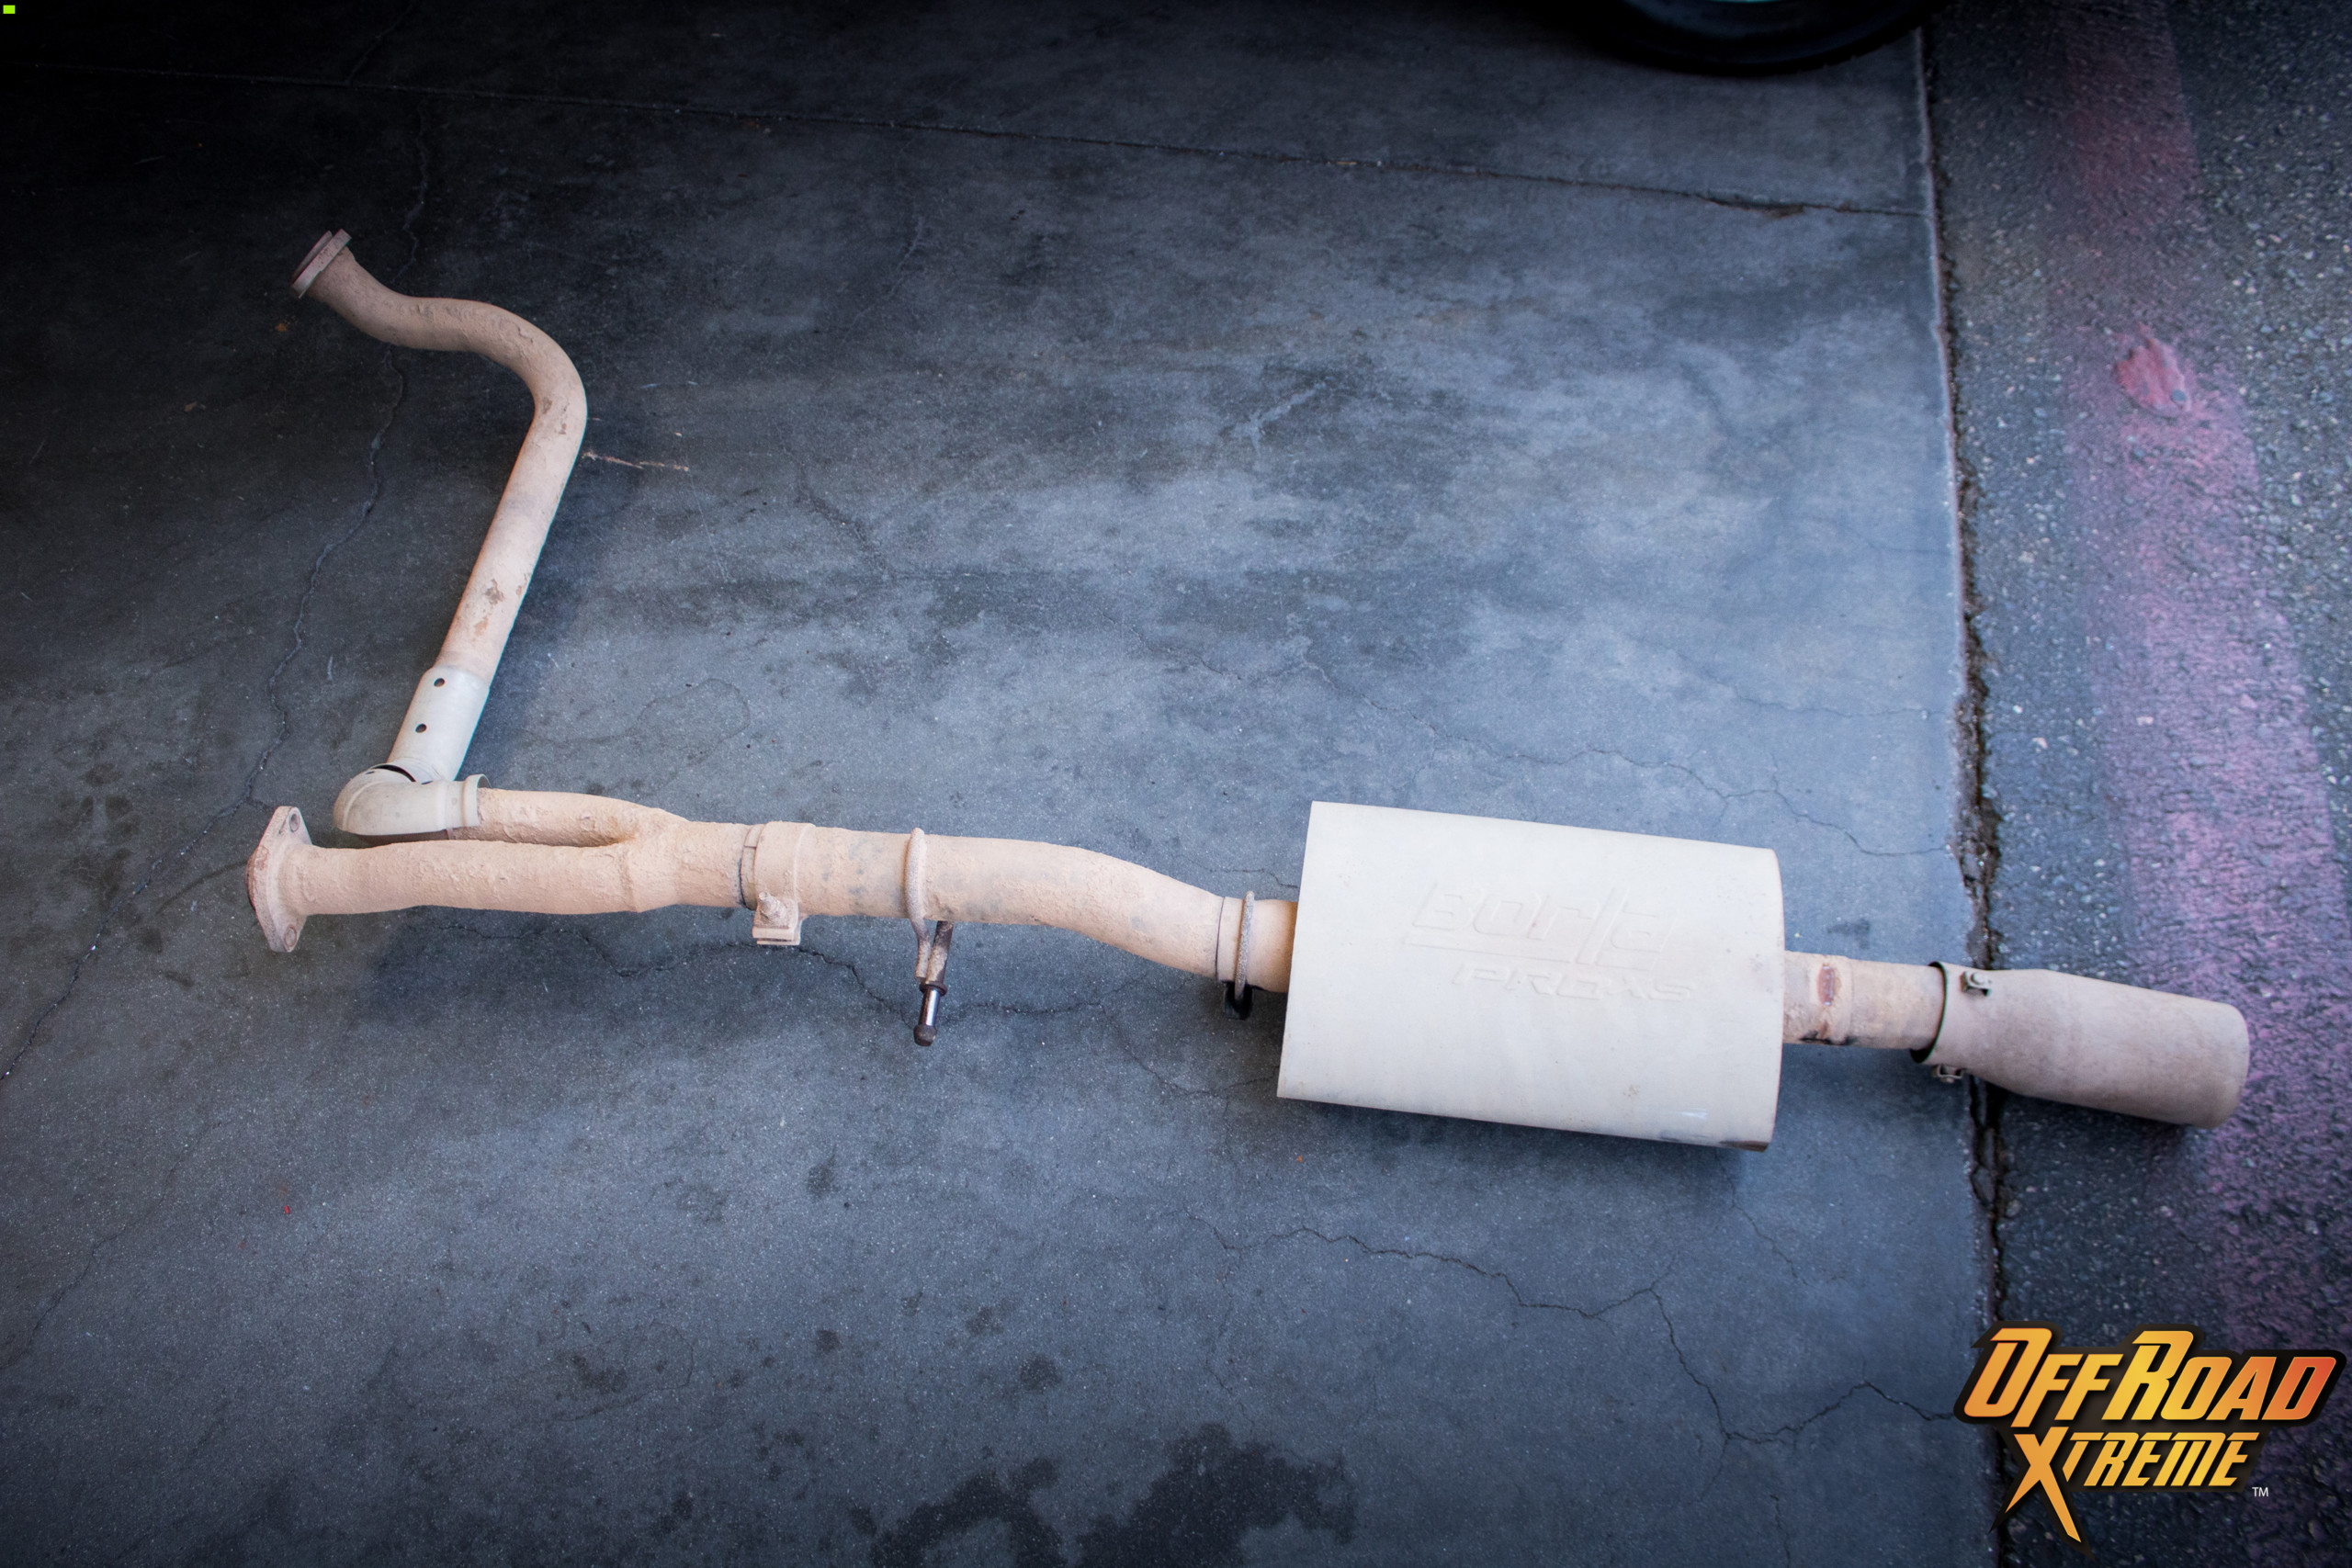
To help get Derek back out on the trails, Off Road Xtreme identified the Centerforce KDF379176 – Dual Friction, Clutch and Flywheel Kit as the ideal replacement. Parts included start with the high-performance dual friction pressure plate, a very beefy clutch and flywheel, a fresh throughout bearing, an alignment tool, and some hardware. This system would be able to hold up to heavy off-road trail running and regular street driving. After searching around online we landed on ExtremeTerrain.com as they had the item J104429 available and listed at a competitive price at $930.
Extreme Terrain is a popular online resource, for not only quality parts and accessories but also for the detailed production information and customer reviews. I often find myself on their website when researching a product. You can easily find product images, customer images, and watch product overview videos. There are installation times and sometimes even detailed step-by-step installation documents submitted by customers. Coincidentally, we found one specifically for the Centerforce KDF379176 Kit. They really have all the hard-to-find information in one convenient location.
If you do not already know, Centerforce is a well-known manufacturer of quality products specializing in both high-performance street and off-road categories. Their passion for off-road recreation can be seen here in the 2021 Centerforce Adventure Run video. The Dual Friction Kit is engineered for automotive enthusiasts who are looking for a premium off-road clutch with a street-able attitude and performance.
Extreme Terrain sources quality products like the premium off-road clutch from Centerforce.
Features & Benefits of the Centerforce KDF379176 – Dual Friction, Clutch and Flywheel Kit
- Superb holding power
- No-hassle bolt-in
- Maximum clutch life
- Light pedal effort
- Premium friction materials
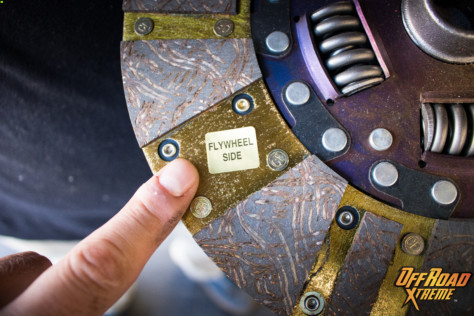
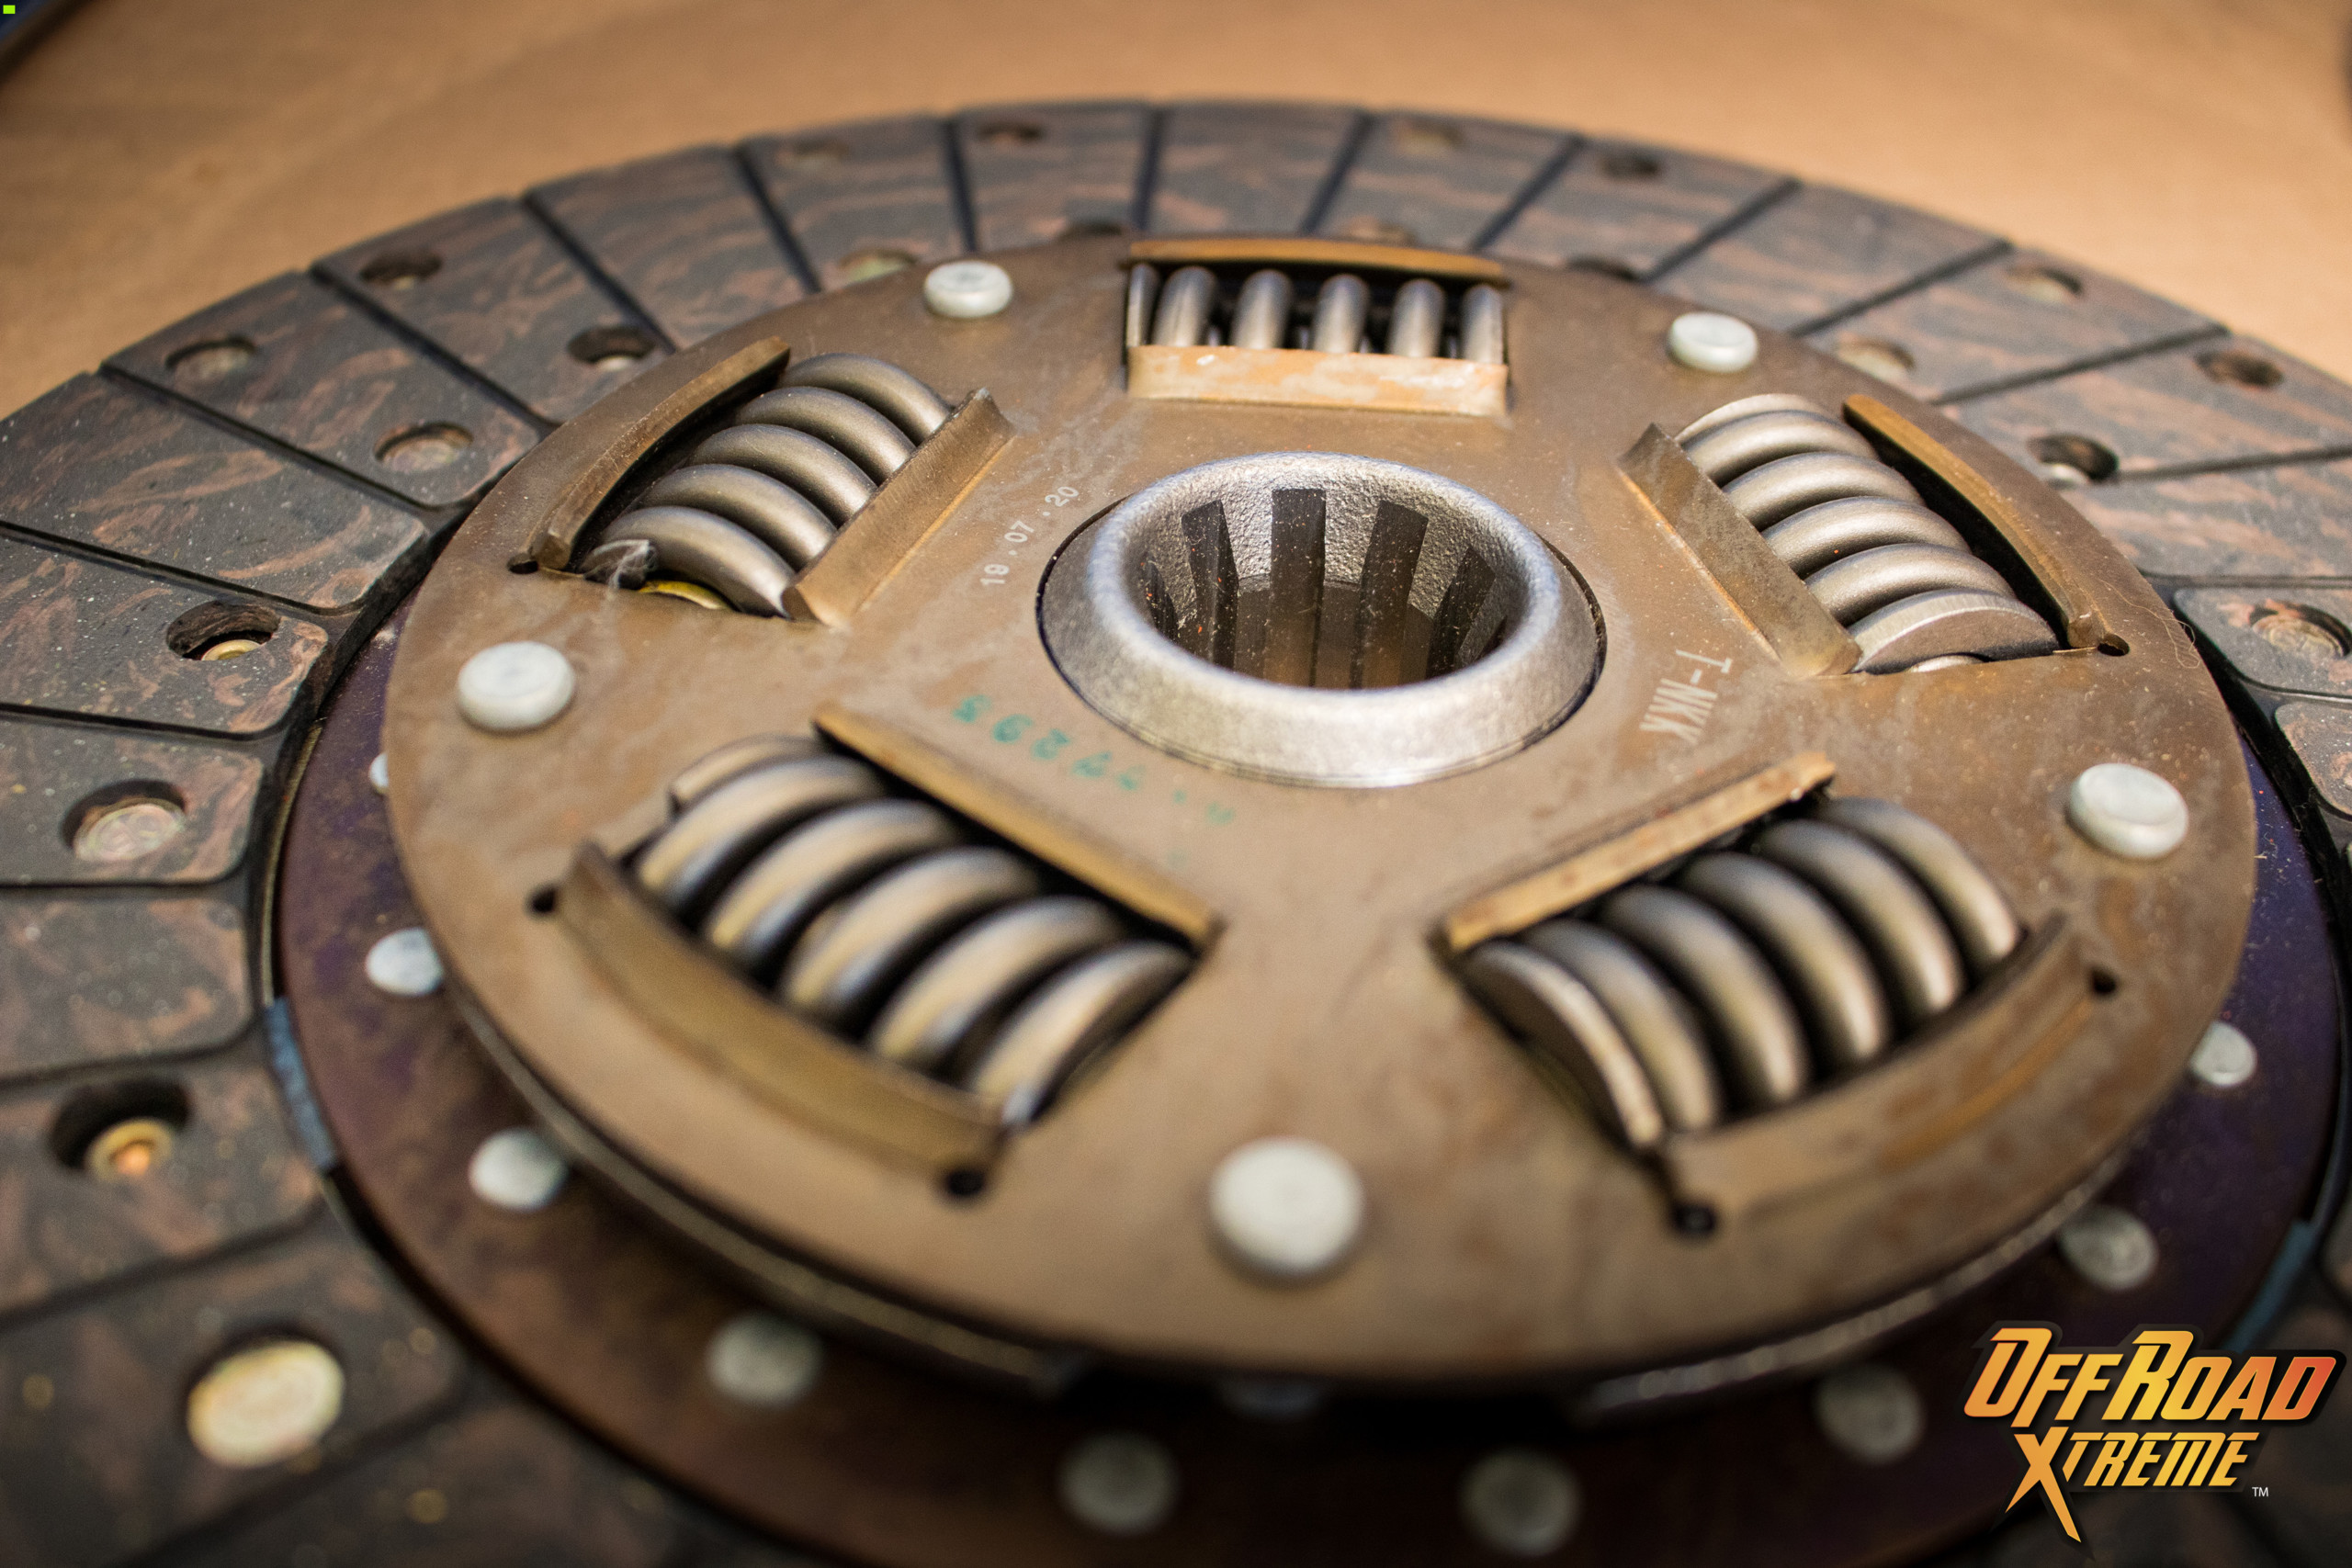
- Dual friction disc design
- High inertia billet steel flywheel
- Upgraded pilot bearing
- Centrifugal weight design
- Increased holding capacity
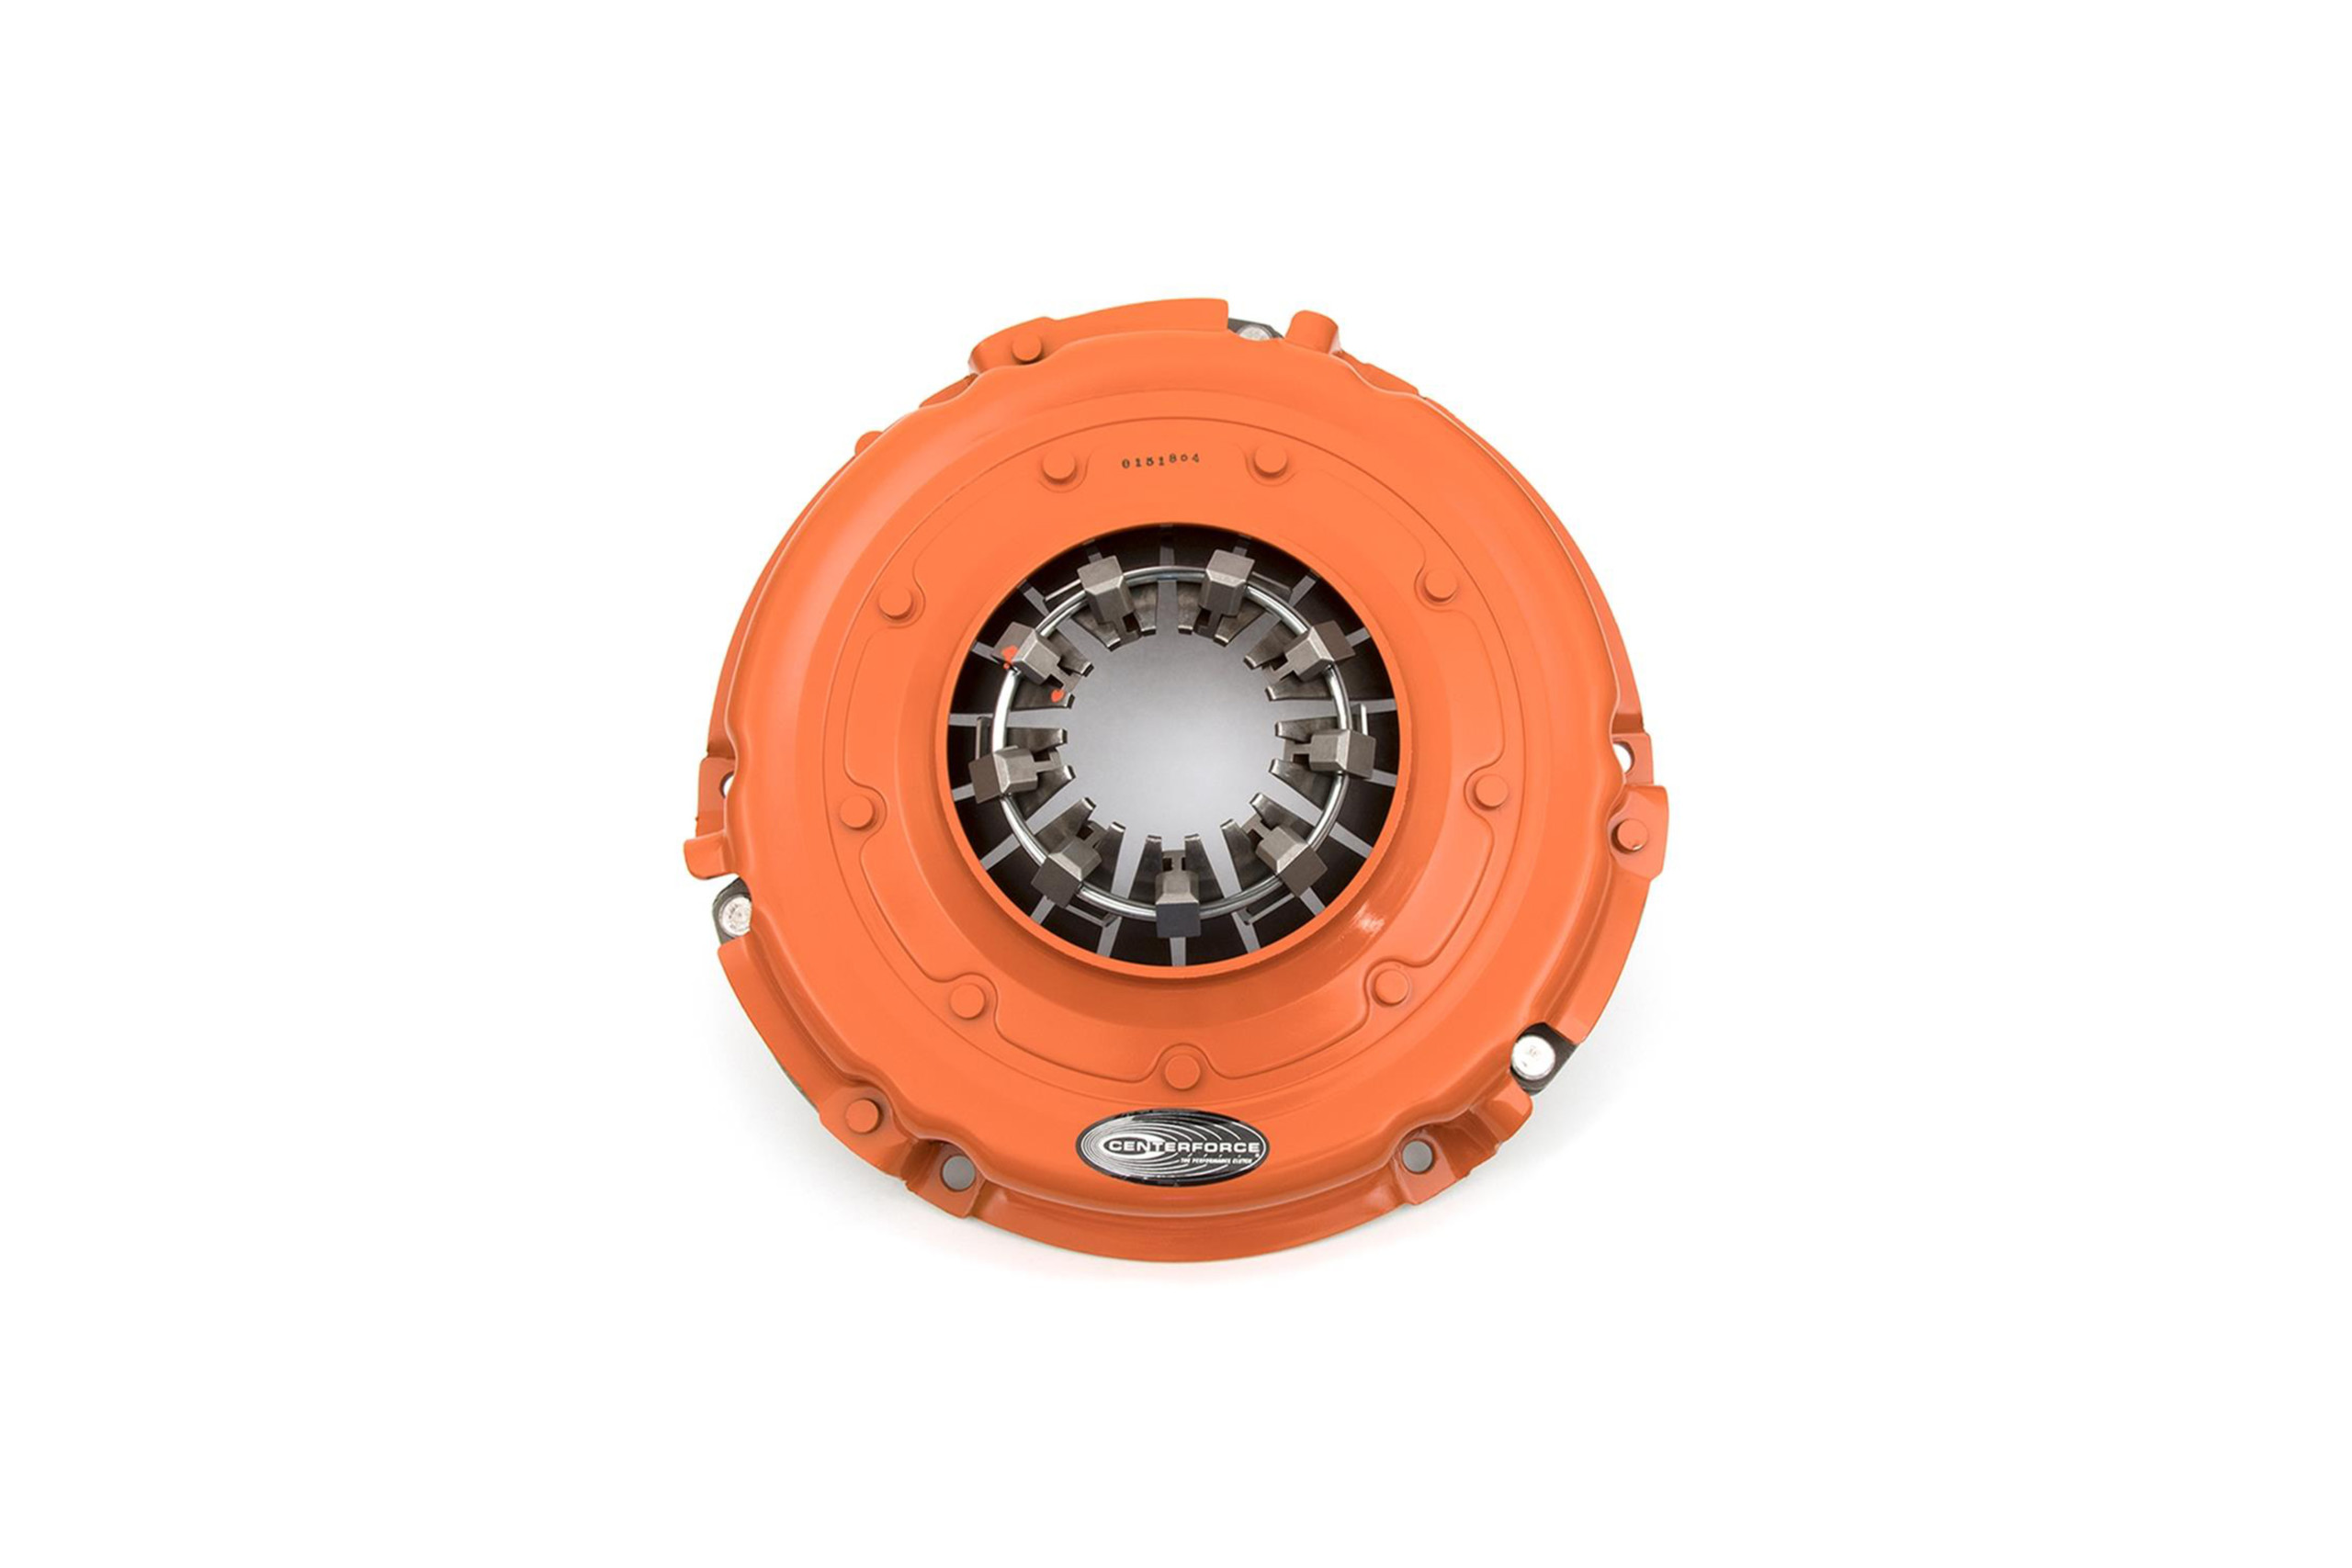
- Patented ball bearing pressure plate
- 1-1/8″ Input Shaft Diameter
- 10 Spline with 10.75″ disc diameter
- Fits 2012-2018 3.6L Jeep Wrangler JK Models


Centerforce Dual Friction Overview:
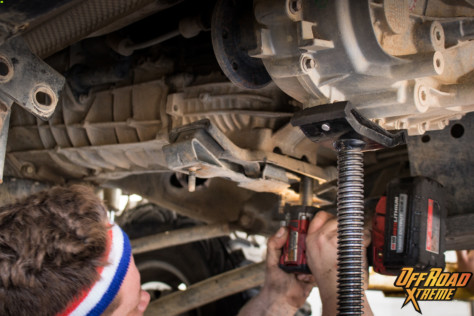
Off Road Xtreme rates this job as a three out of five wrenches on the scale of difficulty. It is not recommended for driveway installations as the transmission and transfer case will have to be dropped. A car lift is not required but is recommended. Some specialized tools and know-how are required. For the experienced wrenches and regular four-wheelers, you probably have already done this a couple of times. Grab a bud and some suds and go for it.
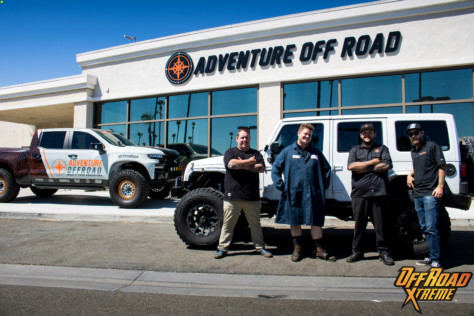
With the quality parts in hand, shipped out right away from our reliable supplier, it was time to line up a capable garage to help with the premium off-road clutch kit installation. We reached out to a local shop called Adventure Off-Road with four different locations in our area. They estimated three to four hours of install time and set us up with an appointment.
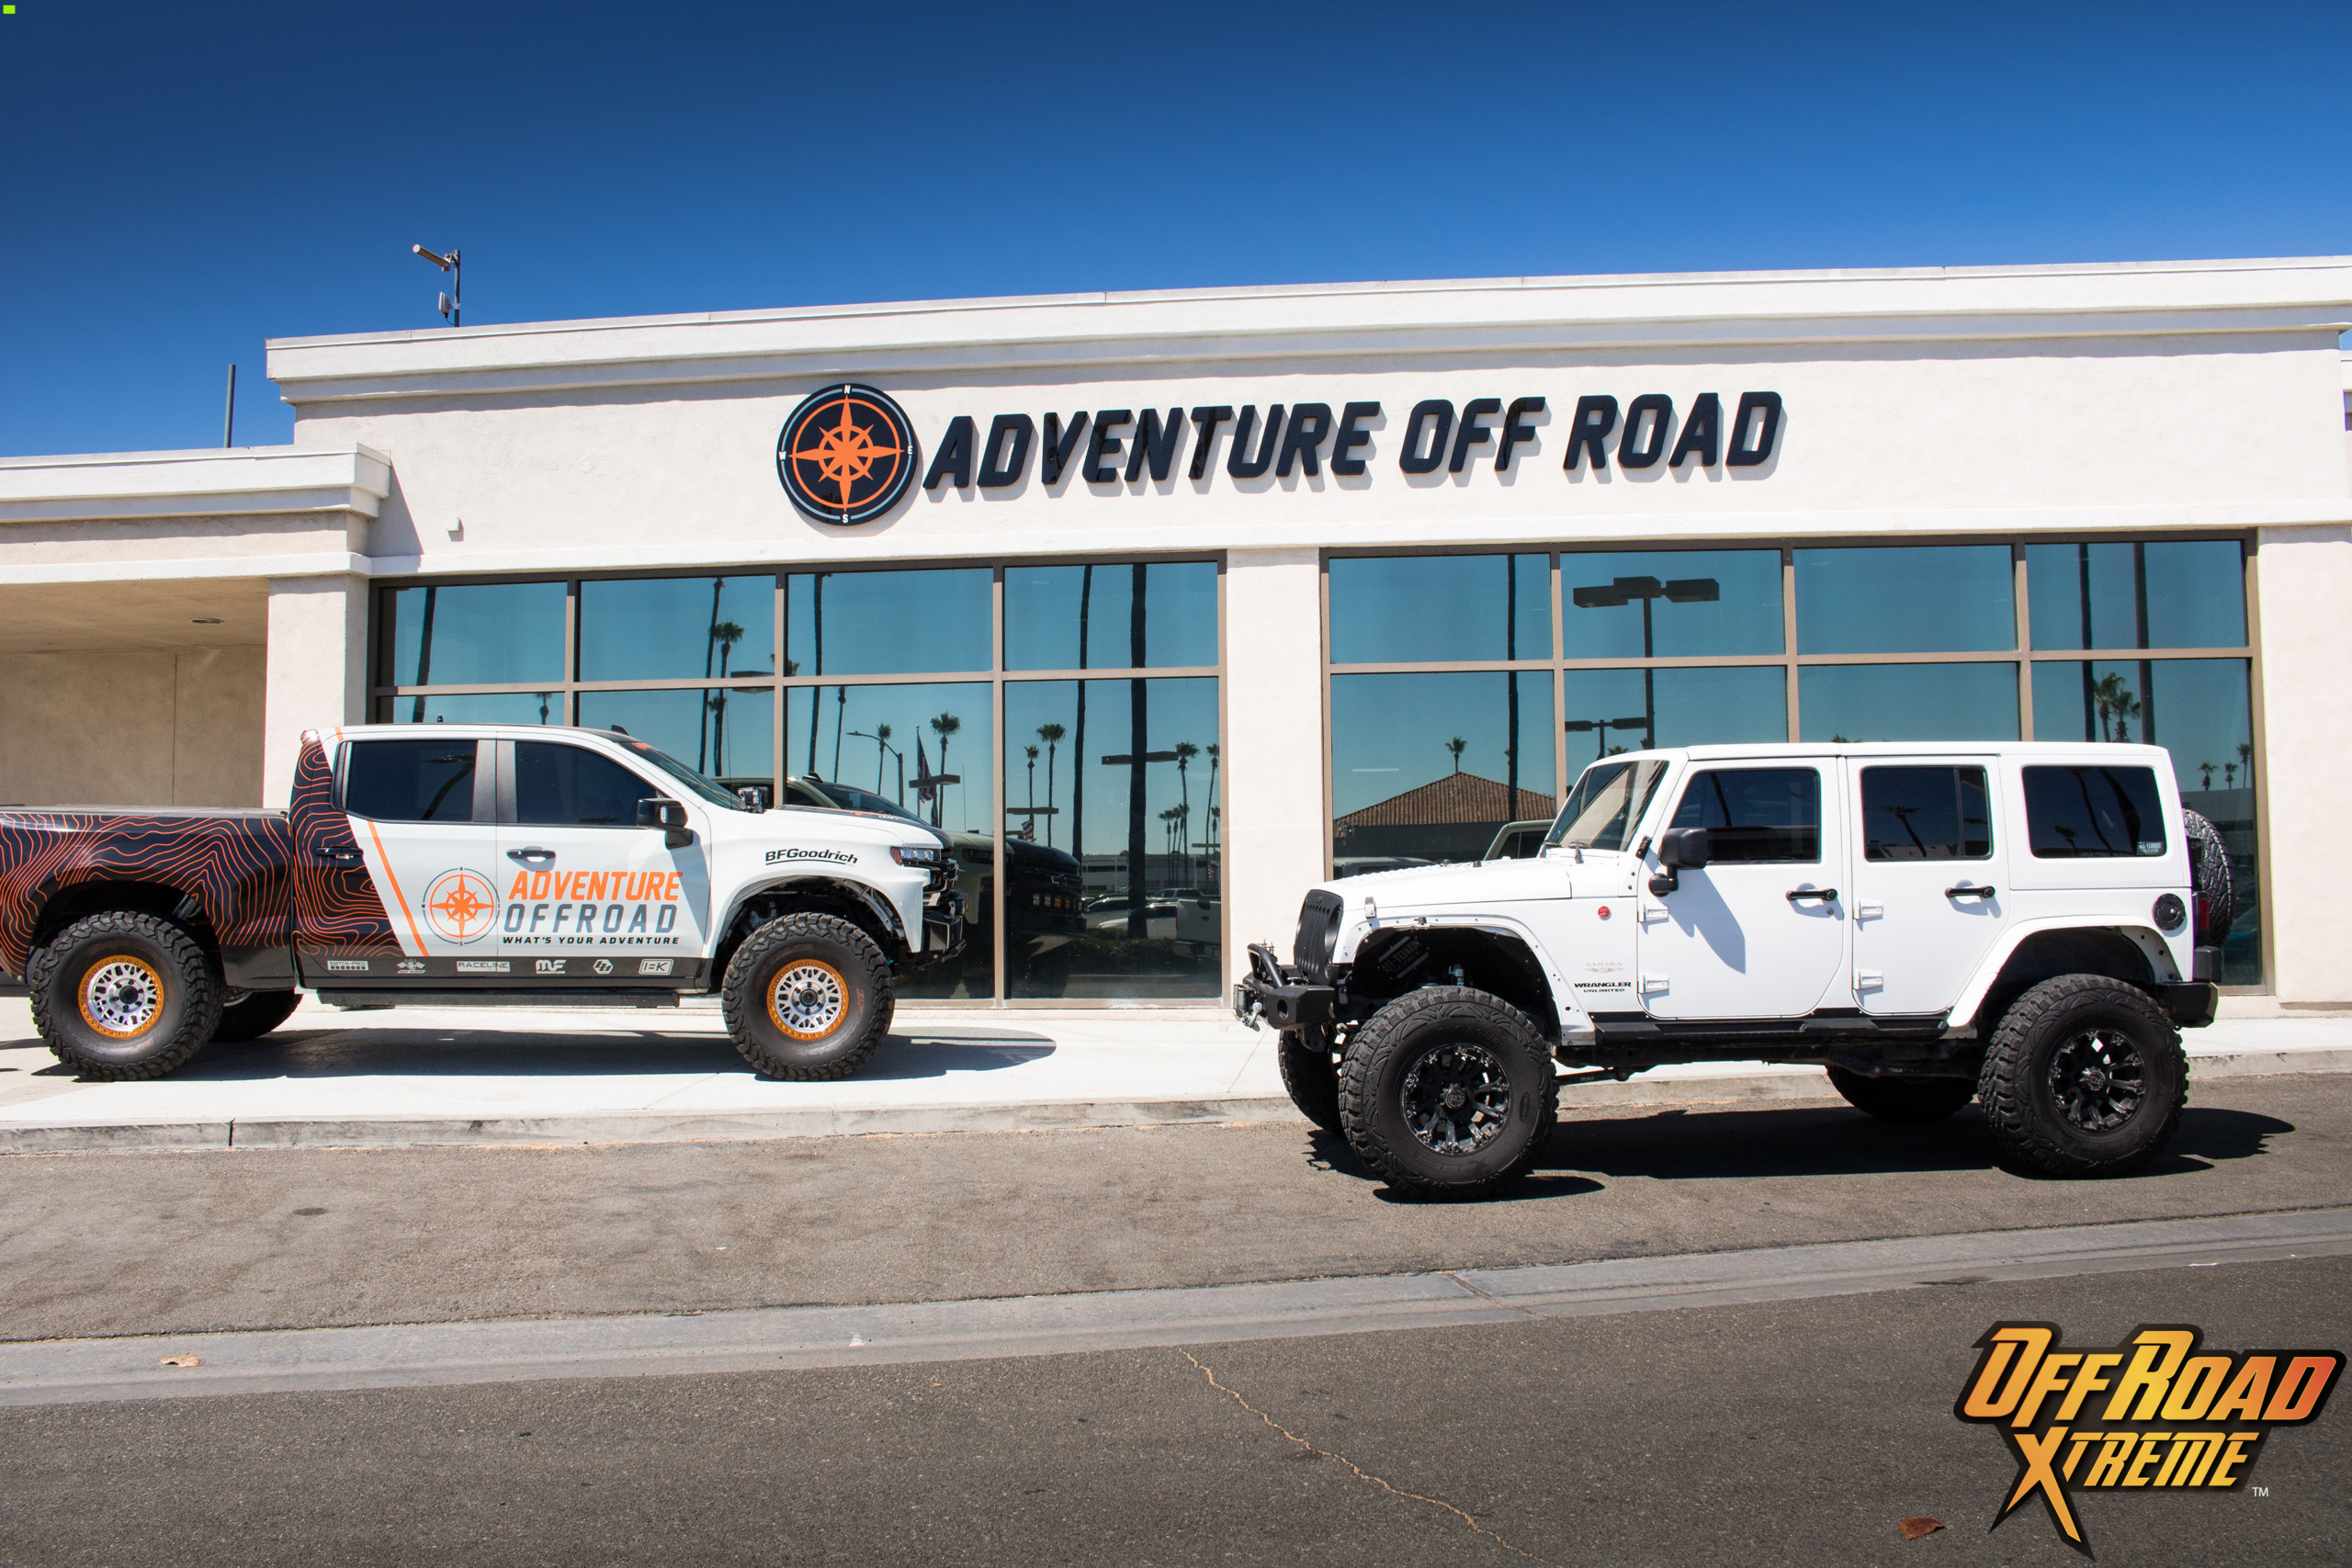

Adventure Off-Road is owned and operated by off-road racer and enthusiast Dan Fresh.
Editor’s Note: This clutch removal and replacement is rated by our professional technicians as a three out of five wrenches on the scale of difficulty. It is not recommended for driveway installations. A car lift is not required but is recommended. Some specialized tools and experienced know-how is required.
Installation Notes For The Centerforce Premium Off-Road Clutch:
Before you begin: Prepare your work area, set up the required tools, and layout the parts.
Tools and equipment required include:
- Floor jack (Transmission jack and support stands if you got them)
- Torx bit socket set
- Metric socket set
- Deadblow hammer
- Prying tool
- Brake cleaner
STEP 1:
Disconnect your negative battery cable.
STEP 2:
Disassemble and remove shifter assembly.
- Remove knobs from both shifters by pulling straight up. There are no tools required.
- Remove the outer boot from the gear shifter. Two clips on the backside of the boot hold it down.
- Remove the shift stick by removing one T55 bolt.
- Lift console out of place. It should pop right off.
- Remove the inner boot by unscrewing the silver plate and lifting it out.
- Shift the transmission into third until after reinstallation.
- Remove foam insulation ring from around Shifter.
- Unbolt shifter by removing four T15 bolts and lift straight out.
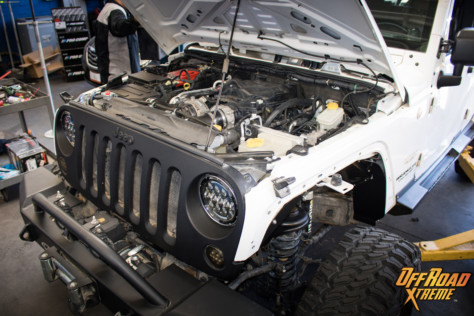
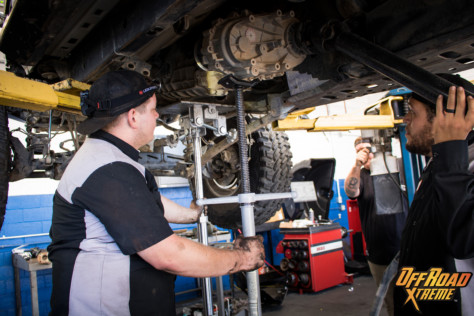
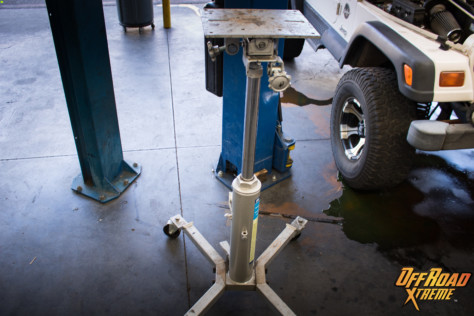
After the disassembling and removal you may lift the vehicle up on car lift or jack stands if you have the option.
A Car Lift Is Not Required, But Strongly Recommended.
STEP 3:
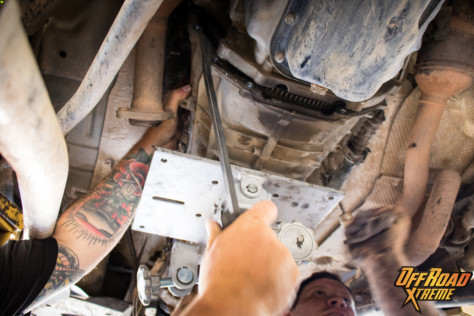
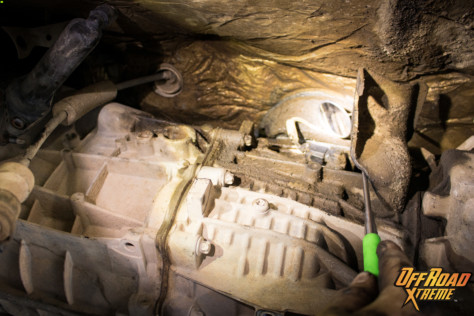
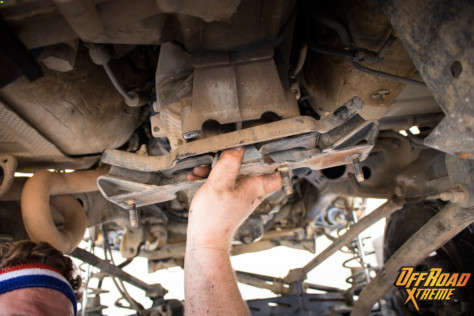
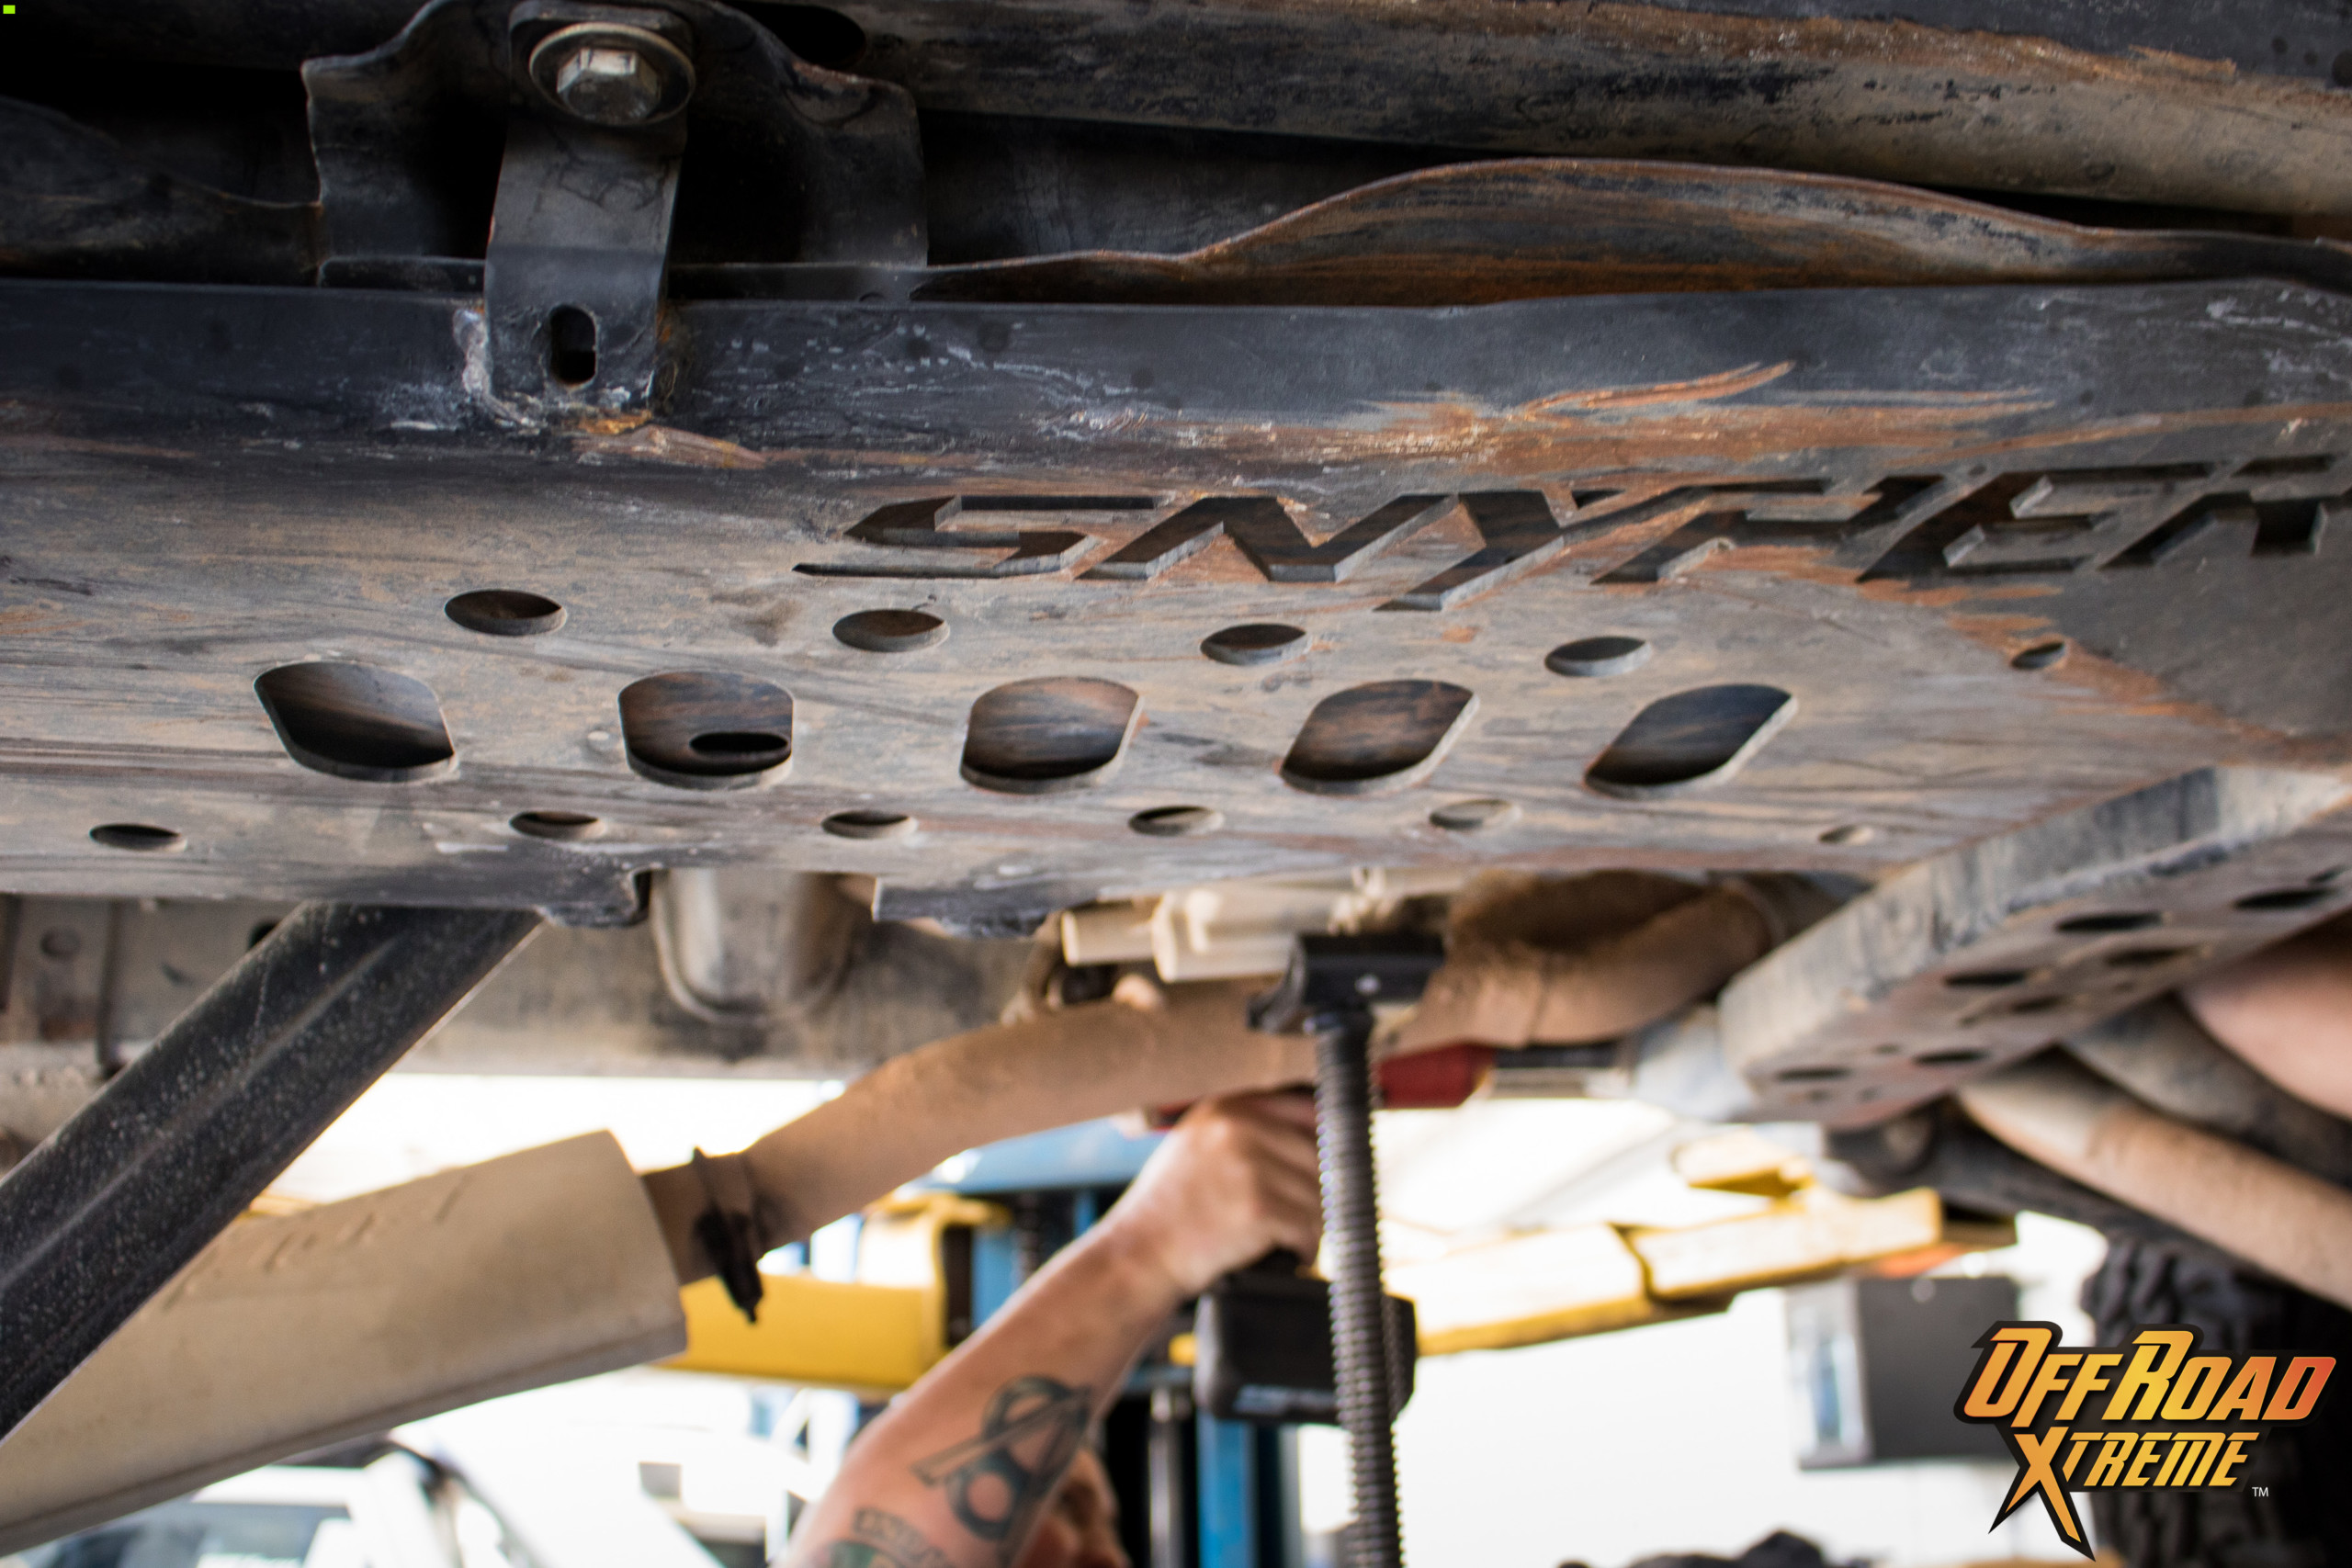
Remove transmission skid plate by removing four 18MM hex bolts.
Drop and remove any aftermarket or OEM skid plates such as the transfer skid plate. The transmission skid plate can be removed by unscrewing four 18MM hex bolts. Remove and set aside.

STEP 4:
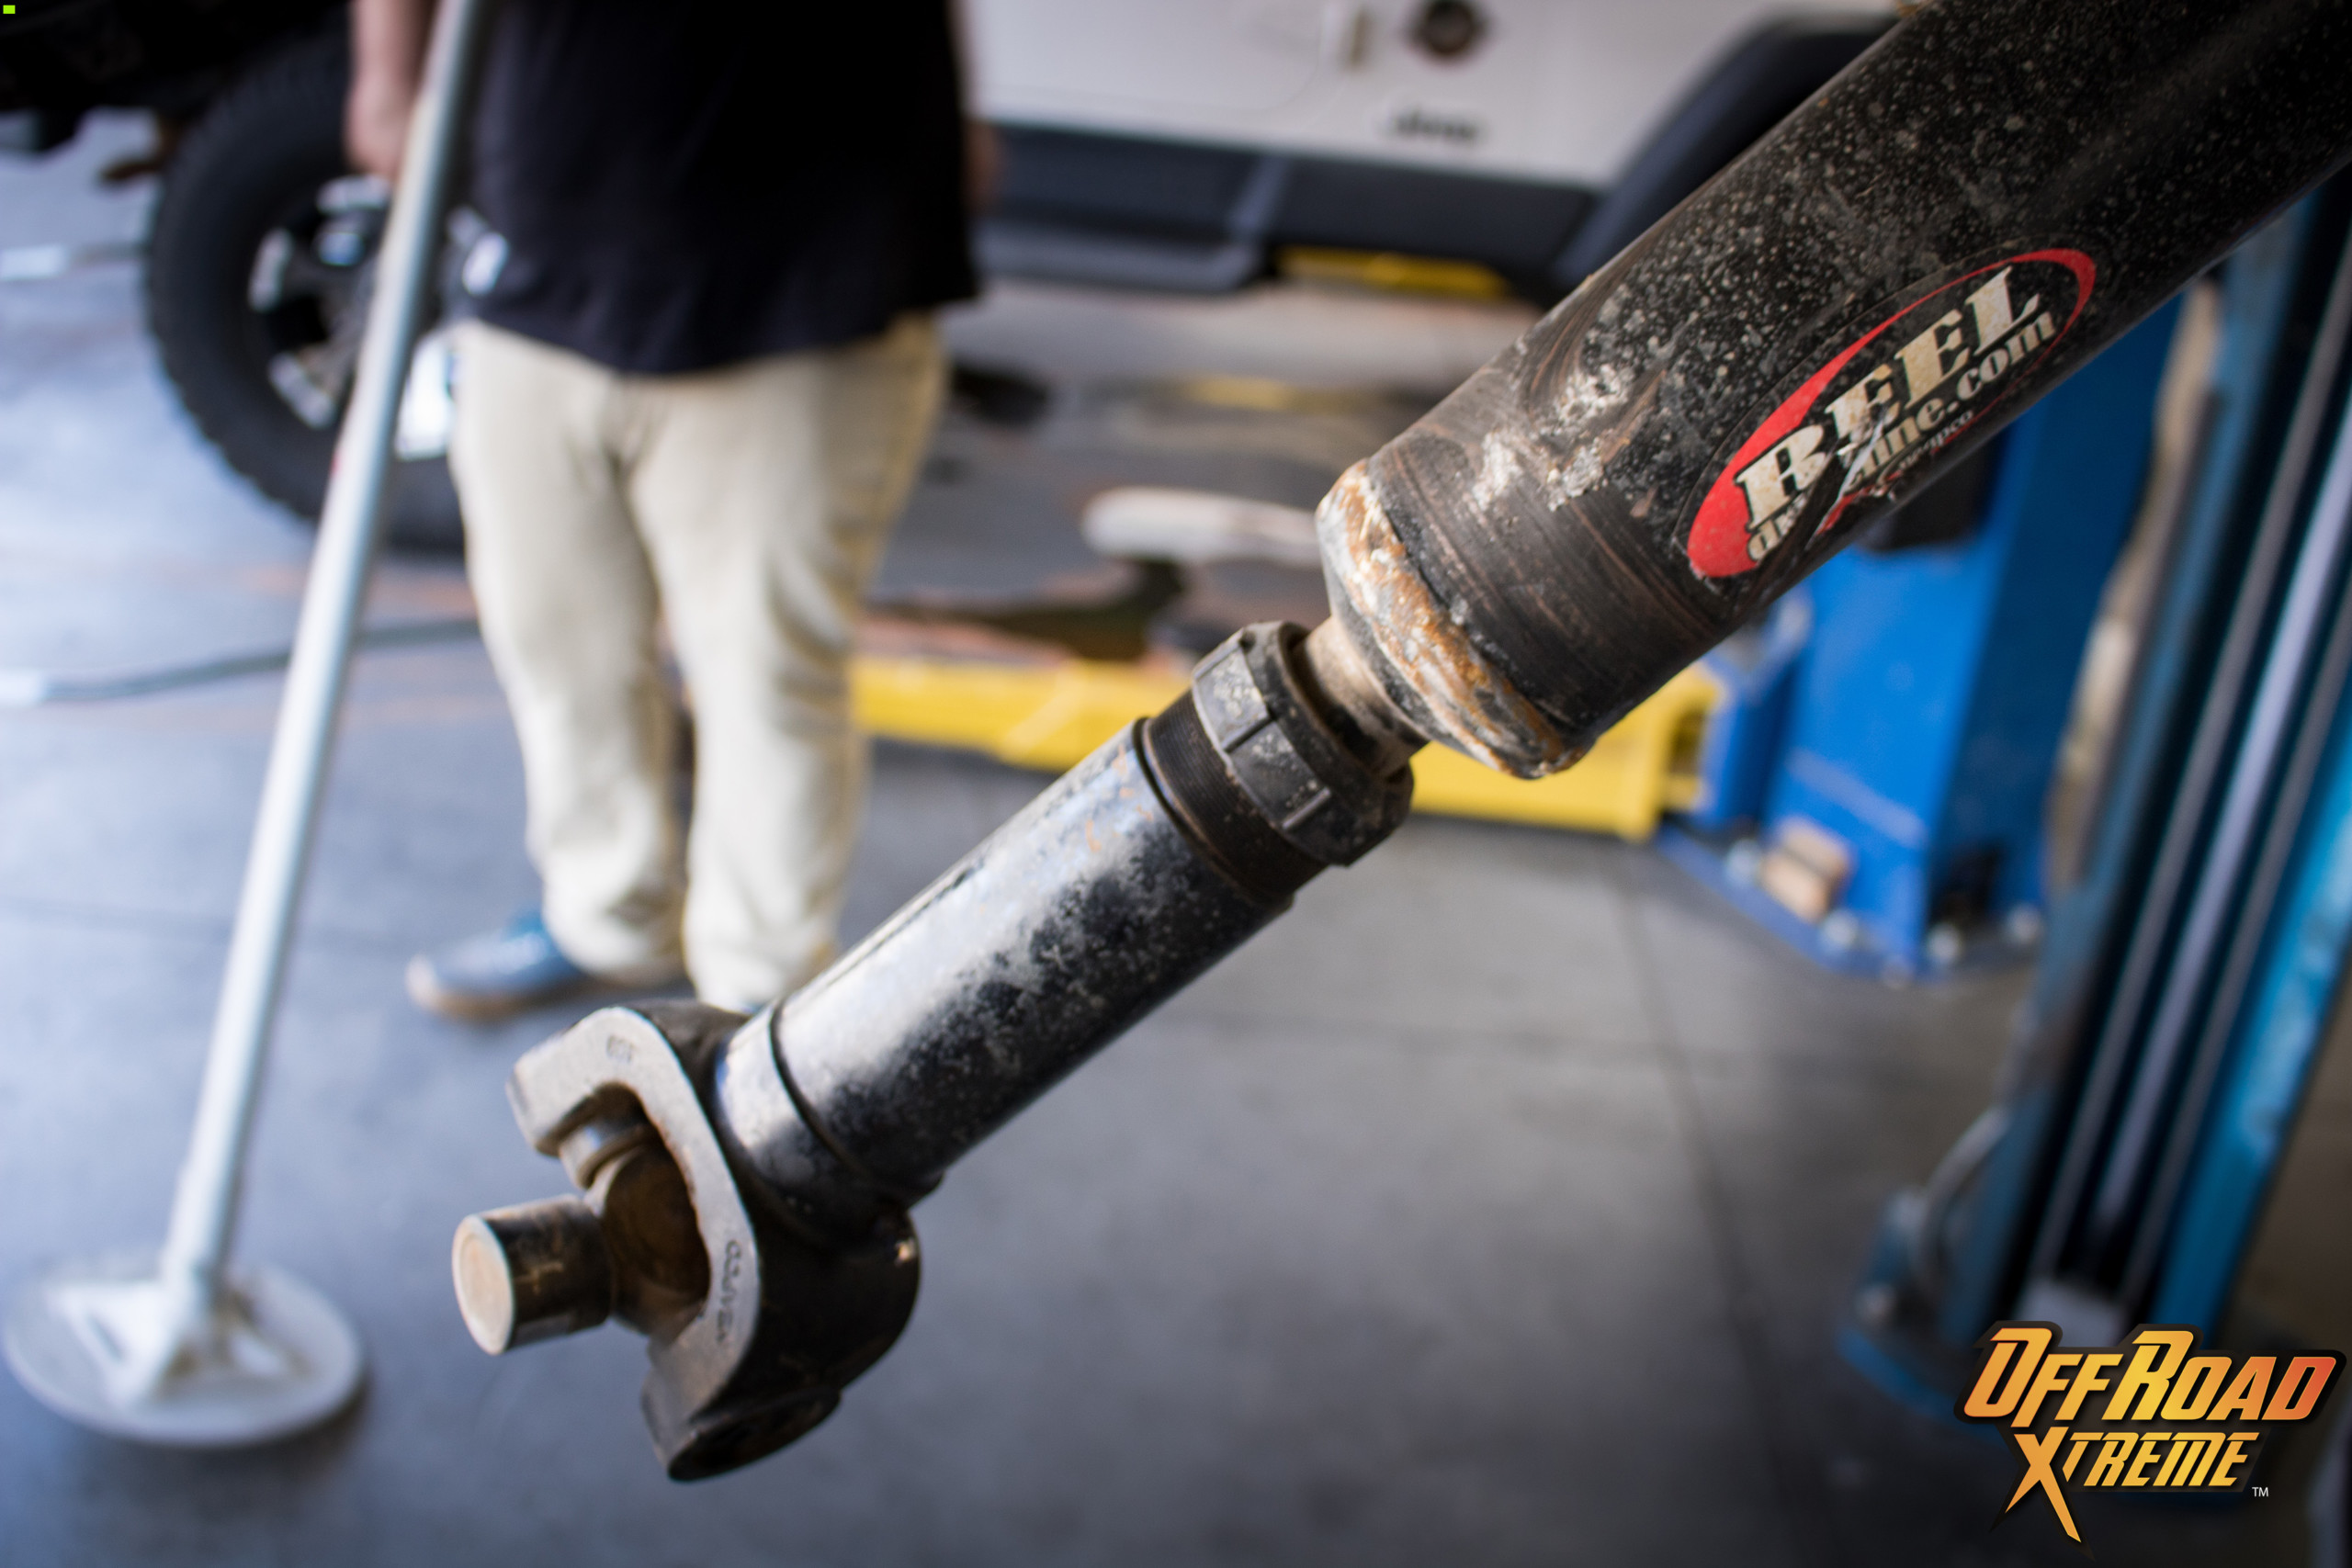
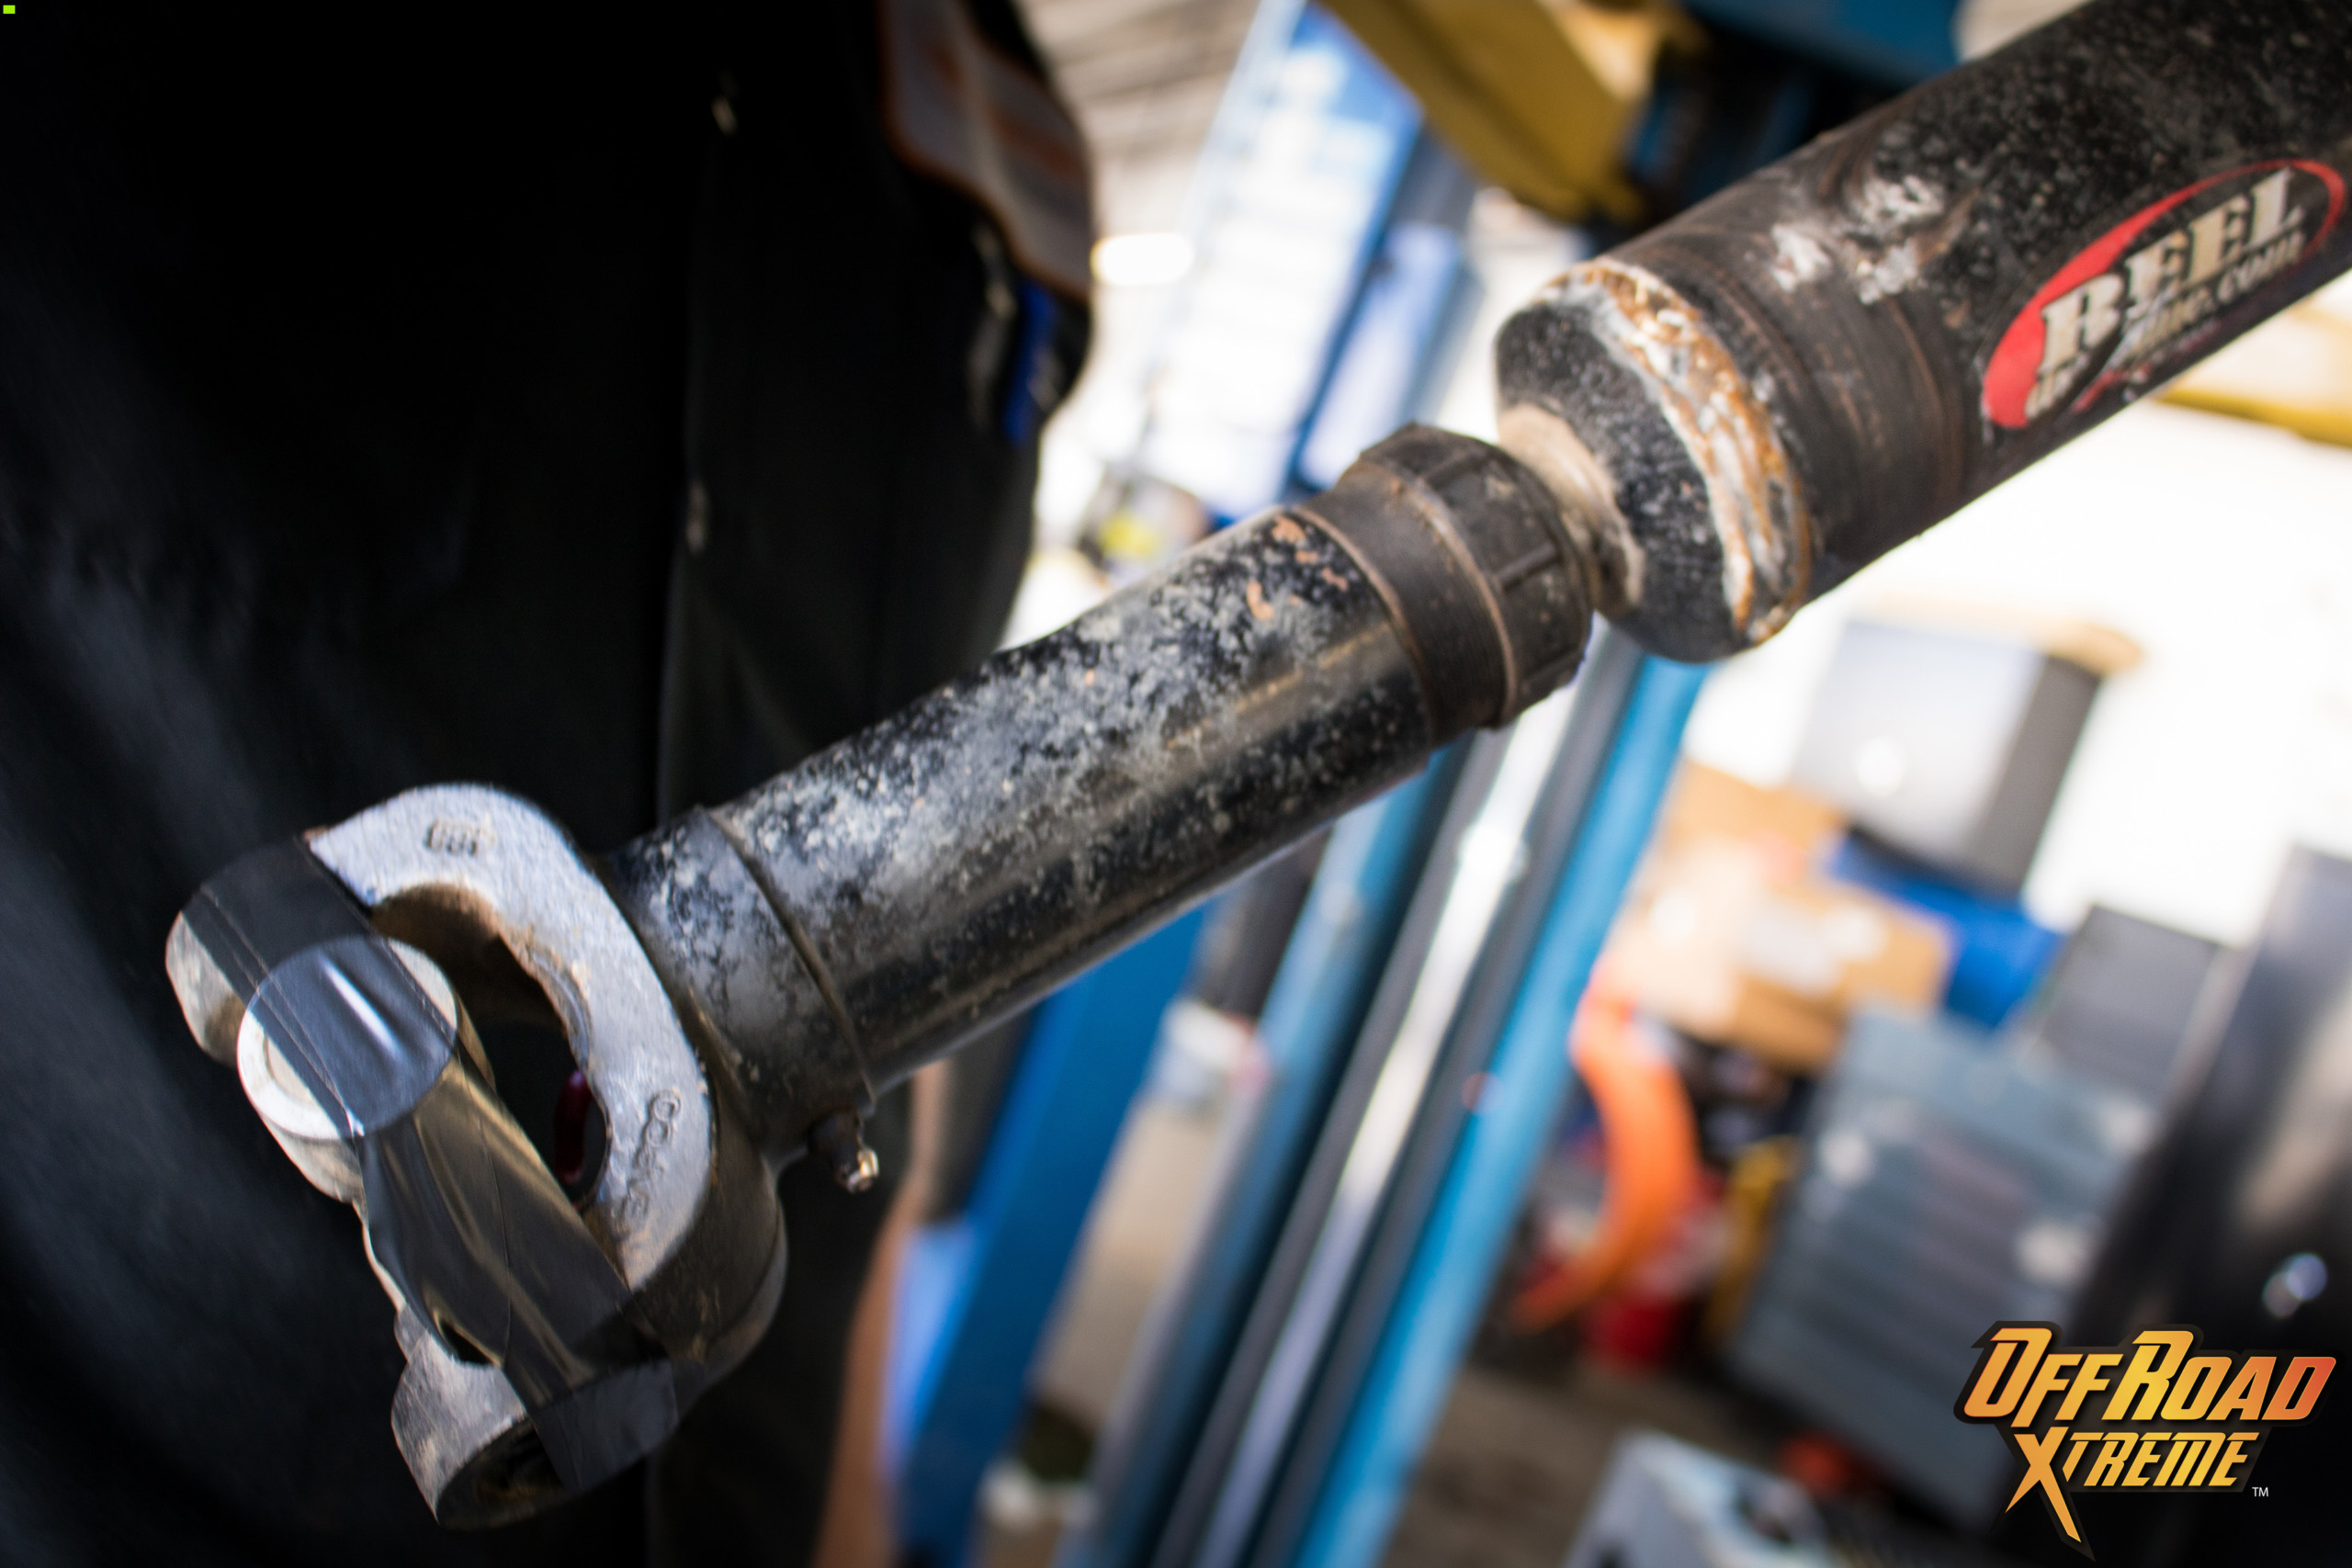
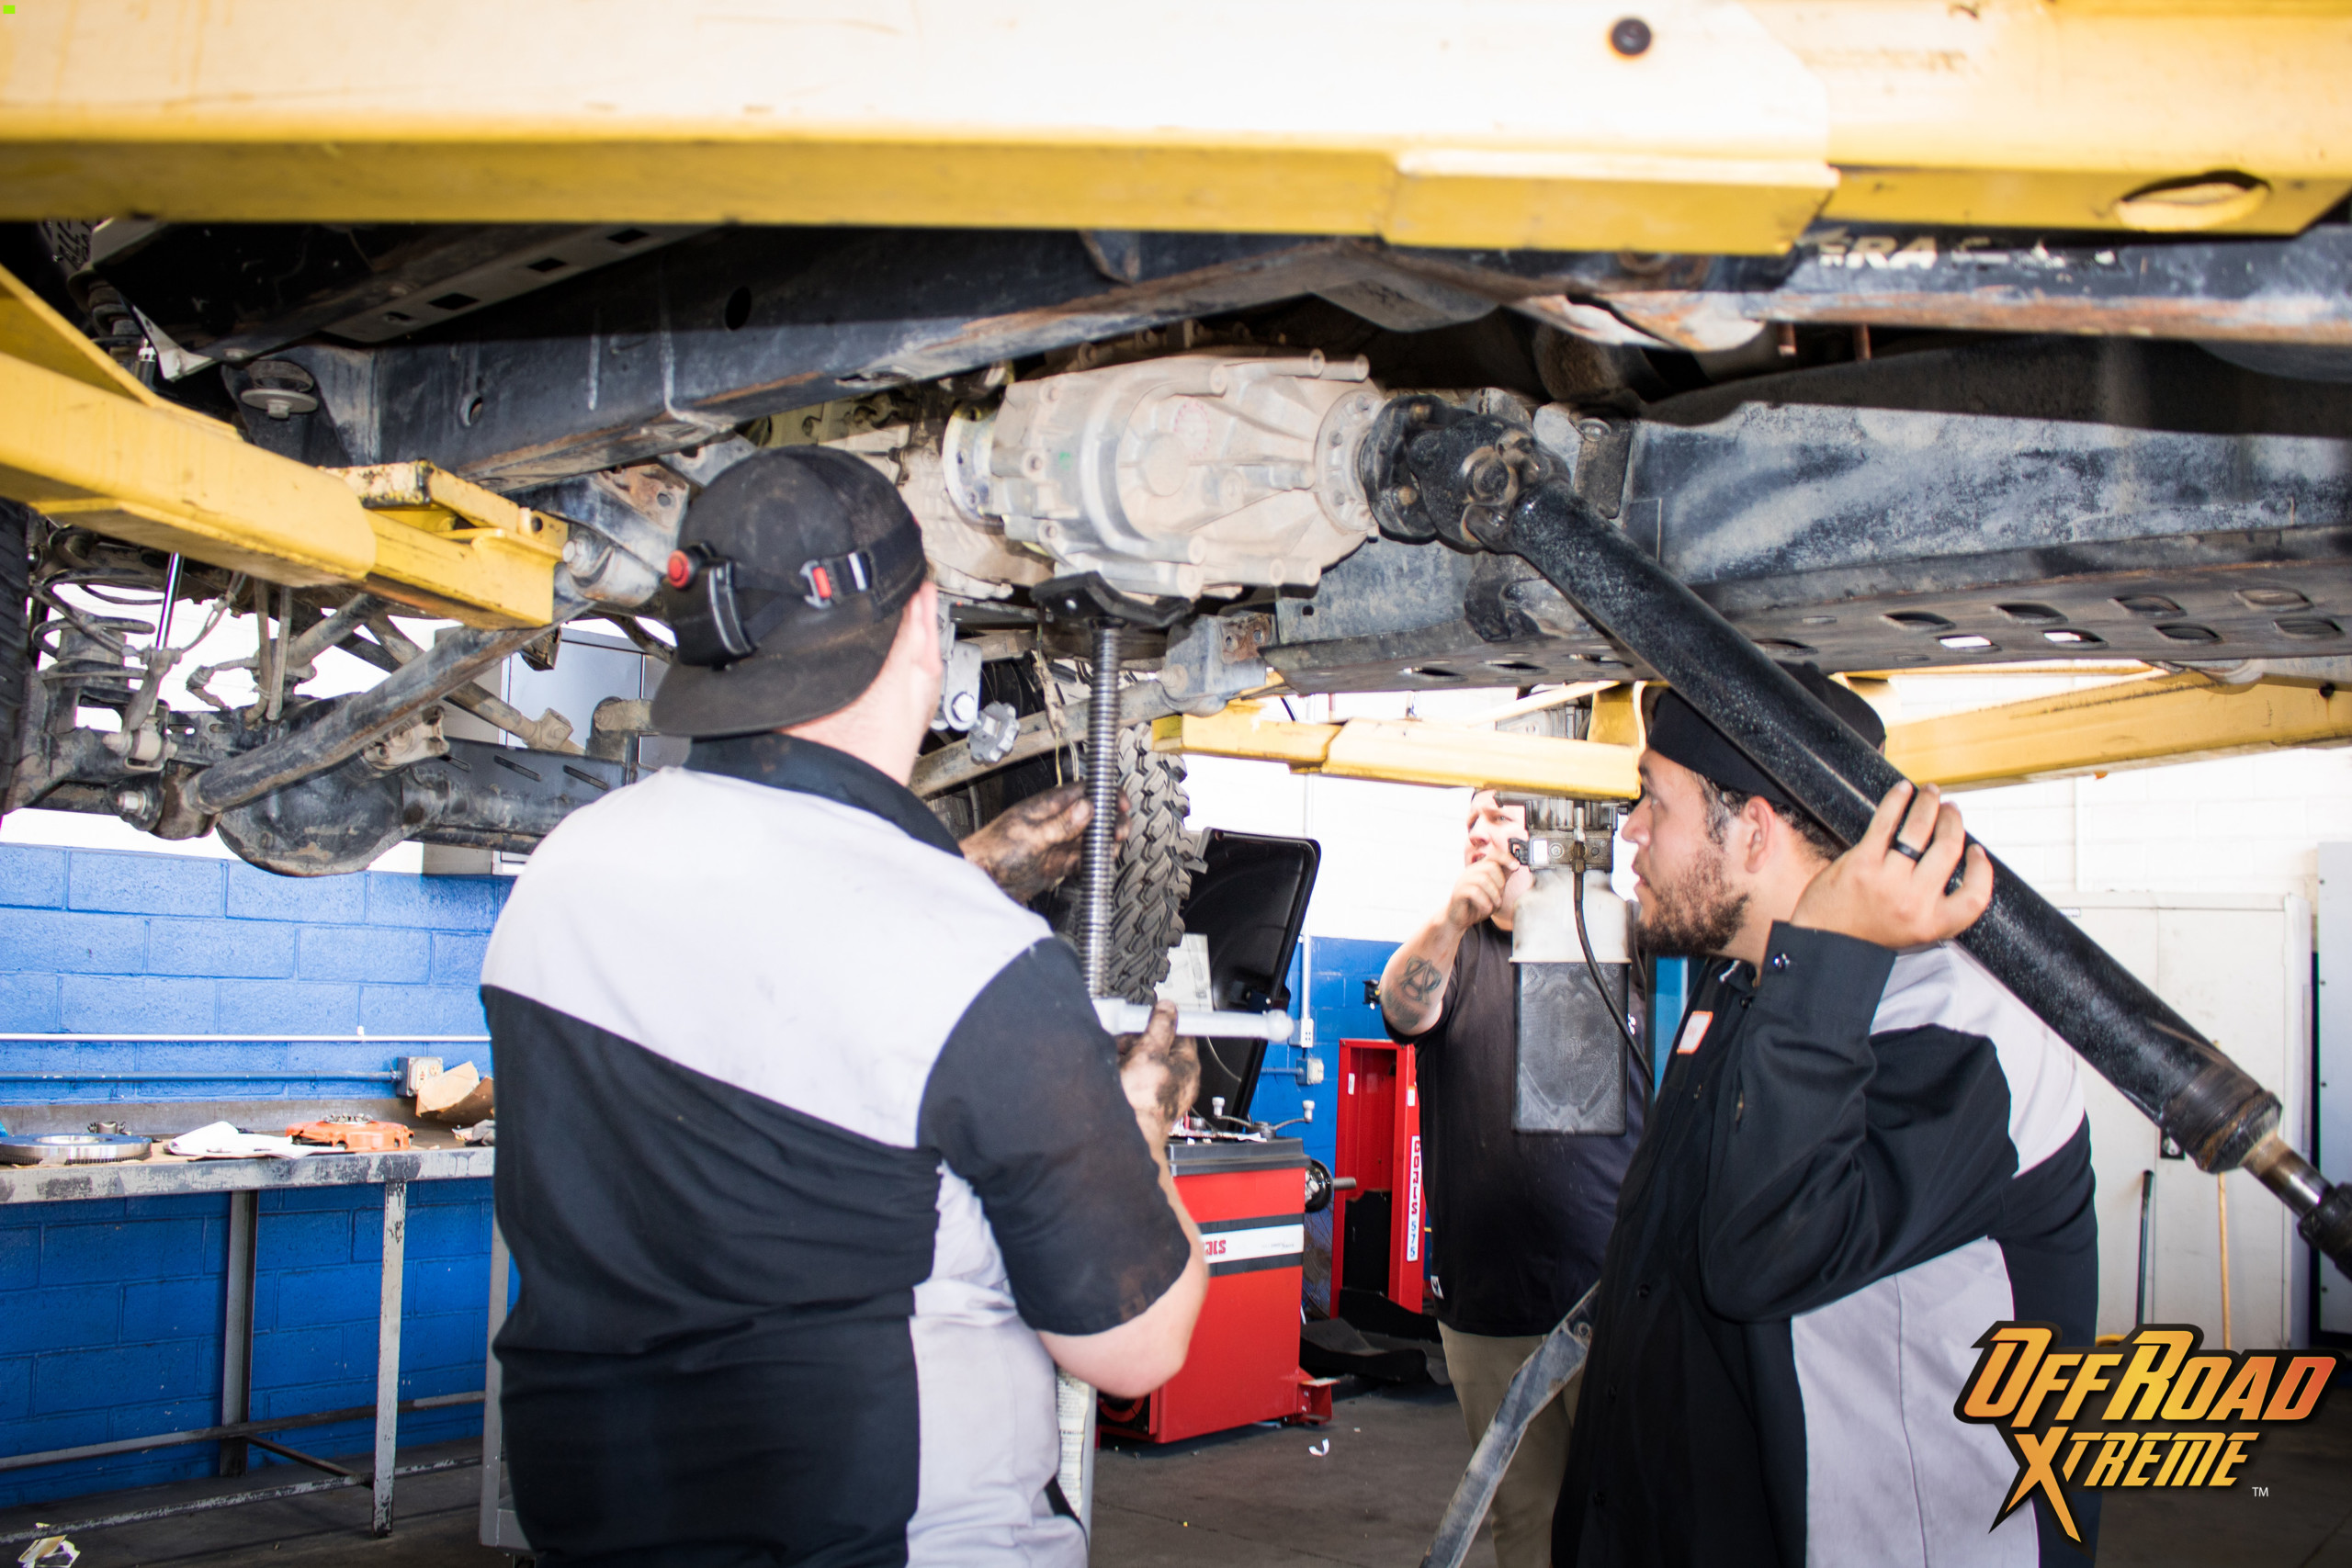
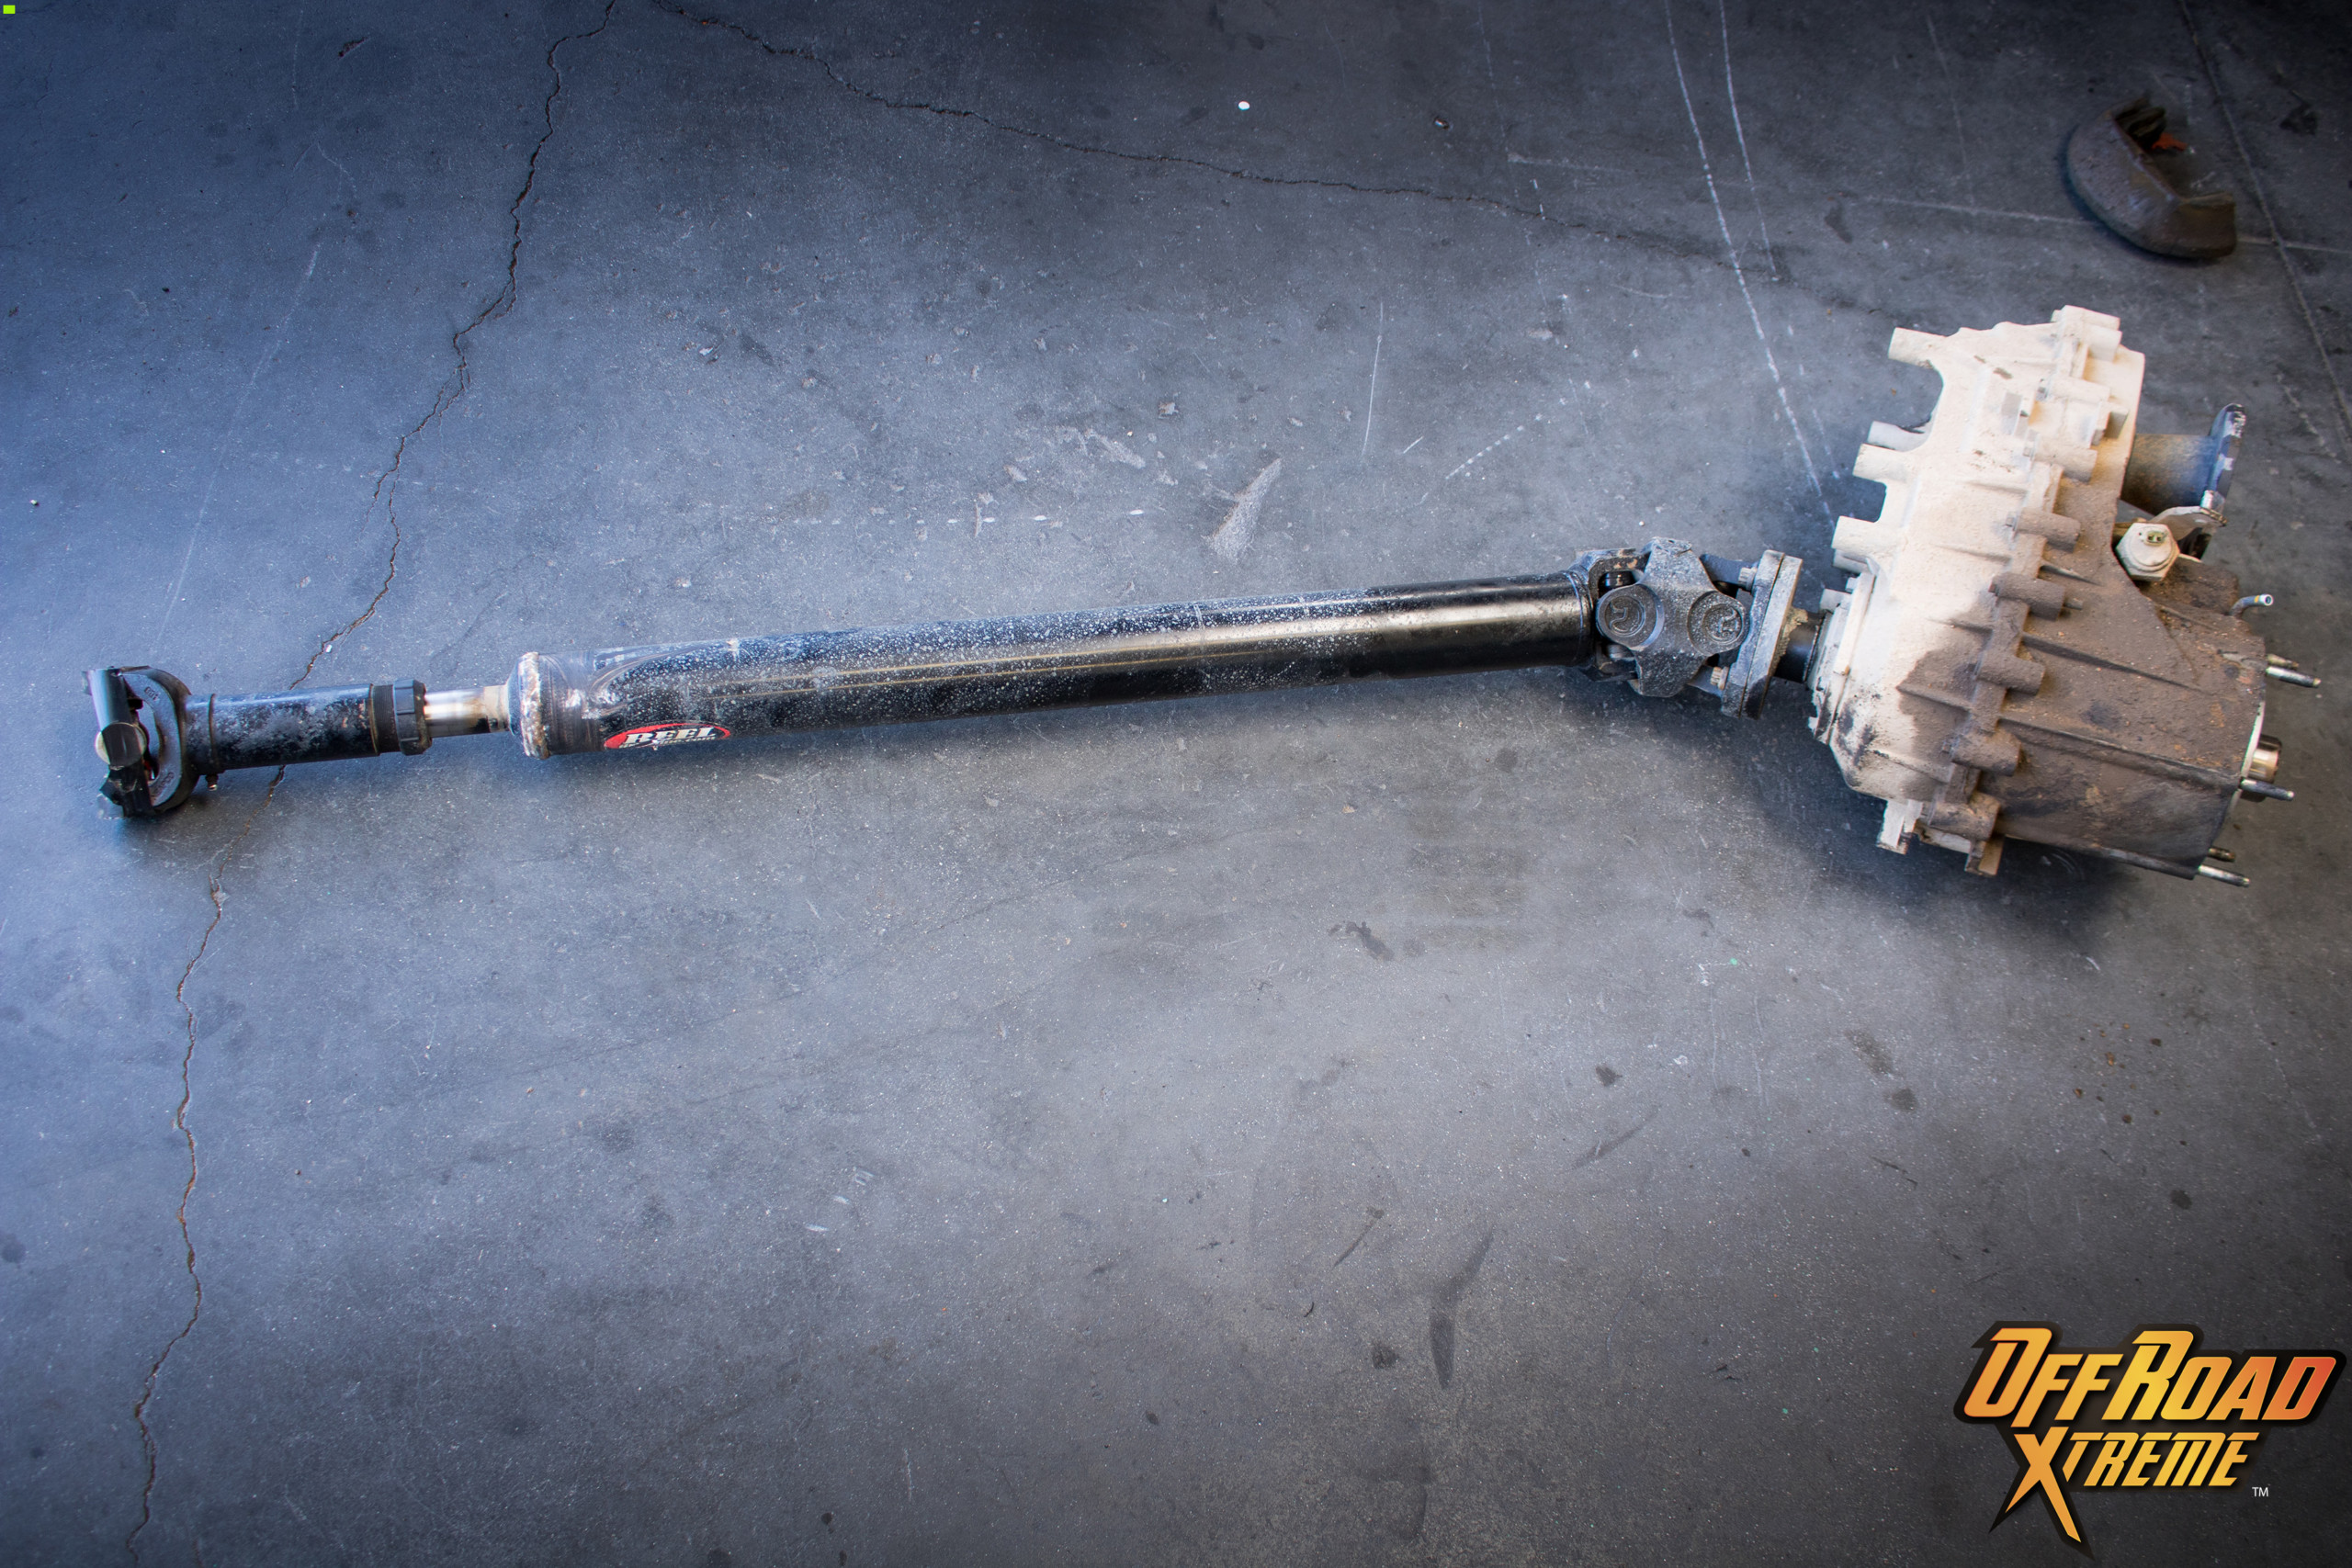
Remove drive shafts. Before removal, mark the shafts so you know how to align when reinstalling. You might consider labeling the ends of shafts so that they go right back in with the same orientation when re-installed.
- On the rear driveshaft remove eight 8MM bolts on each end of the driveshaft.
- The driveshaft ends pull straight out. A couple of taps with a dead blow hammer should help loosen the shafts.
- On the front driveshaft, remove eight 8MM from the rear end of the shaft and four 15MM bolts from the front end of the driveshaft.

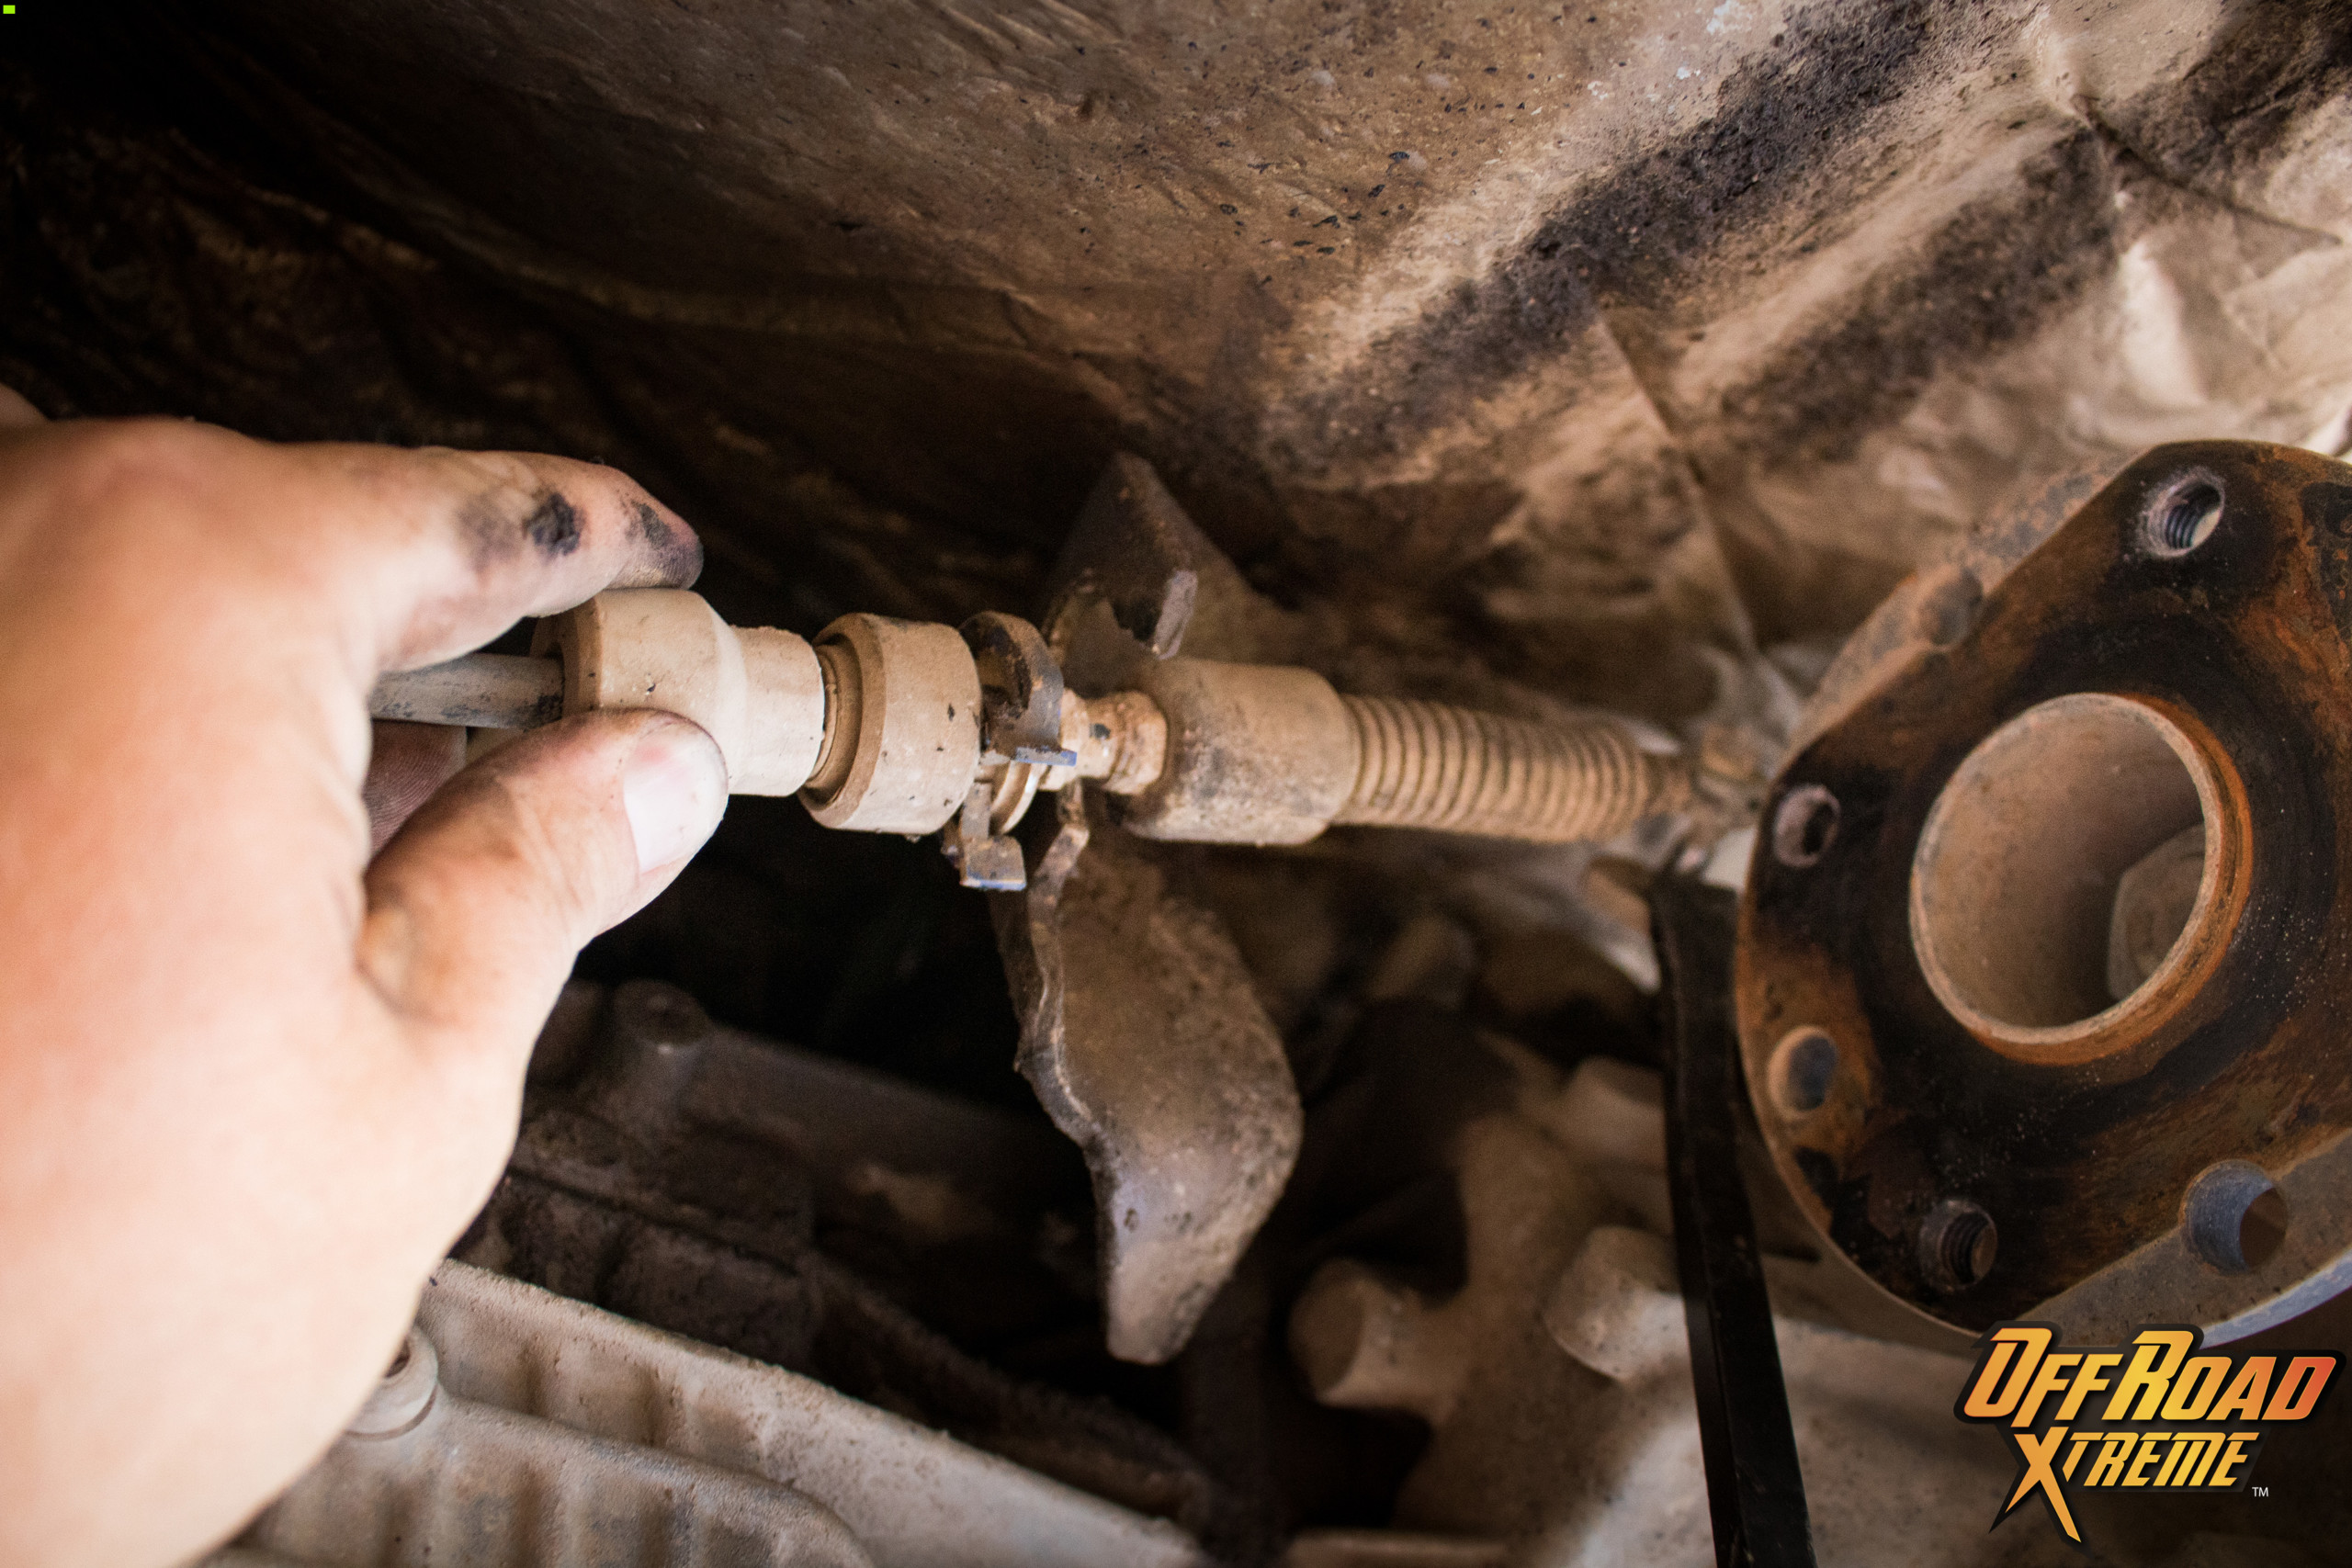
STEP 5:
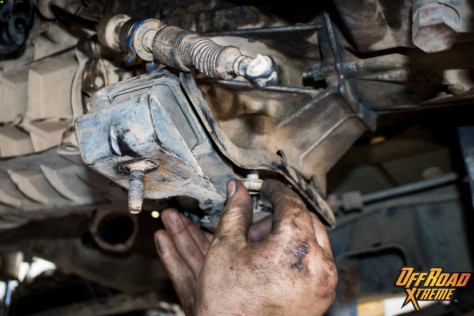
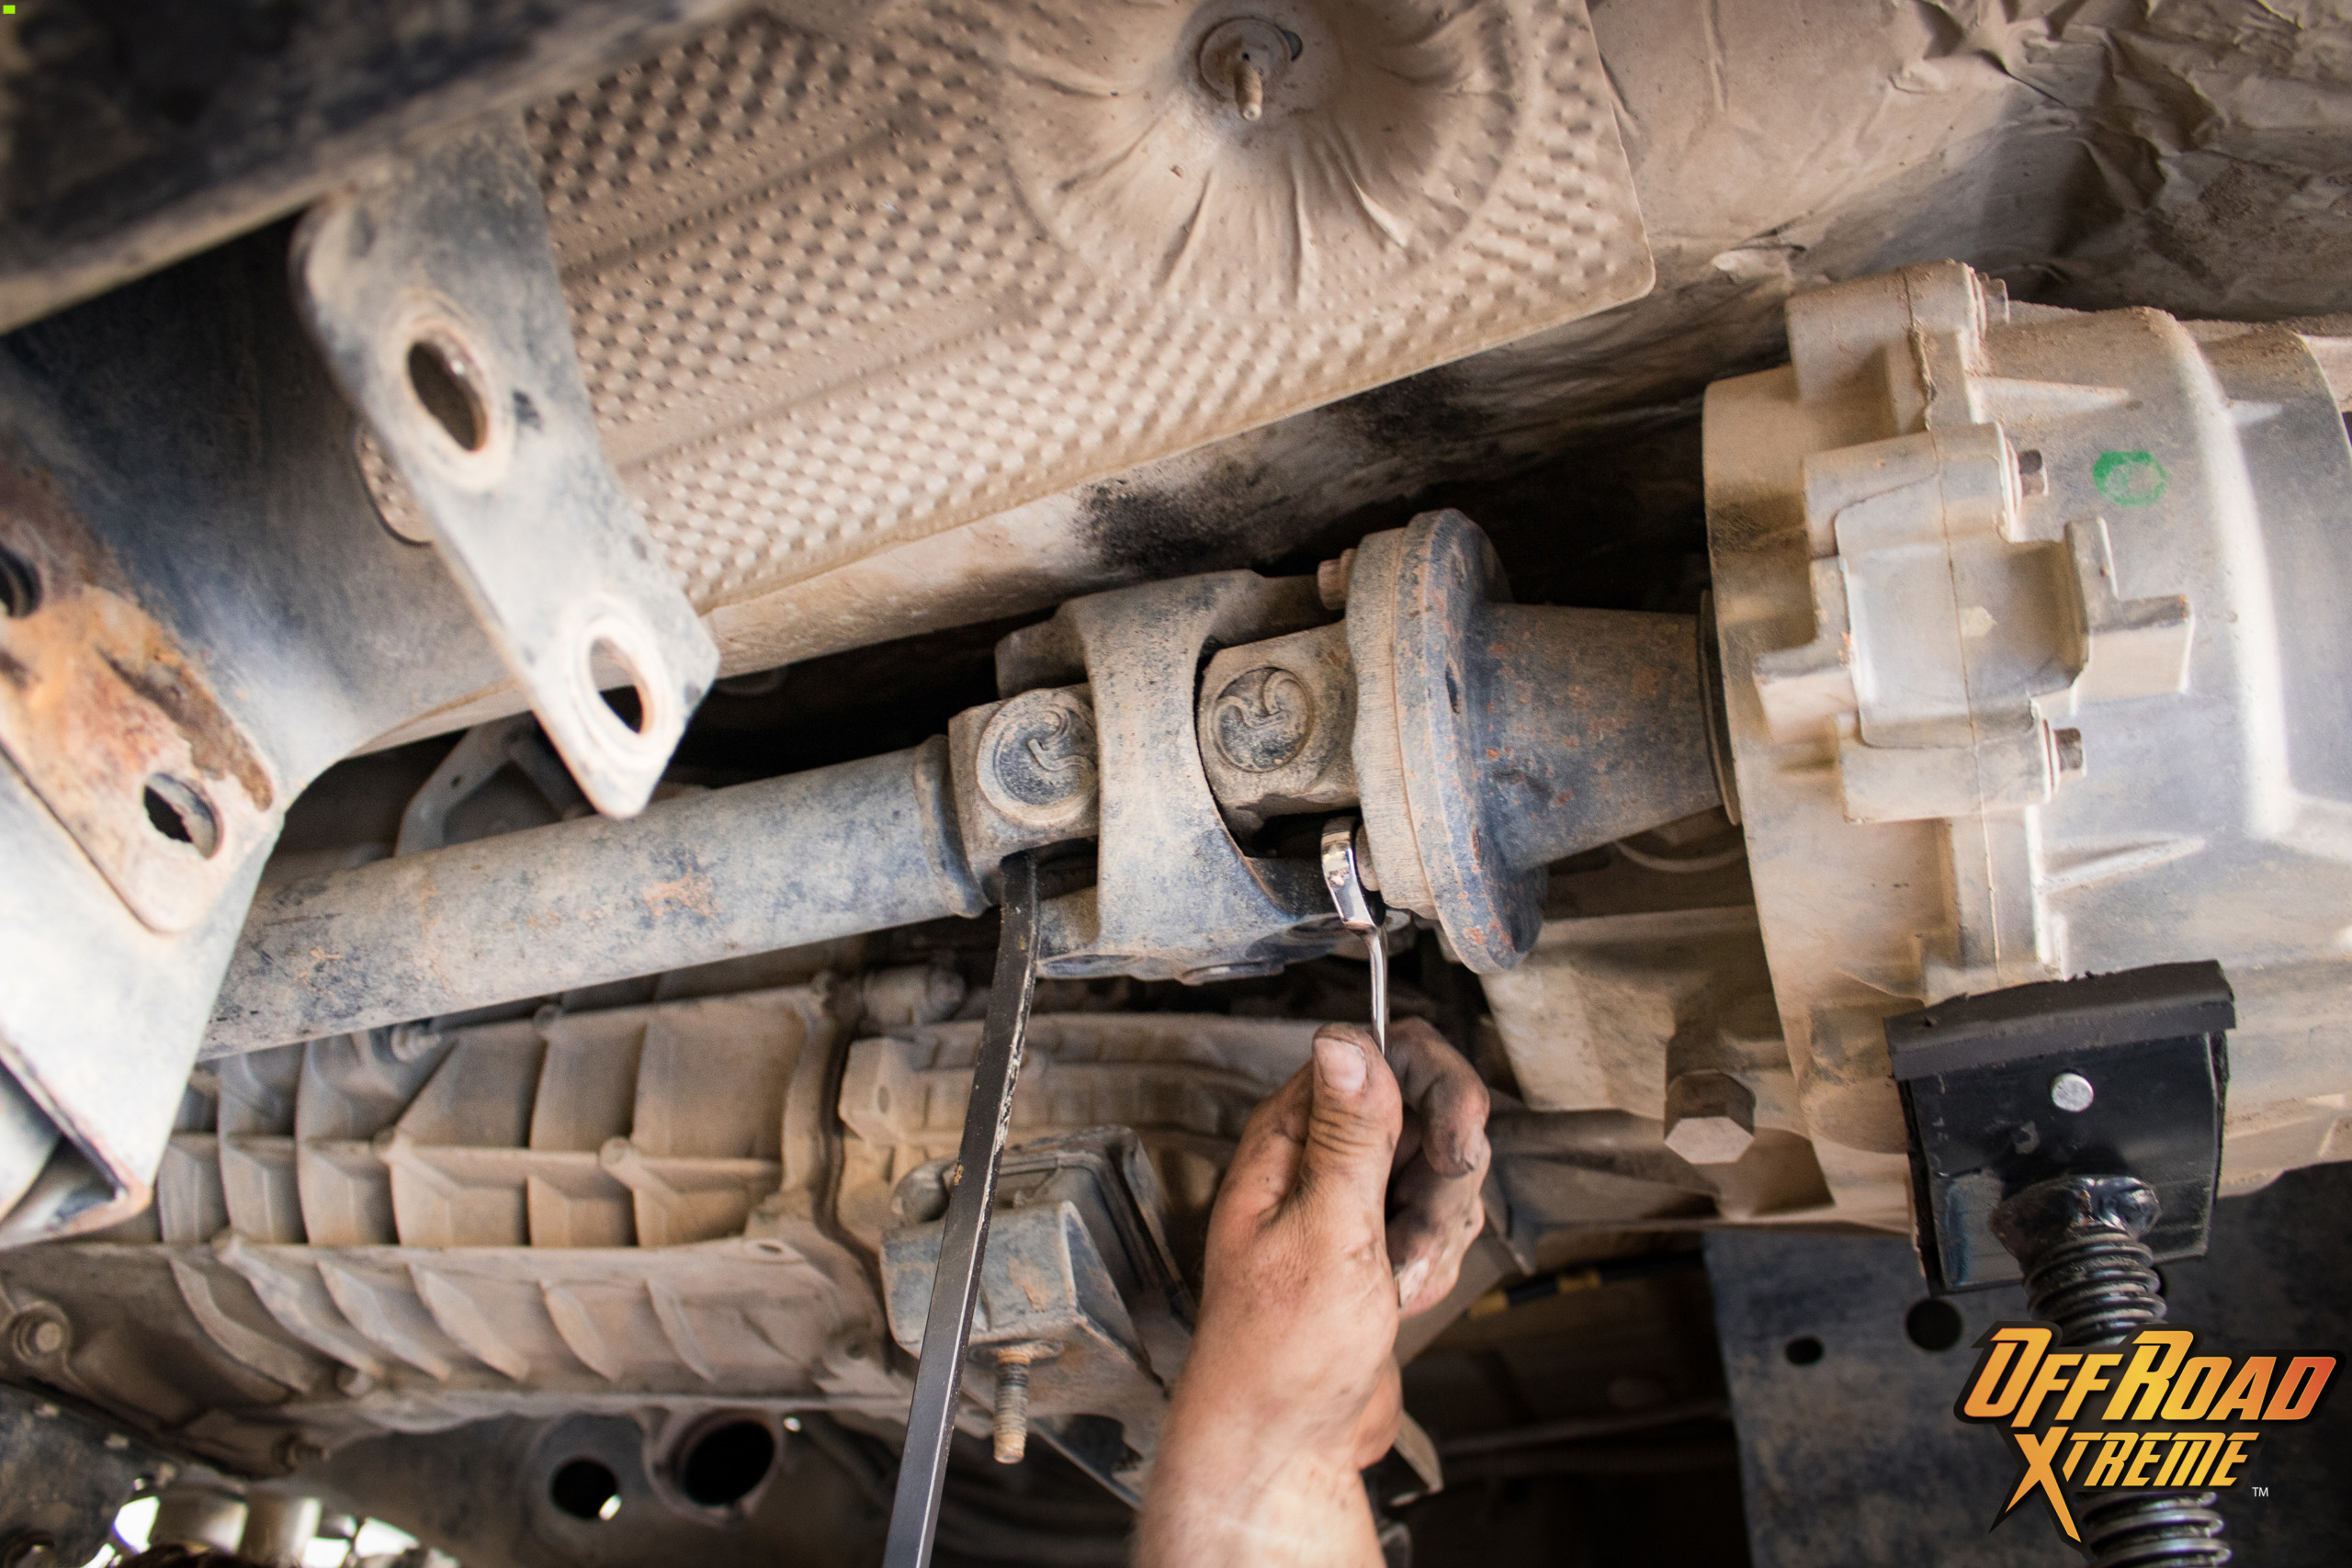
Disconnect and remove the external slave cylinder by removing two 13MM nuts. The slave cylinder will pull straight out.
STEP 6:
Remove the transfer case linkage.
- Remove one 10MM bolt. Be sure to note the orientation of linkage for reassembly.
- Undo the clip suspending transfer case shift cable.


STEP 7:
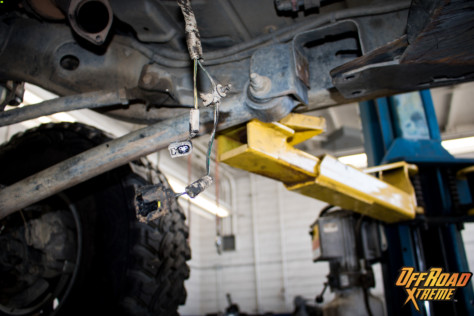
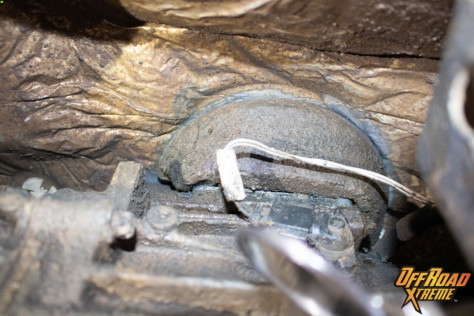
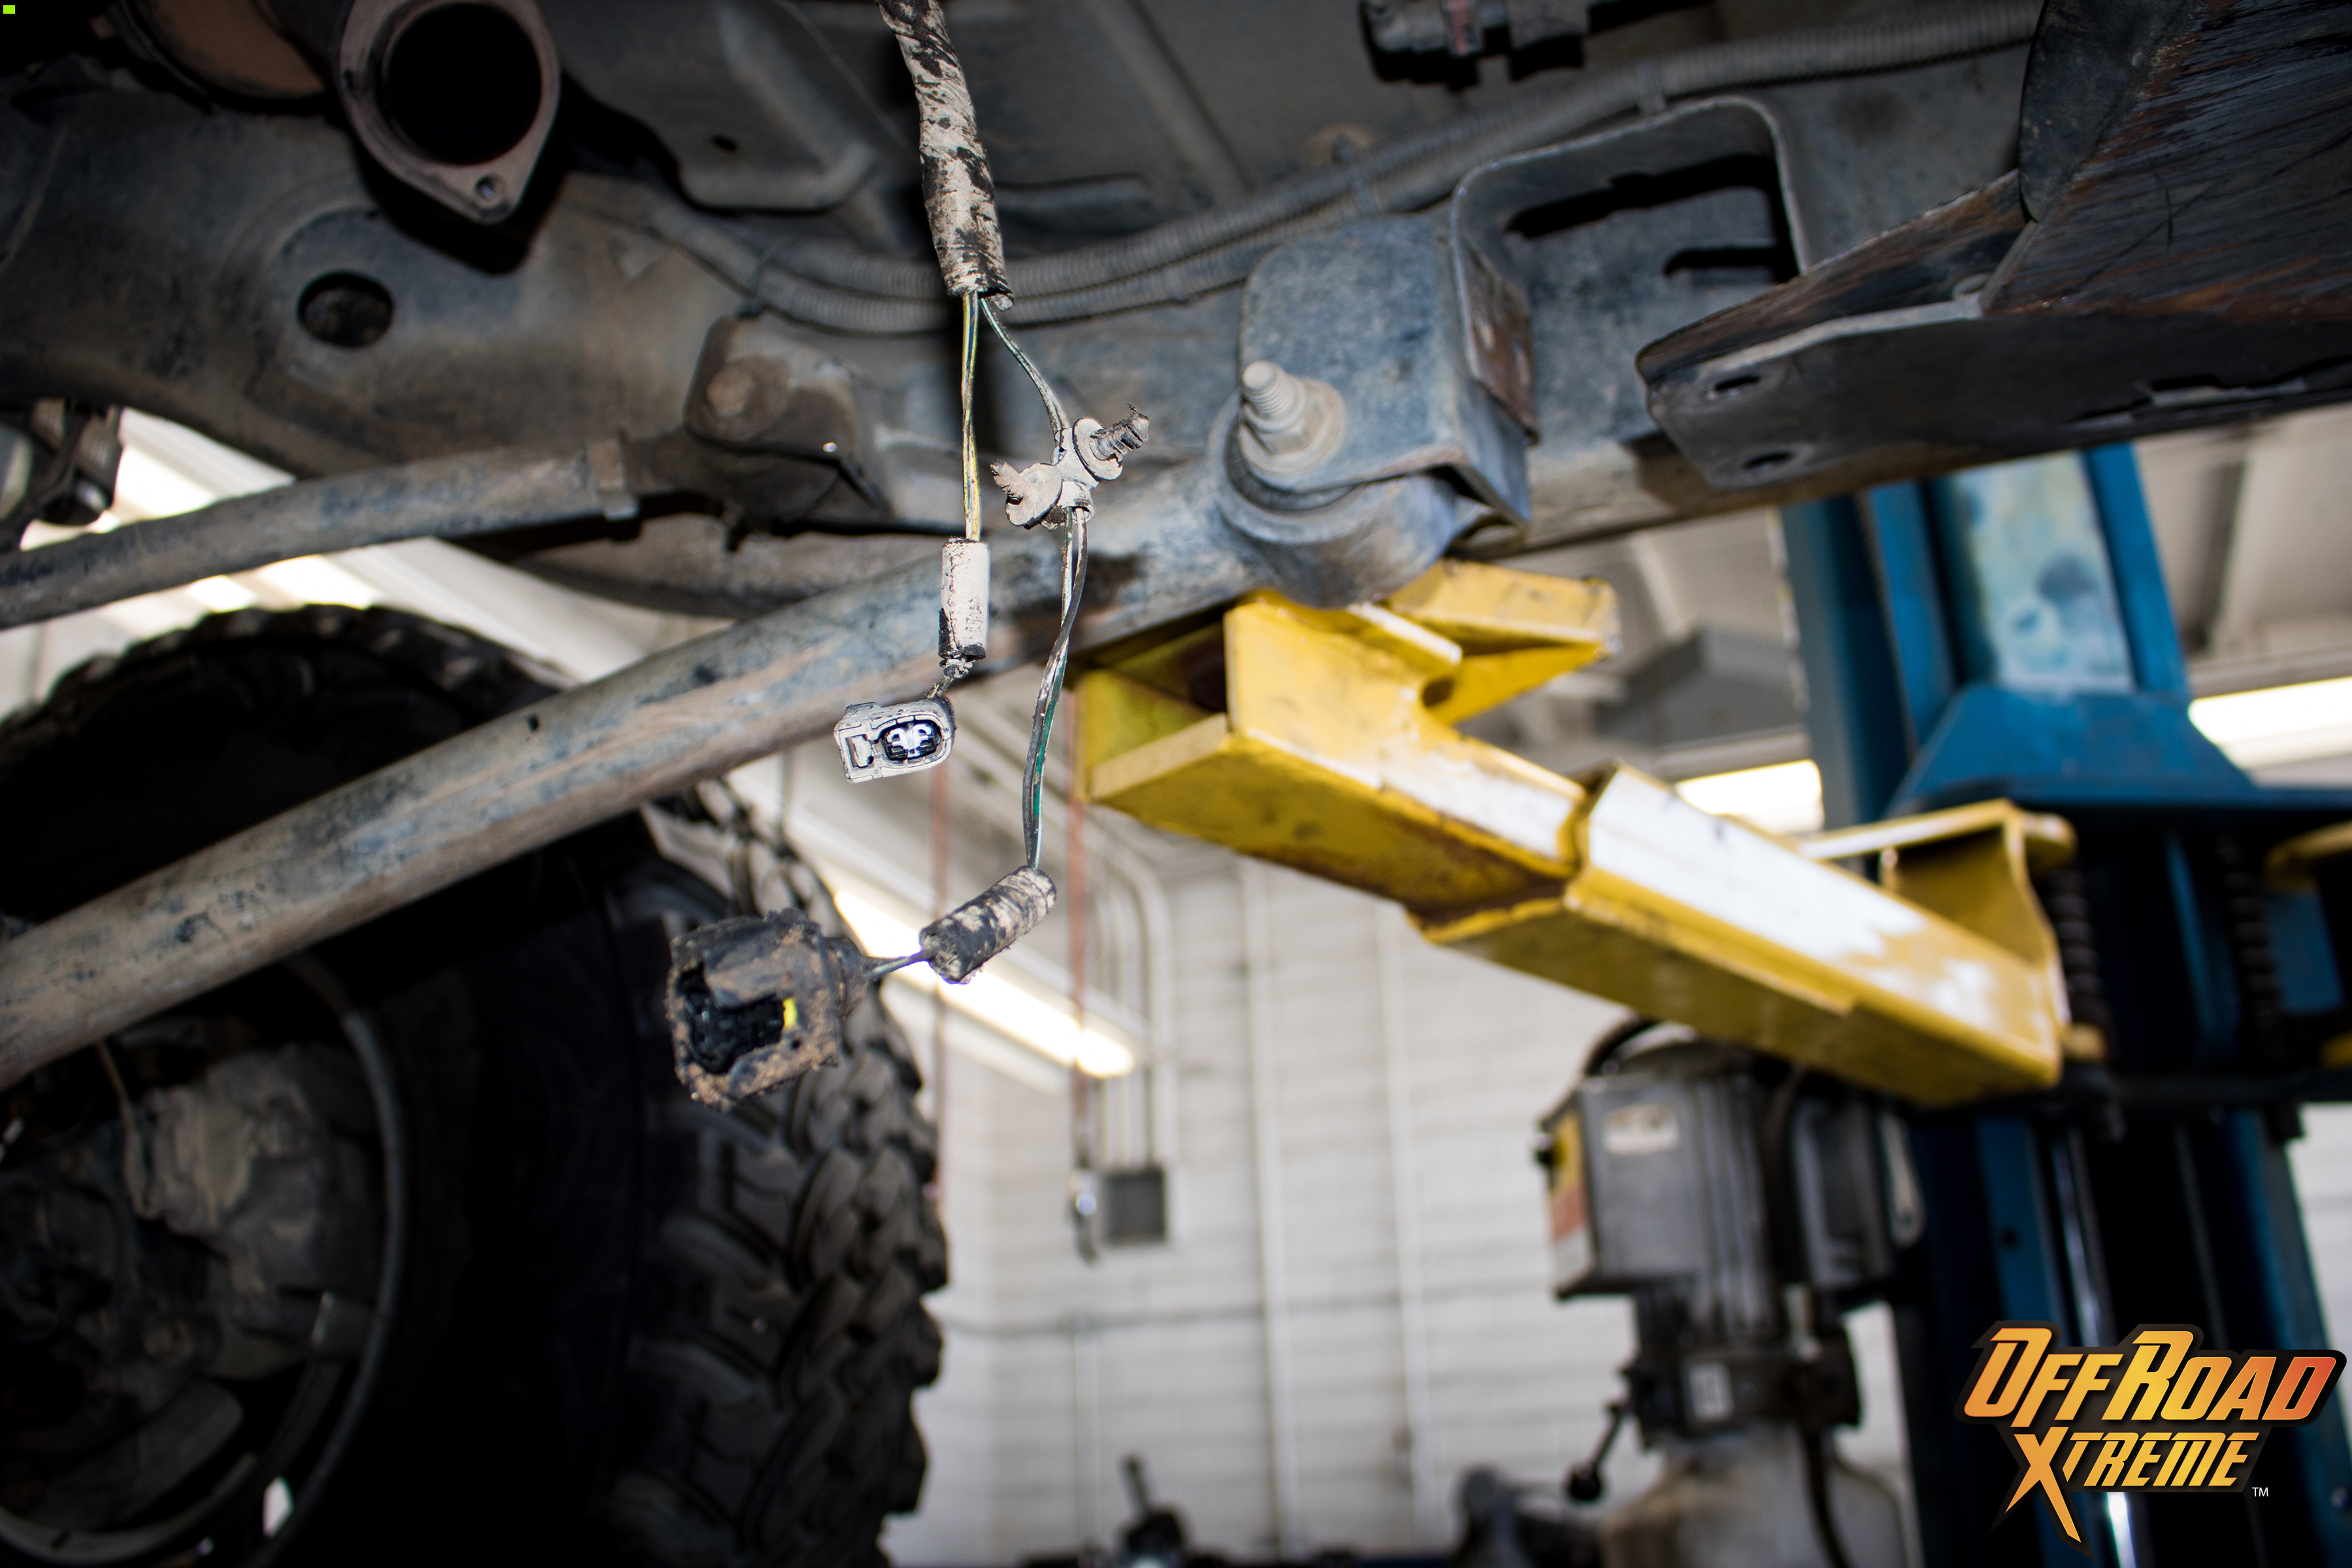
Disconnect any cables or tube from the top of the transmission and transfer case.
- There are two electrical plugs, one breather tube, and one fuel line attached.
- Disconnect transfer case shifting cable and linkage.
STEP 8:
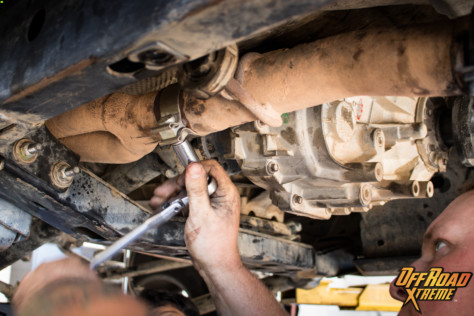
Remove the starter by removing the two 15MM bolts and sliding the starter out.
STEP 9:
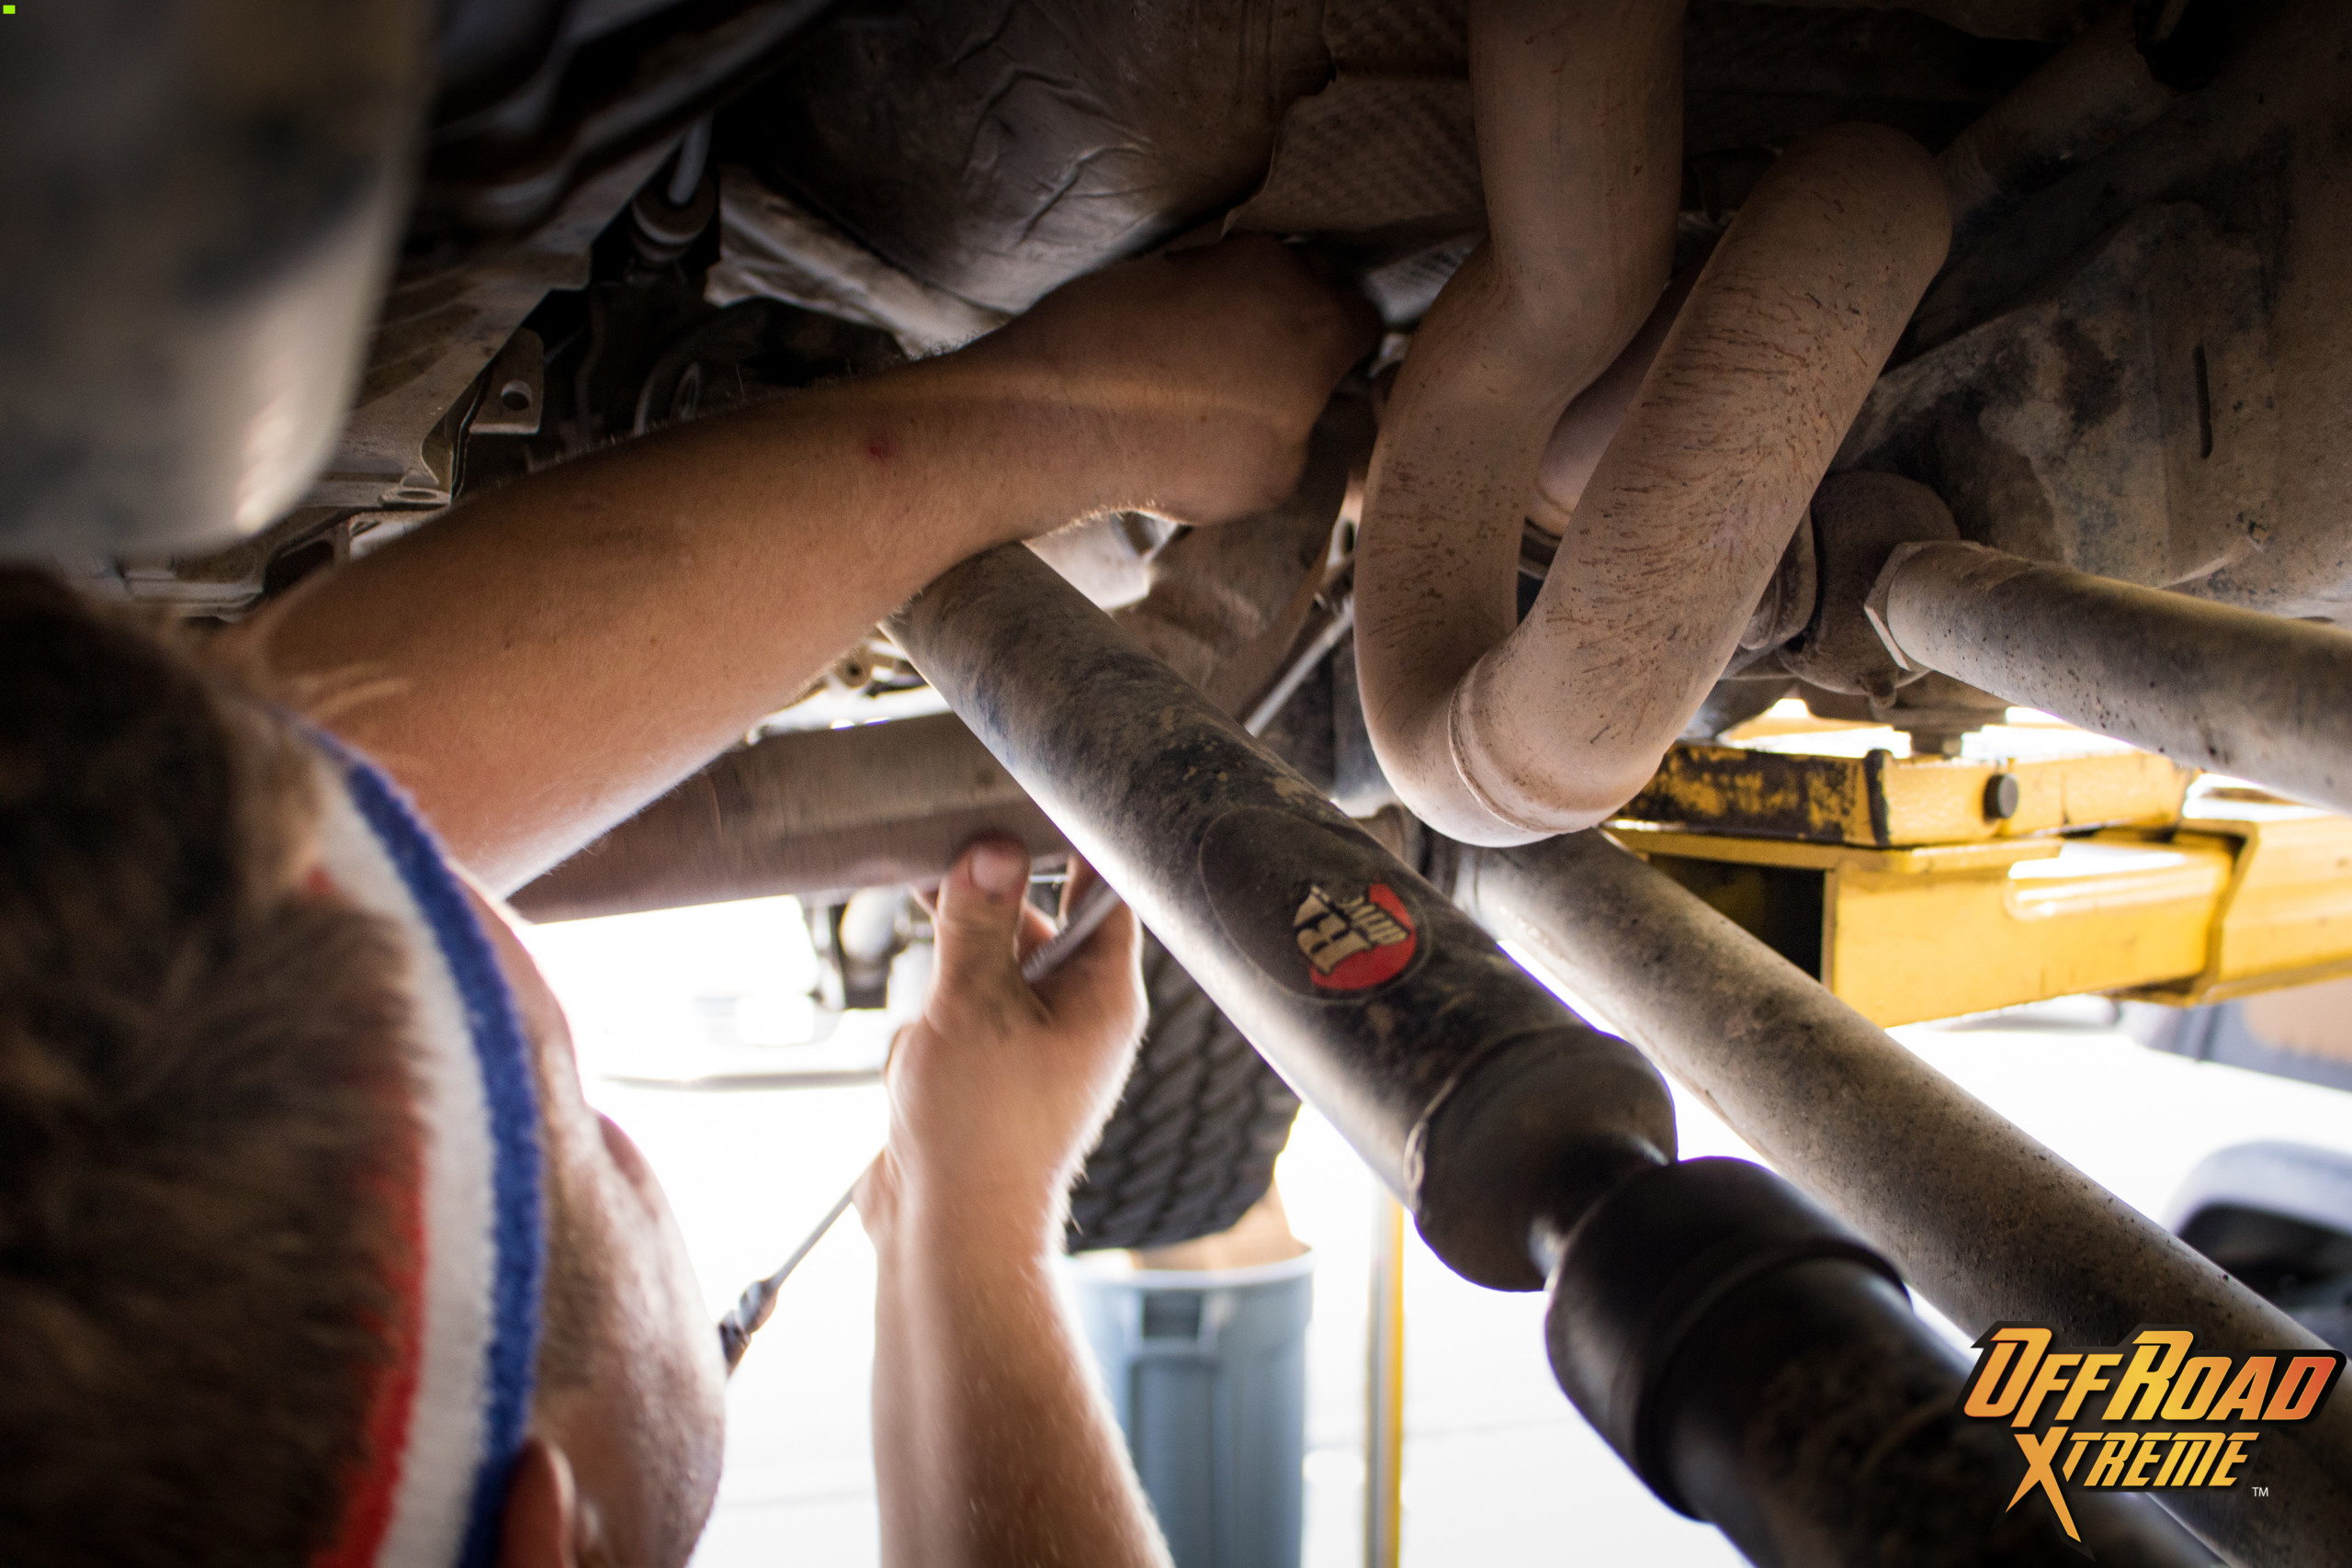
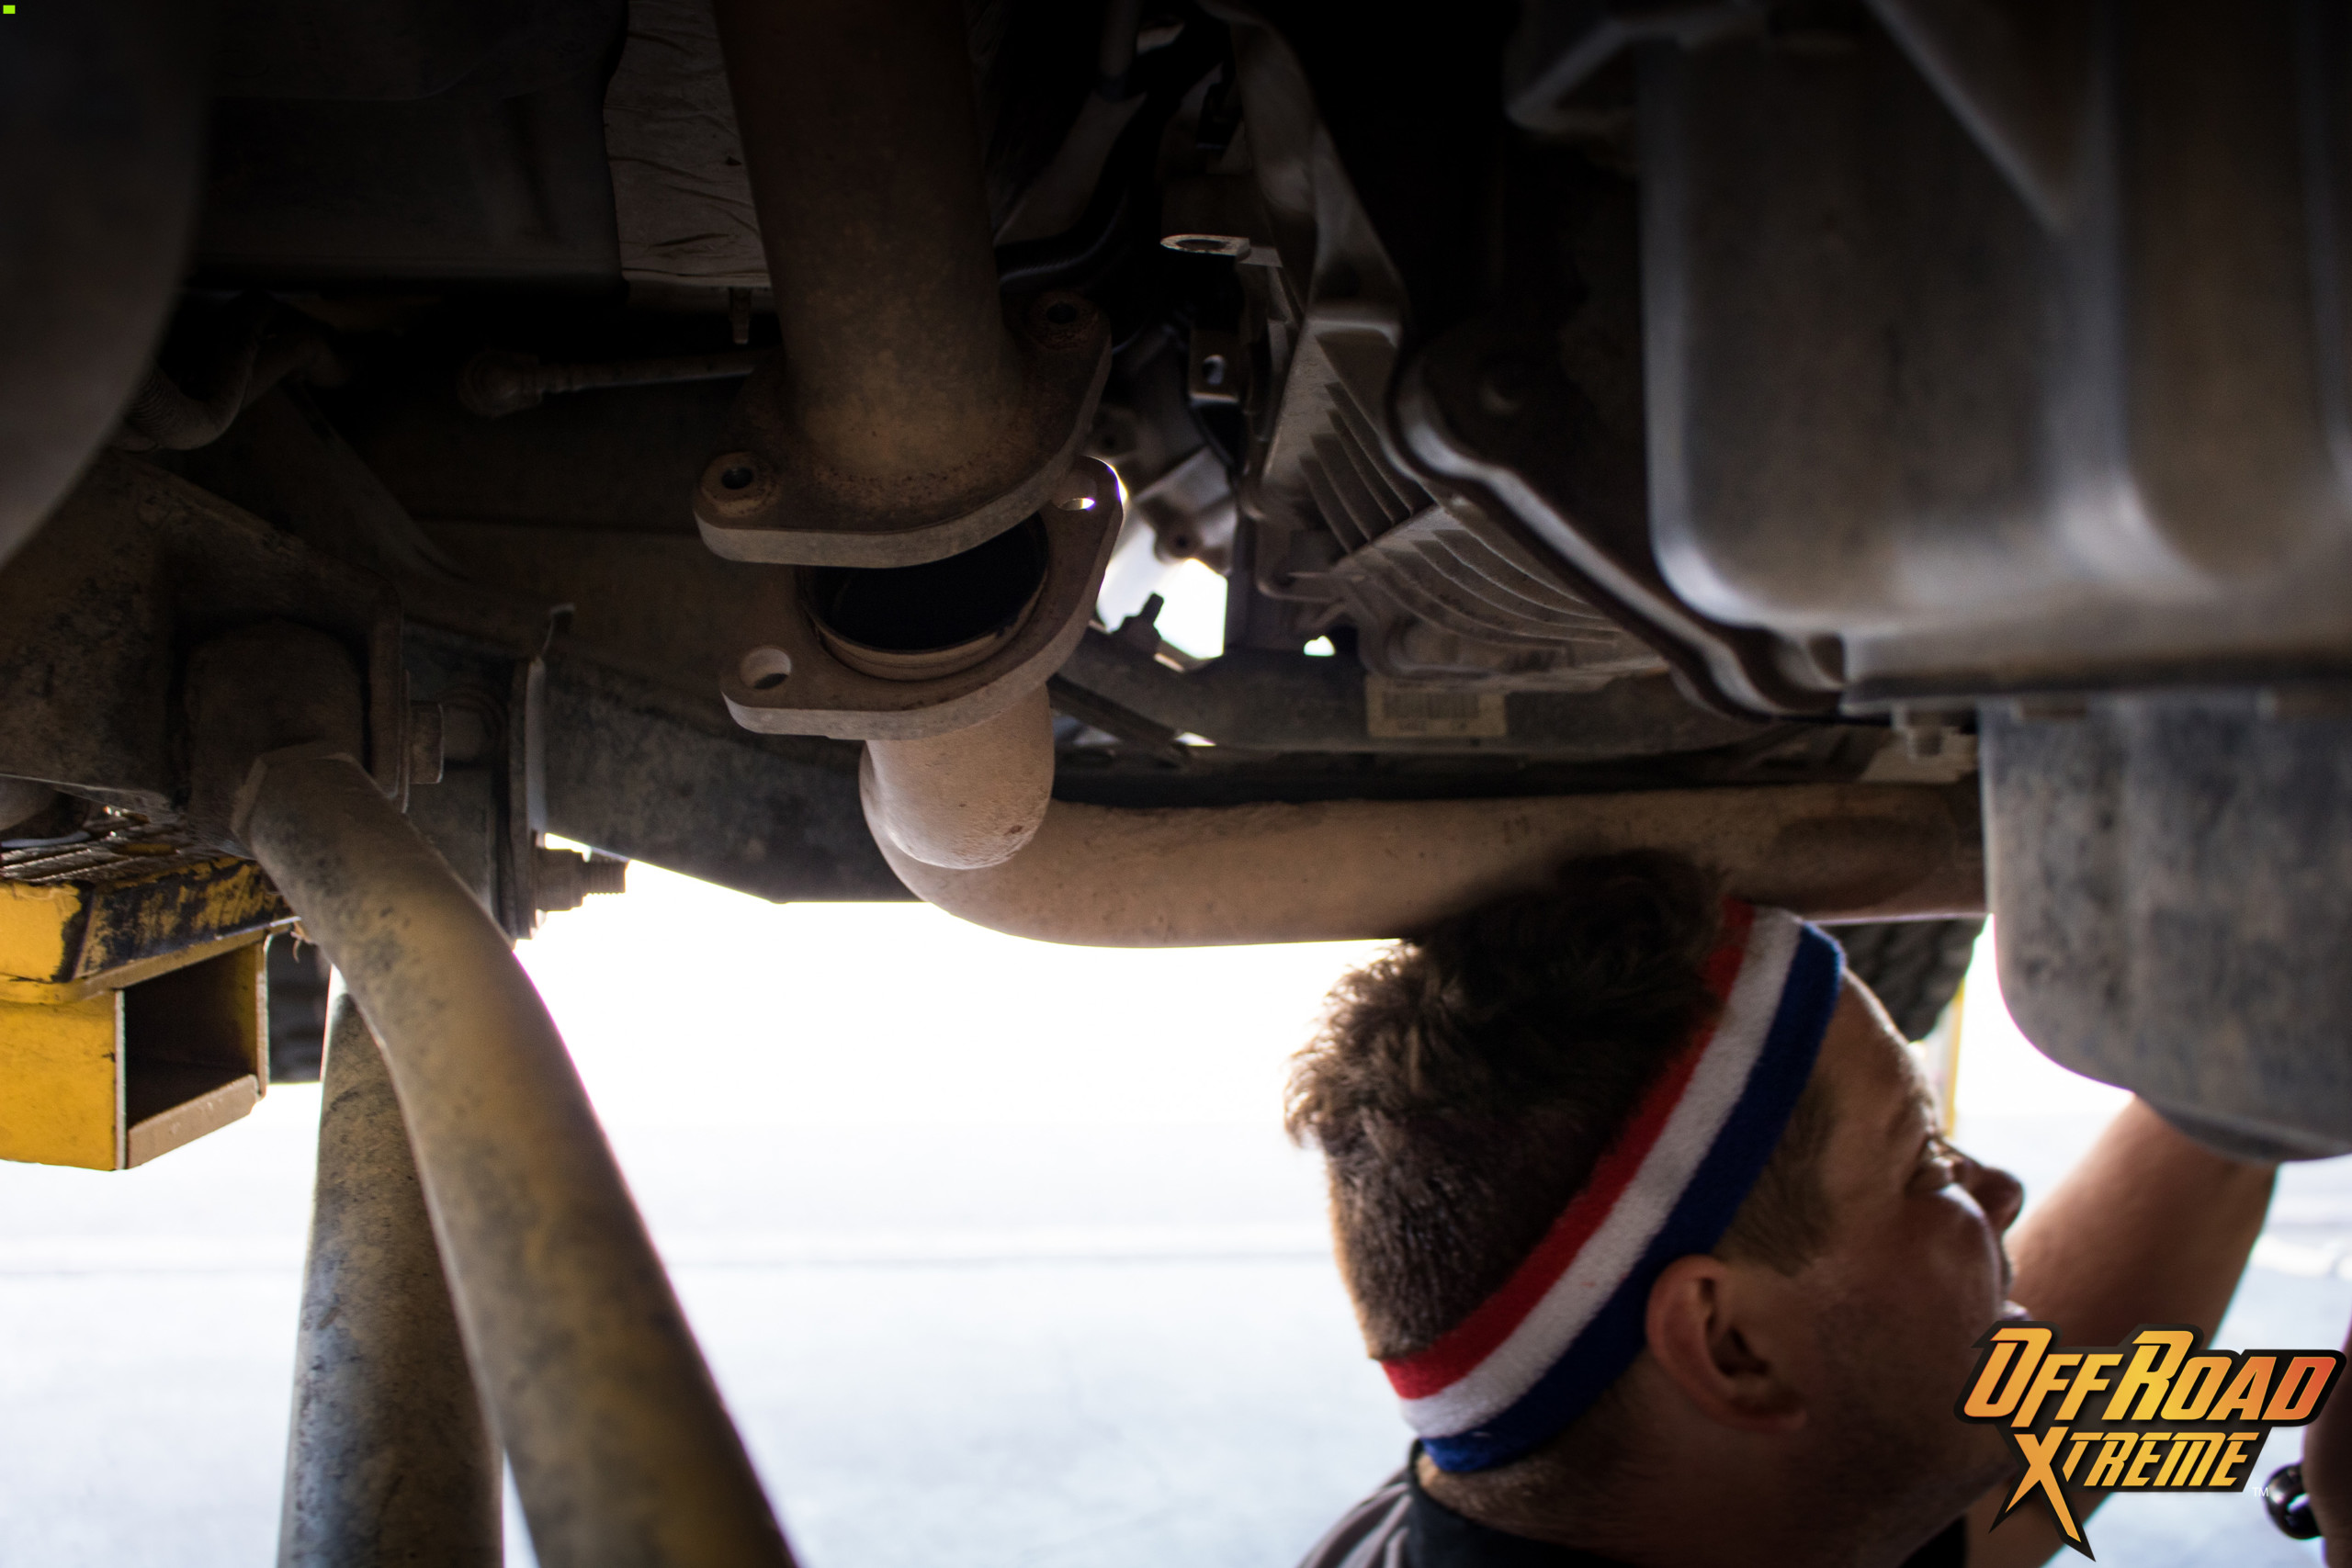
Remove and set aside the exhaust y-section.
- Remove two 15MM bolts on each header couple.
- Loosen the clamp just rear of the “Y” using a 15MM socket.
- Remove the exhaust section.
STEP 10:
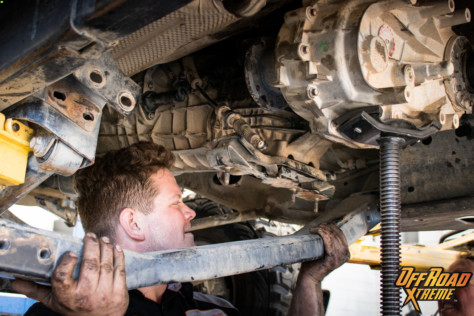
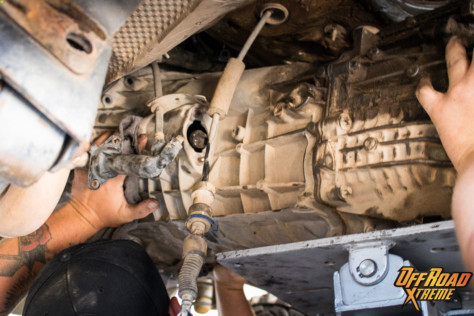
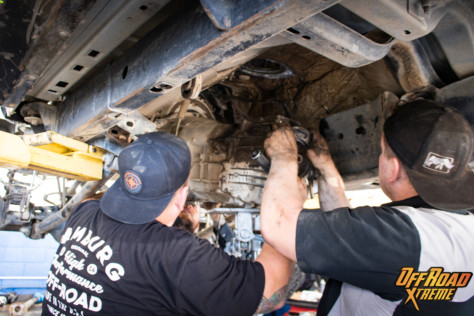
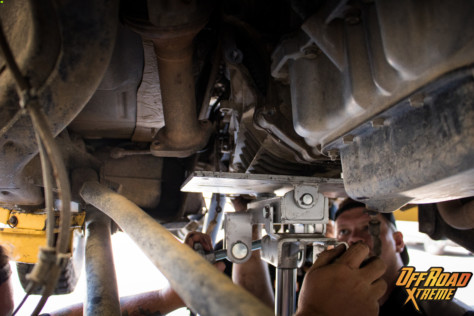
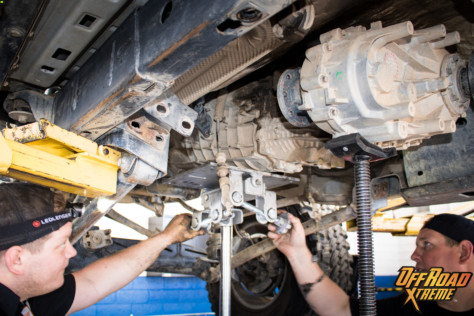
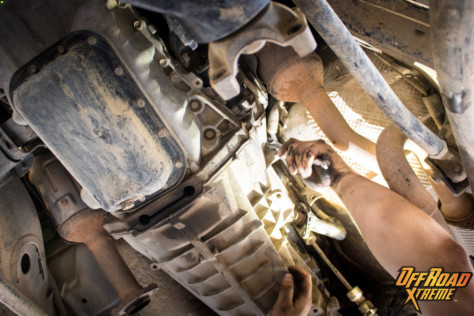
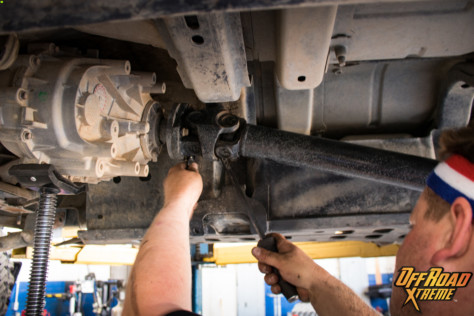
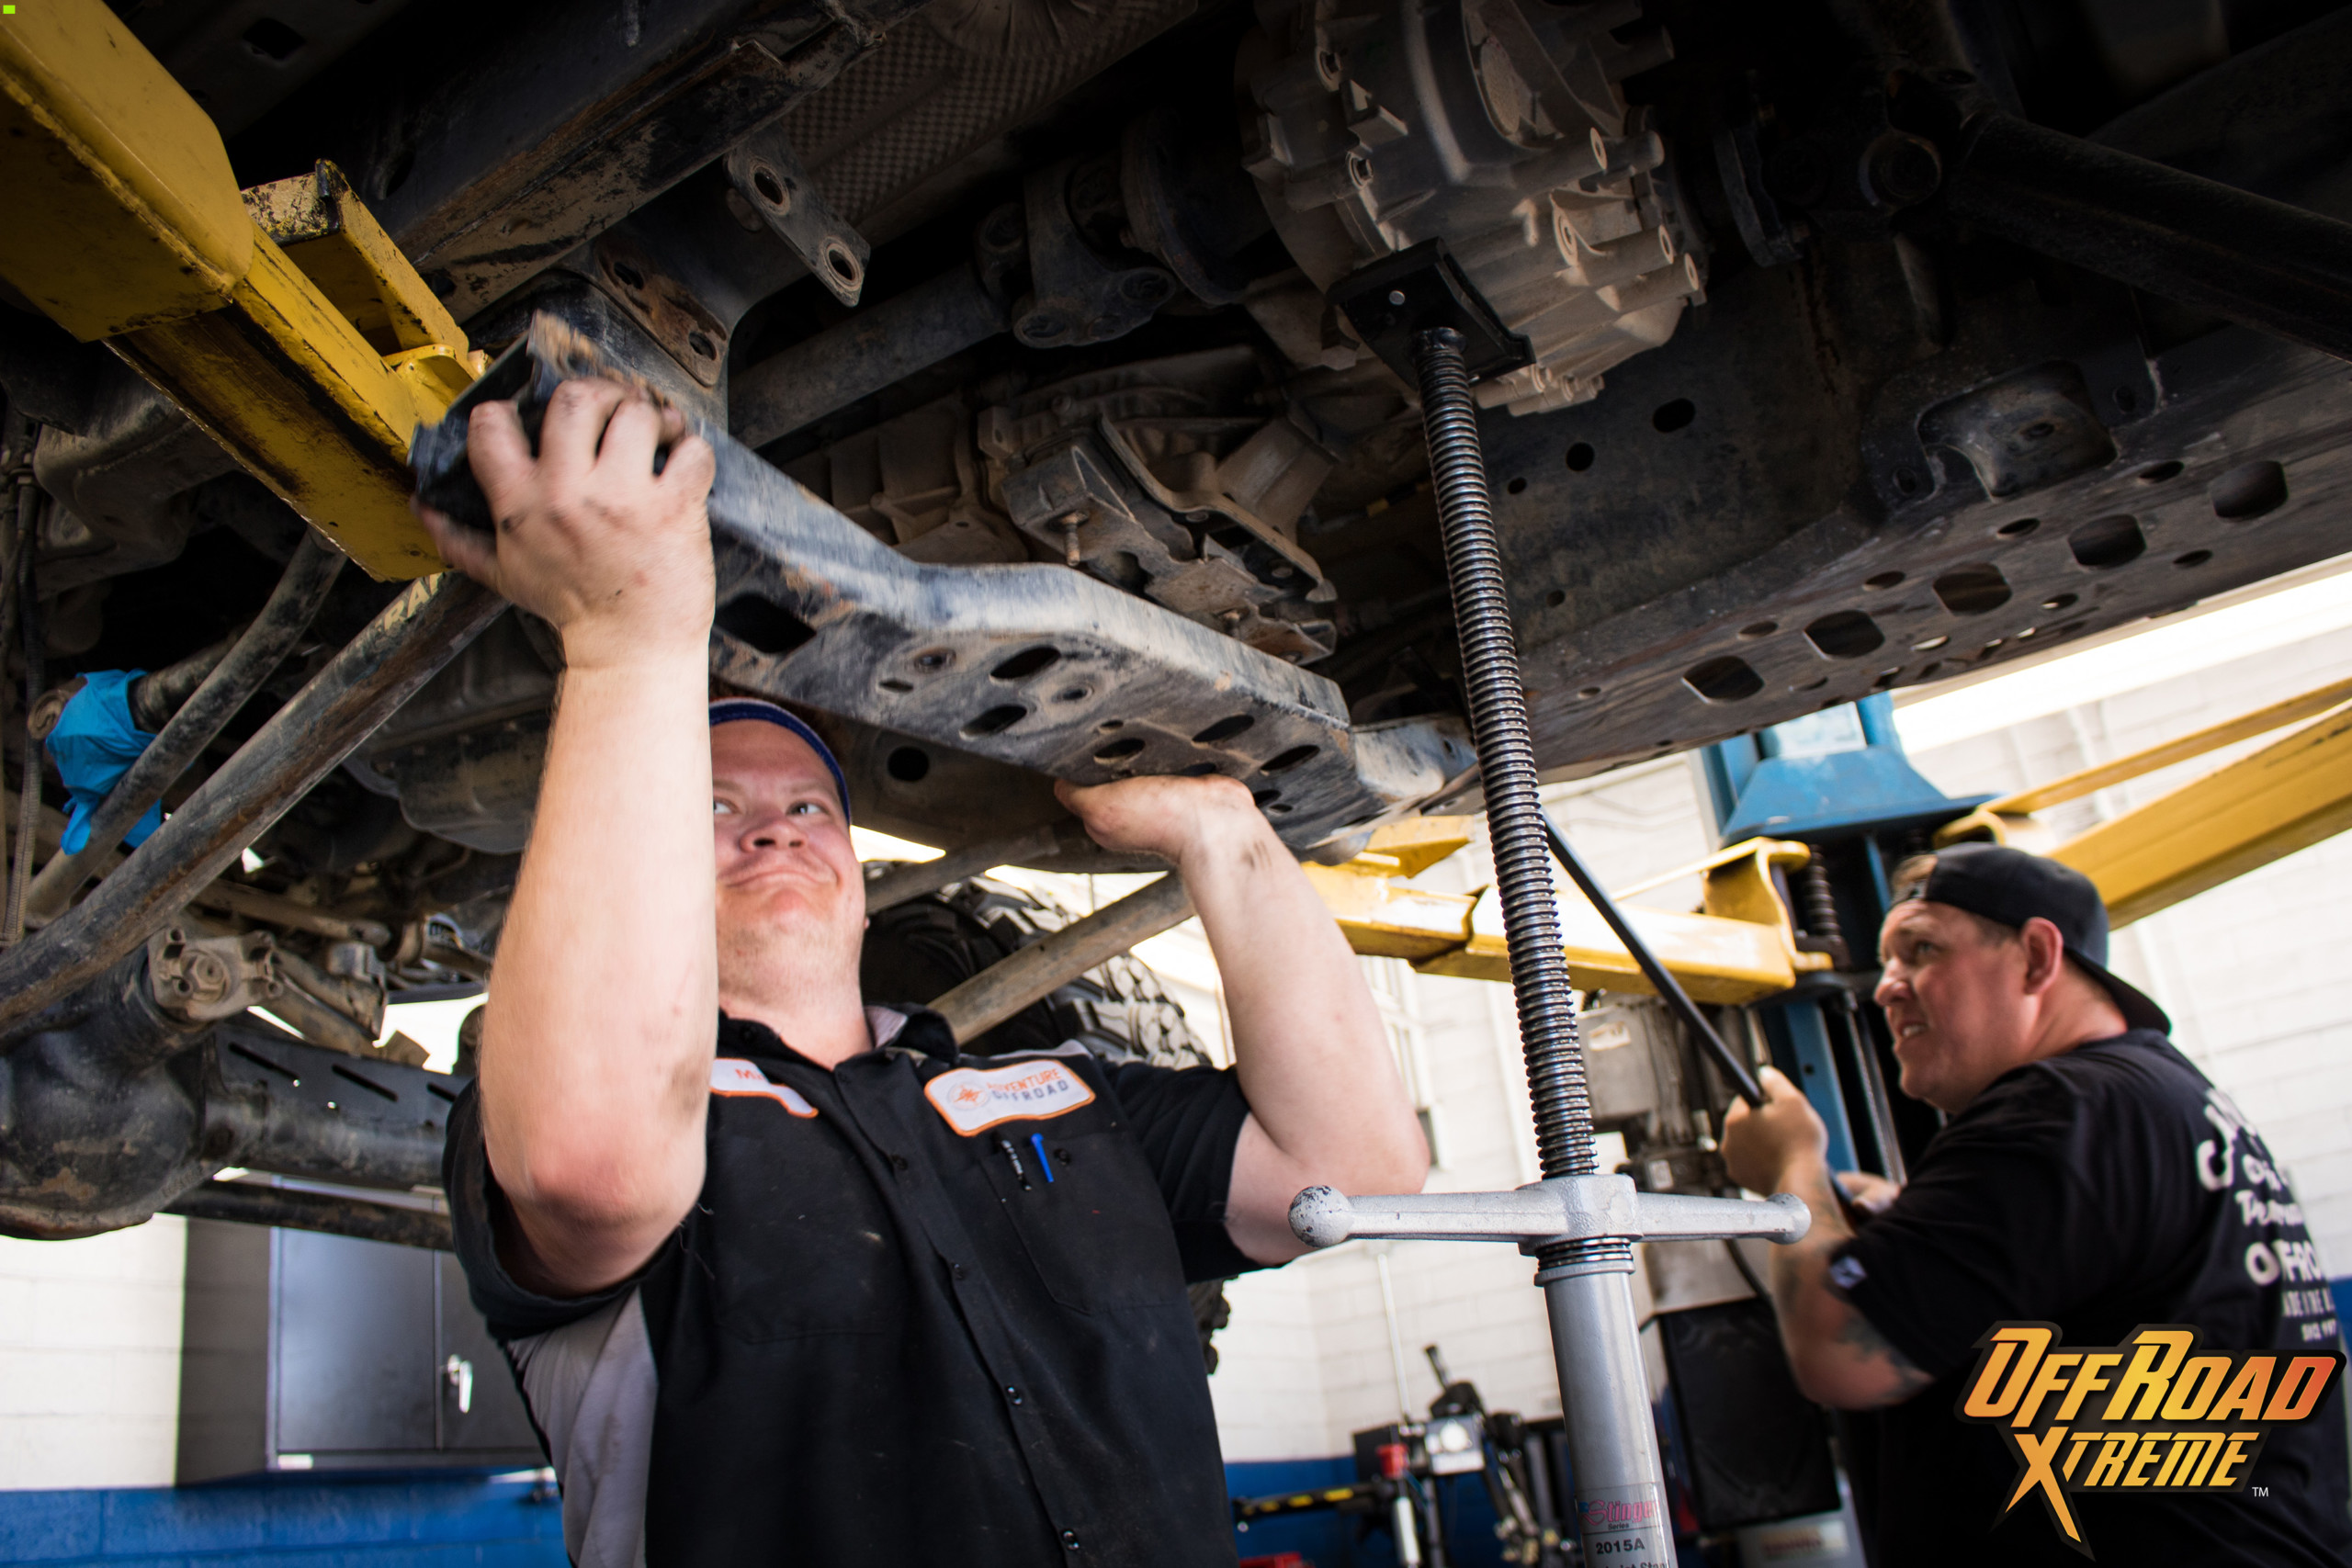
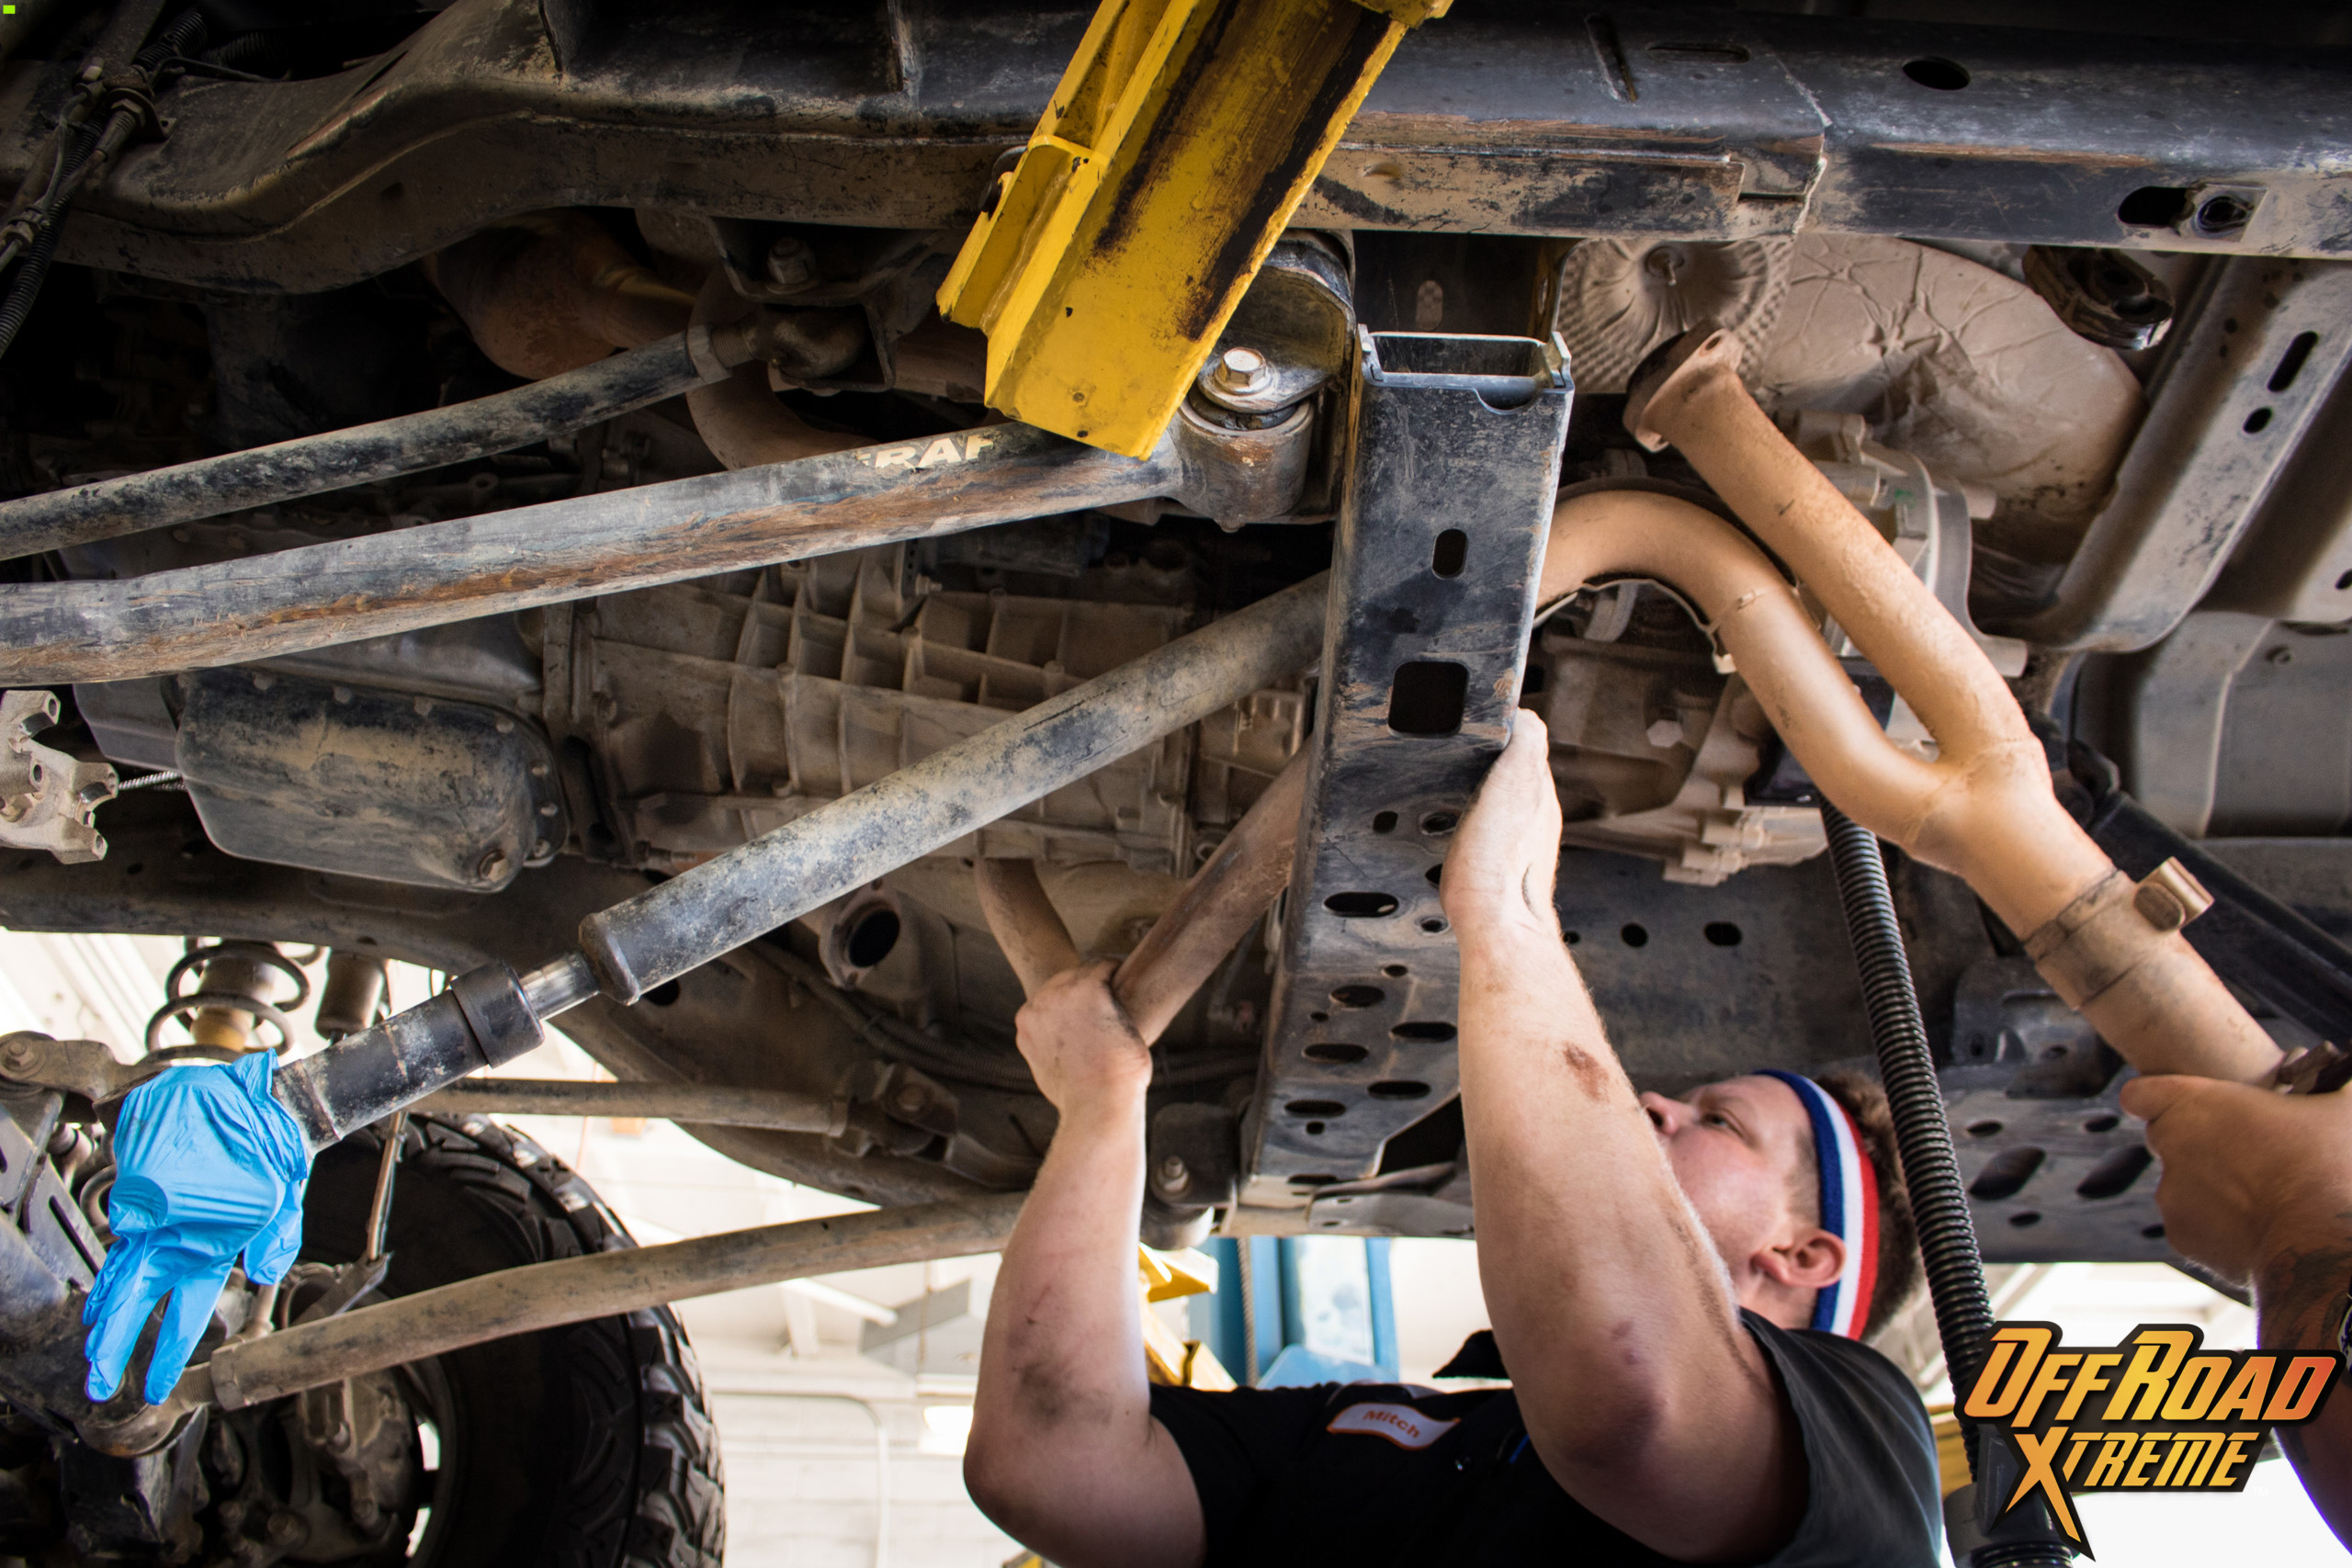
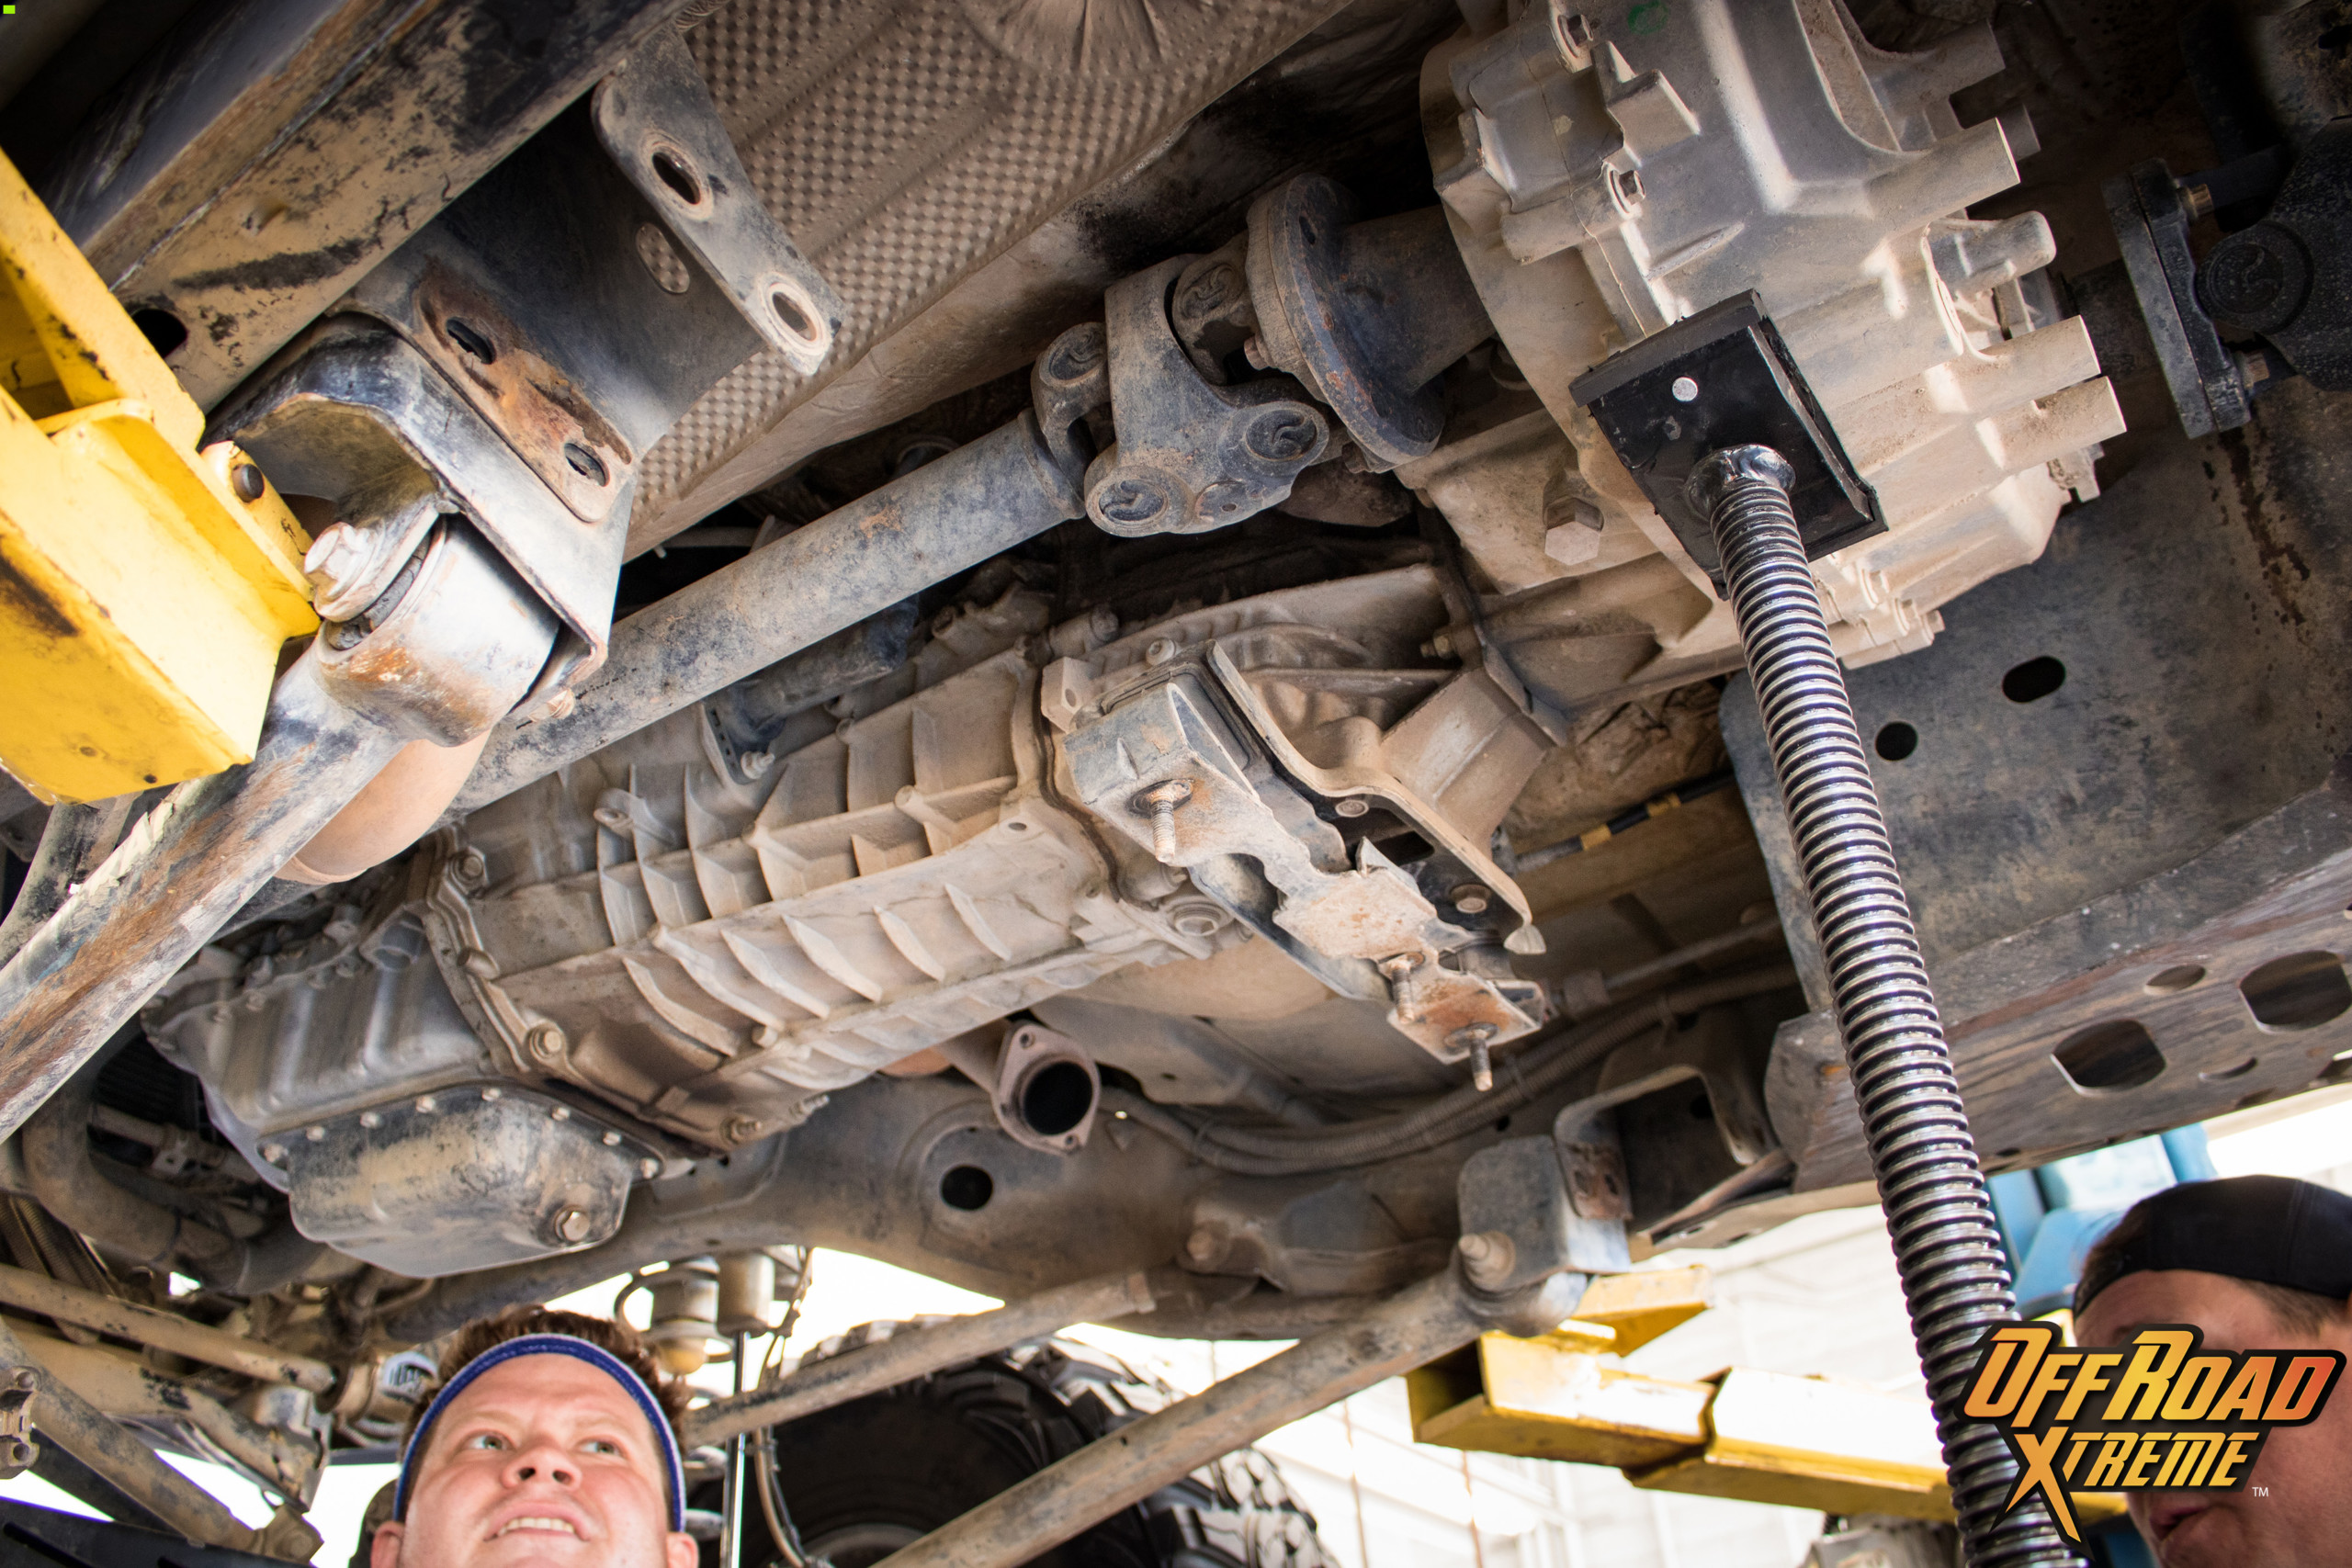
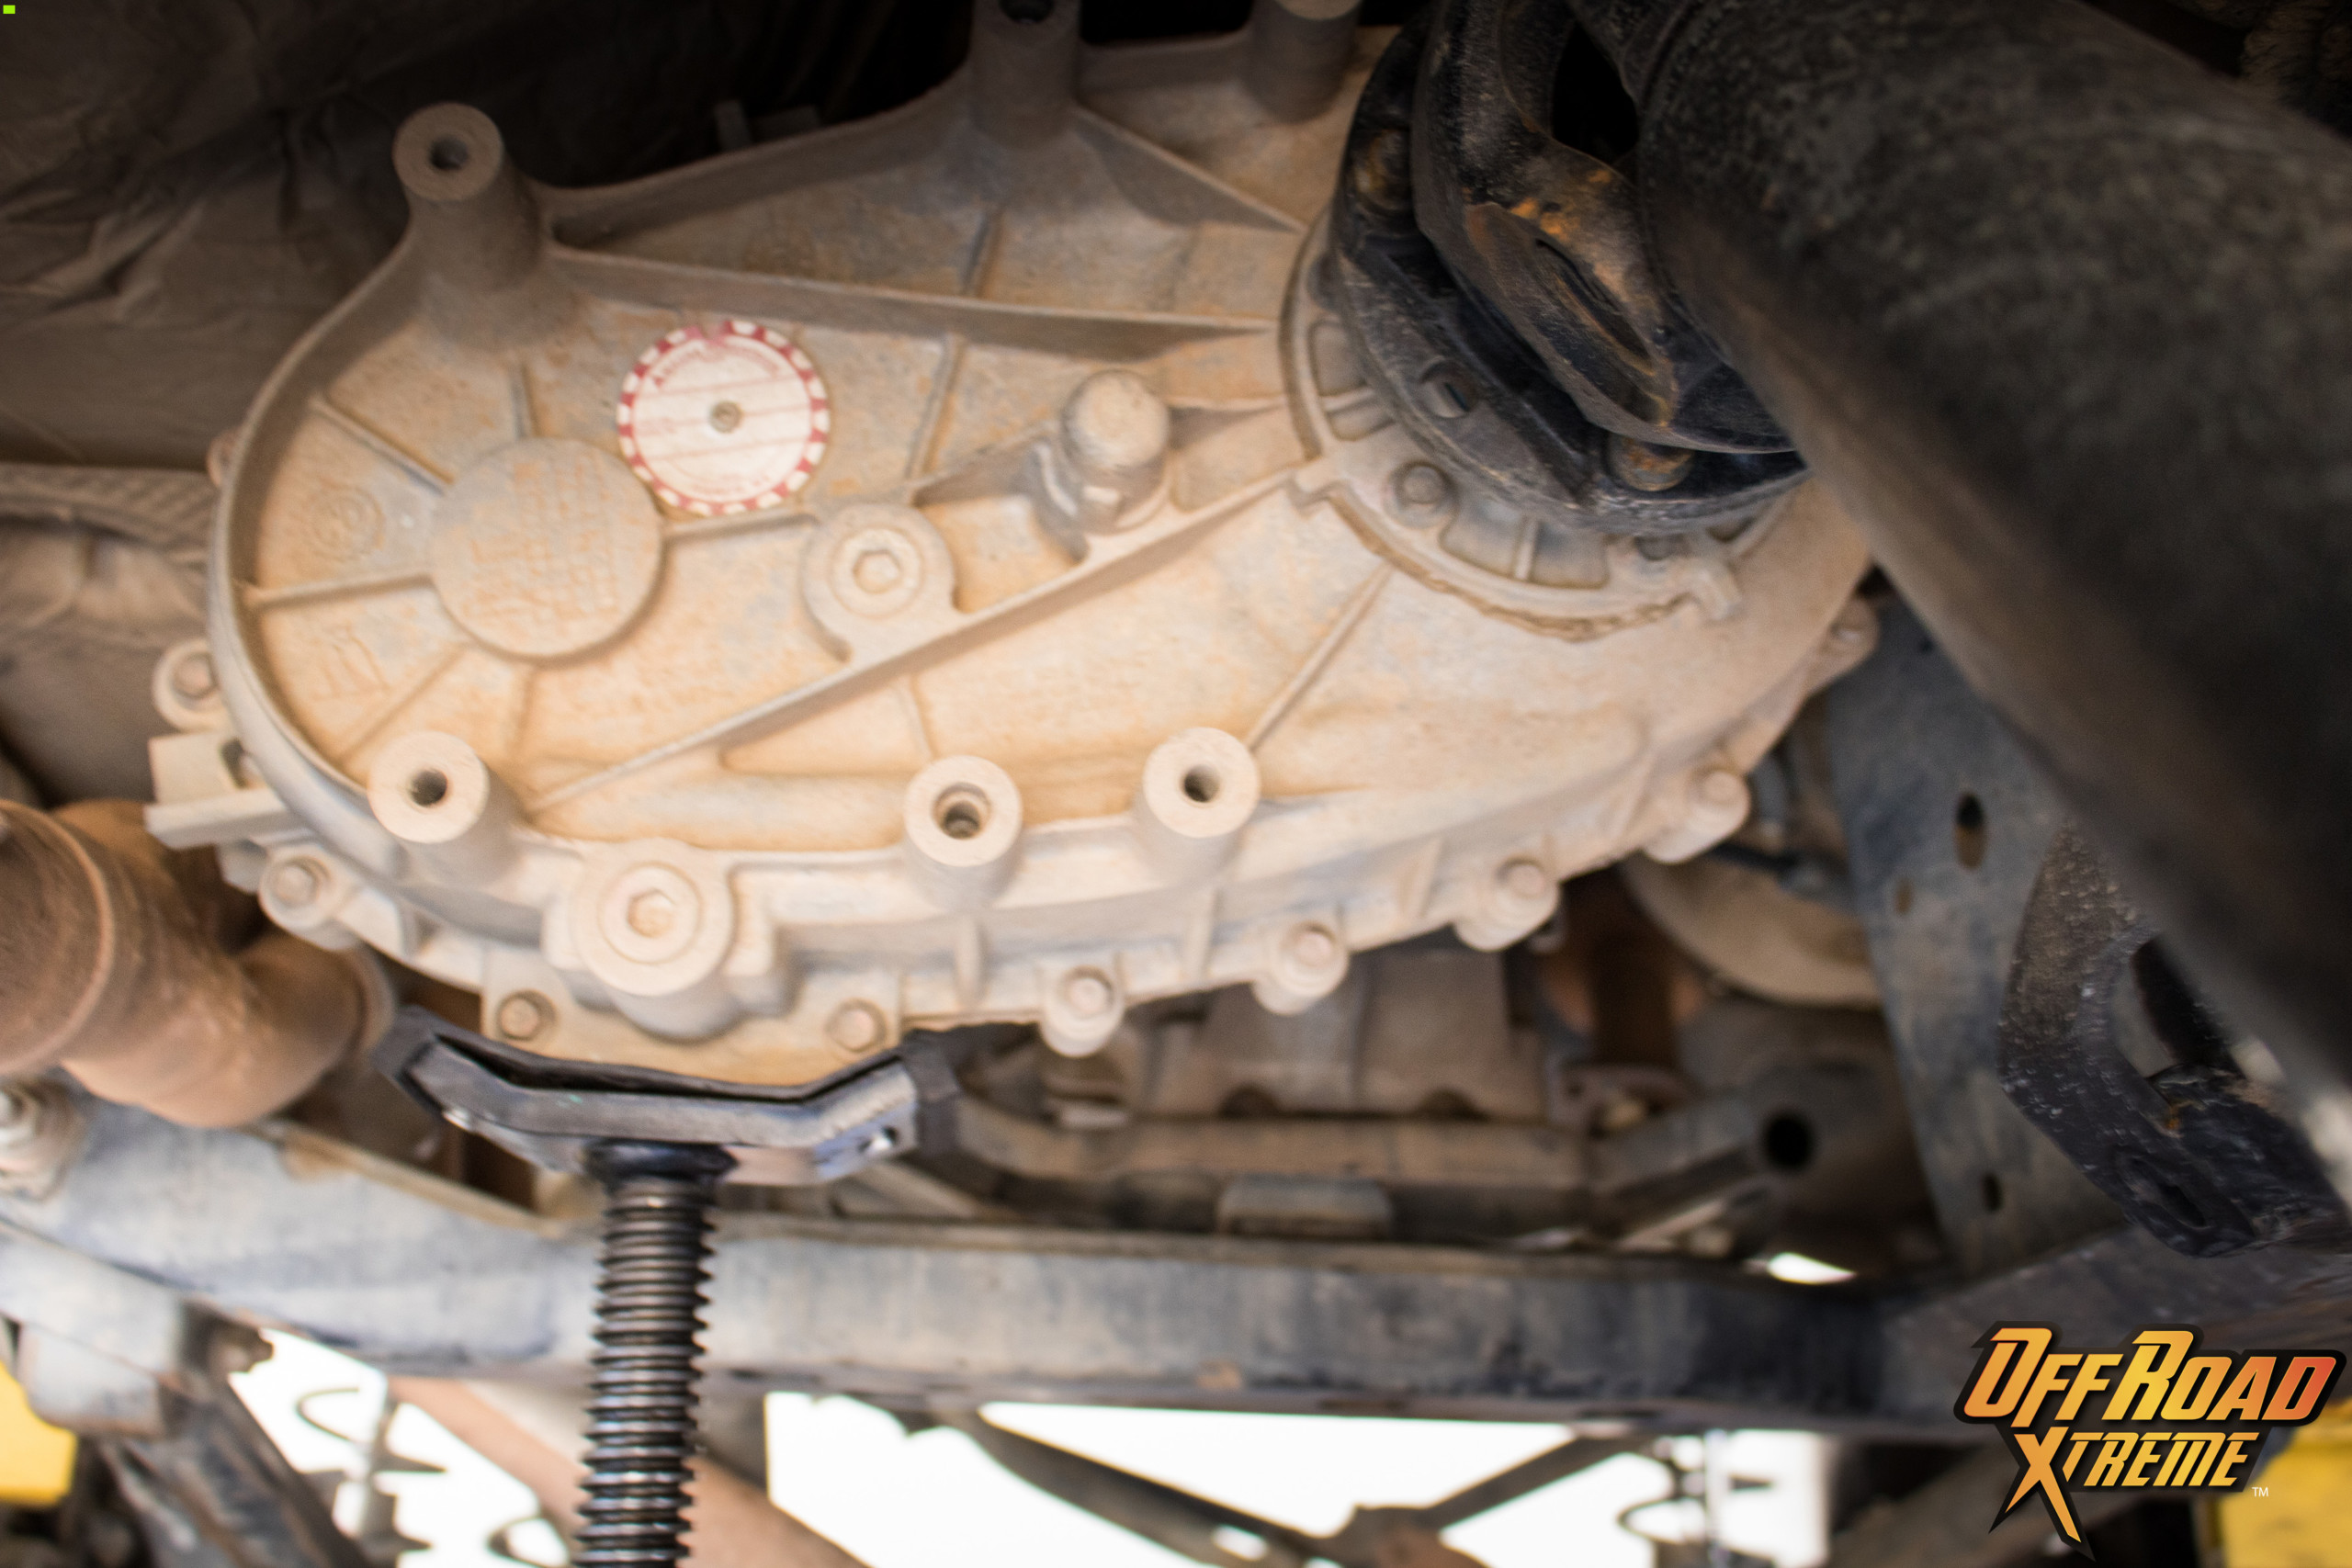
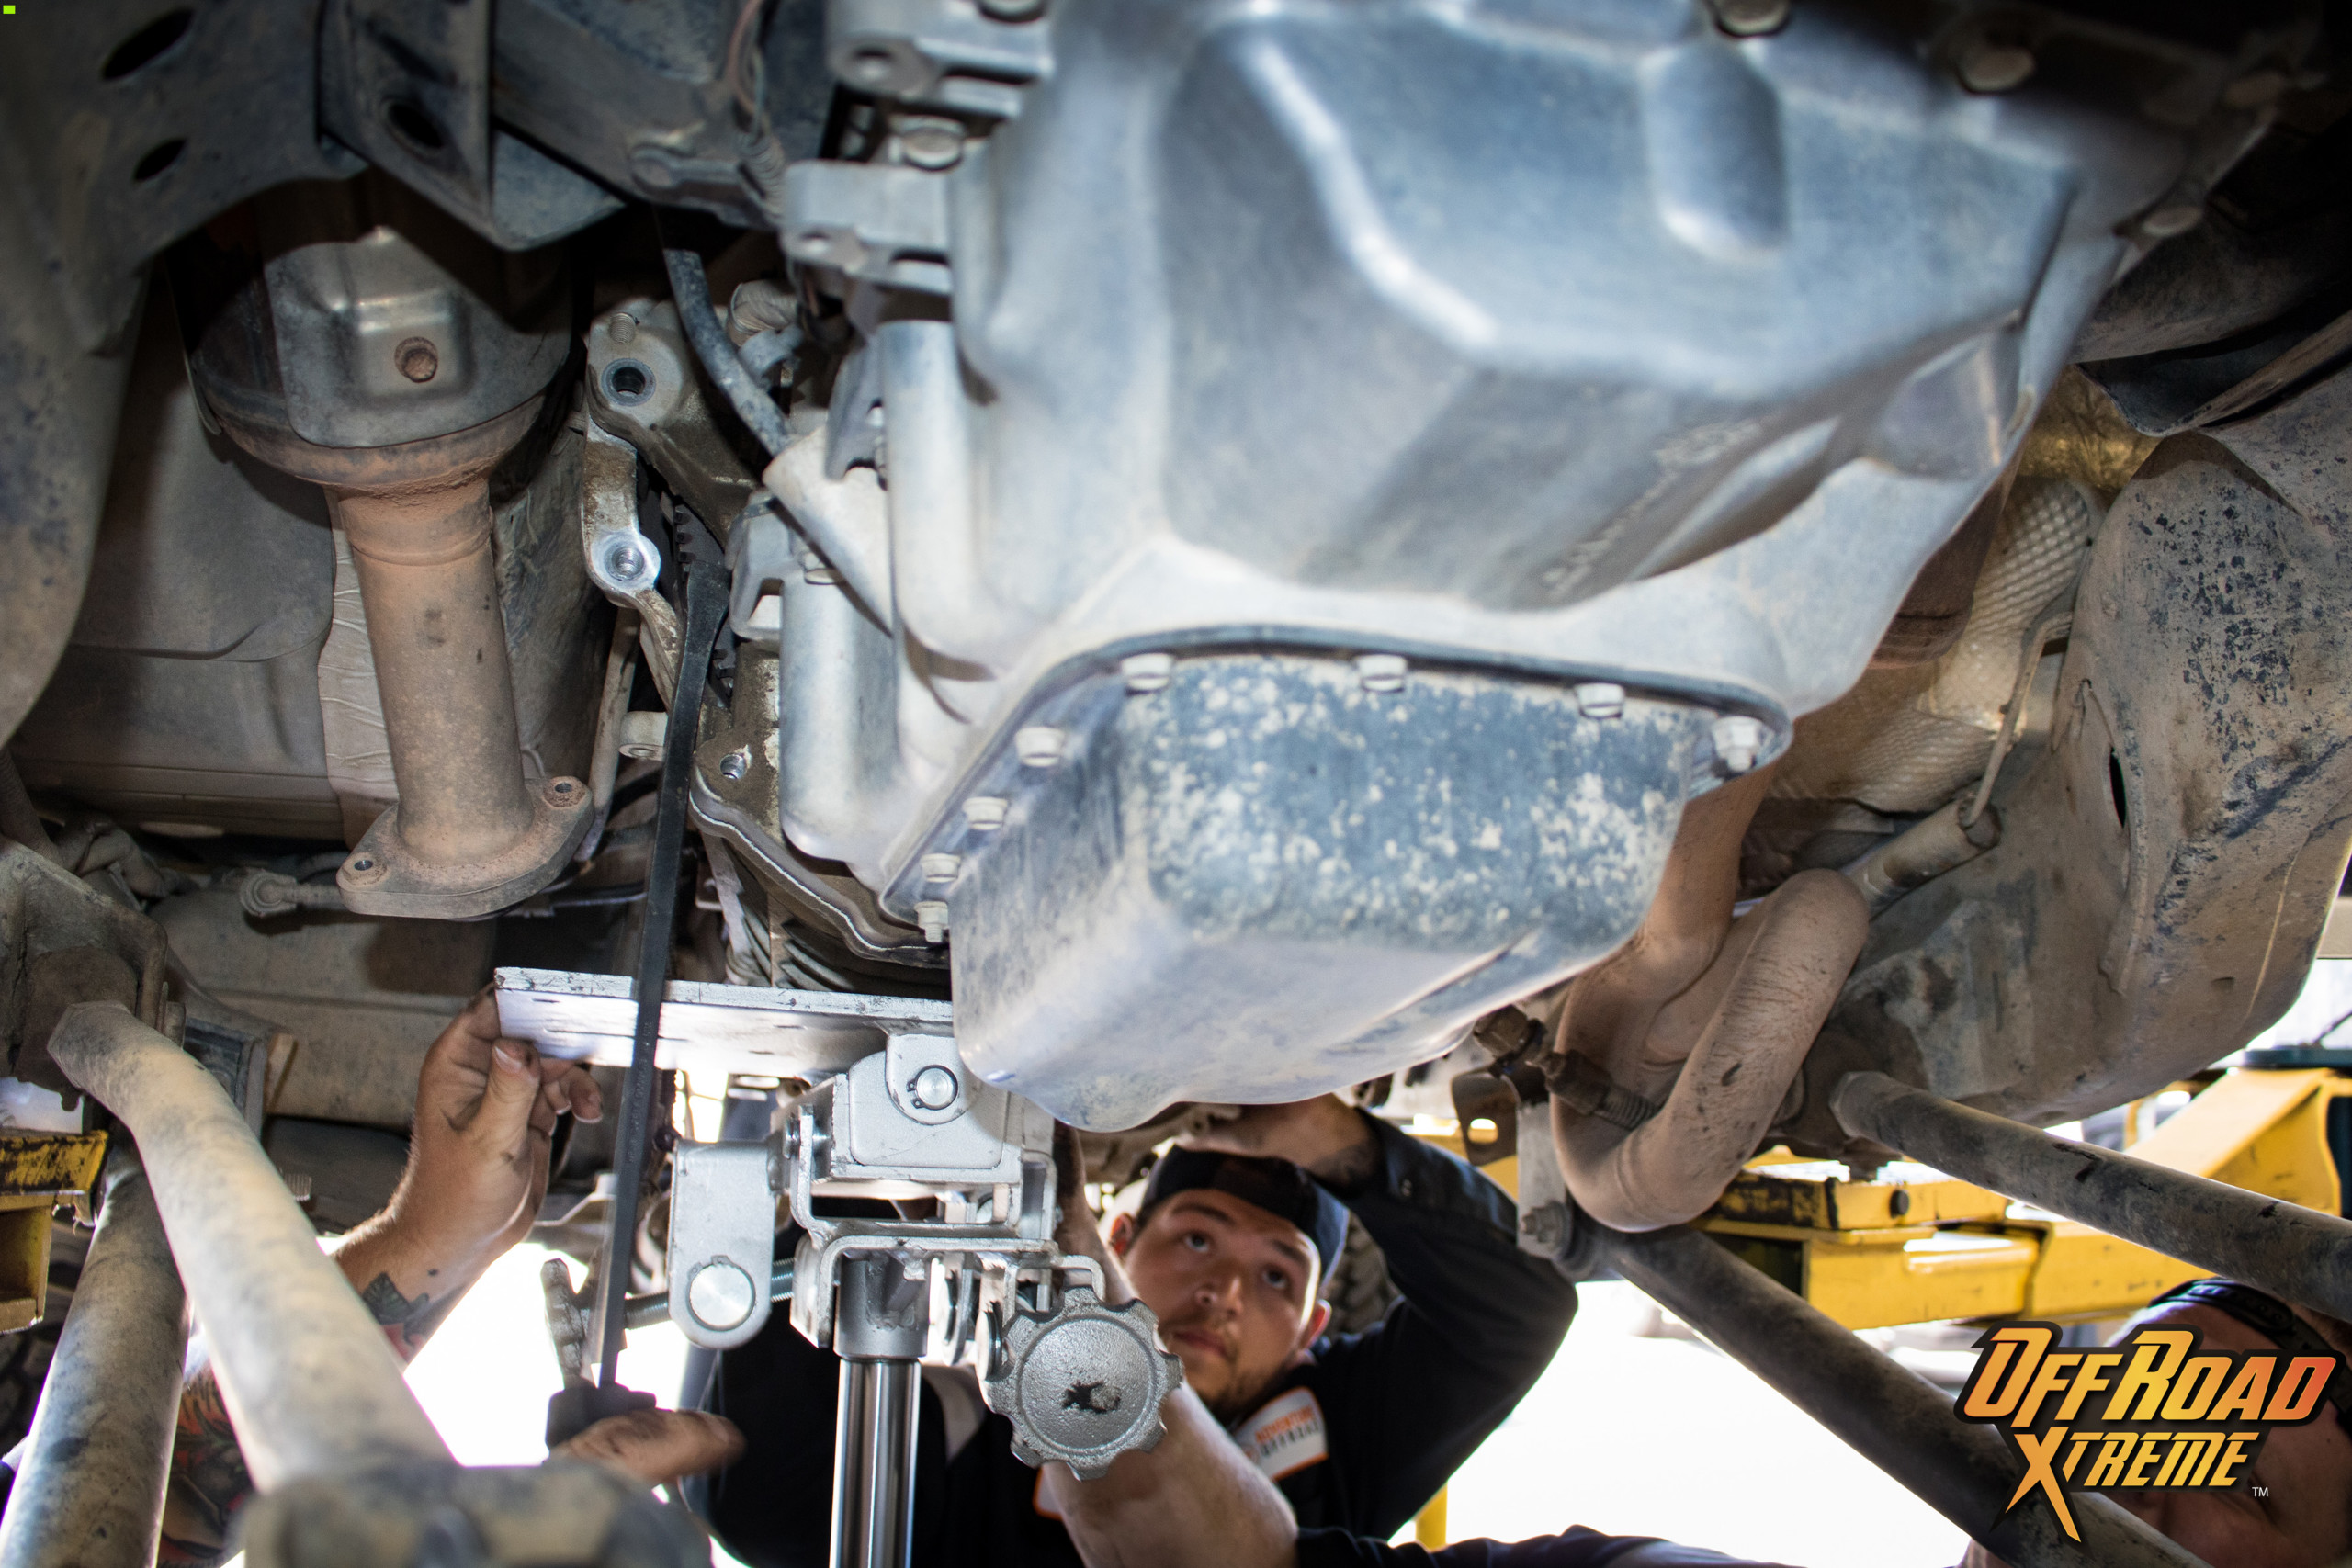
Support transmission. Prepare and remove the transfer case.
You May Find It Easier To Split The Transfer Case From The Transmission To Lighten The Load.
STEP 11:
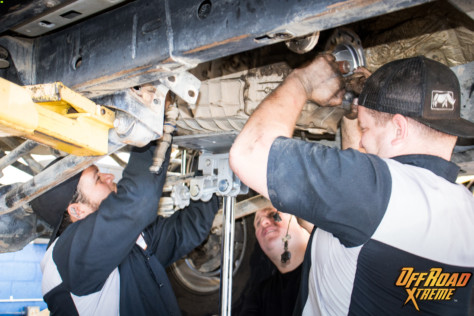
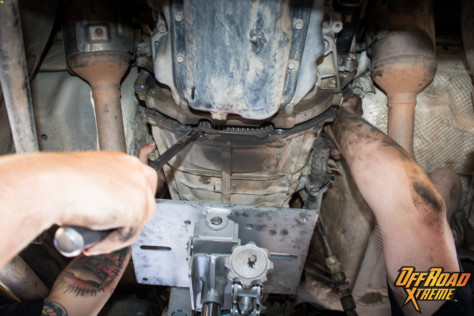
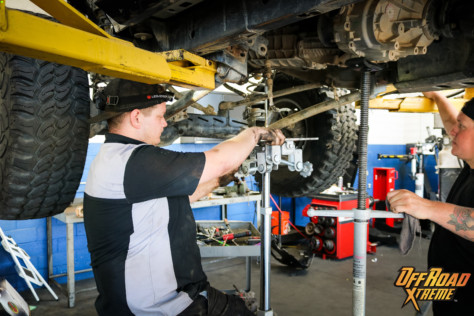
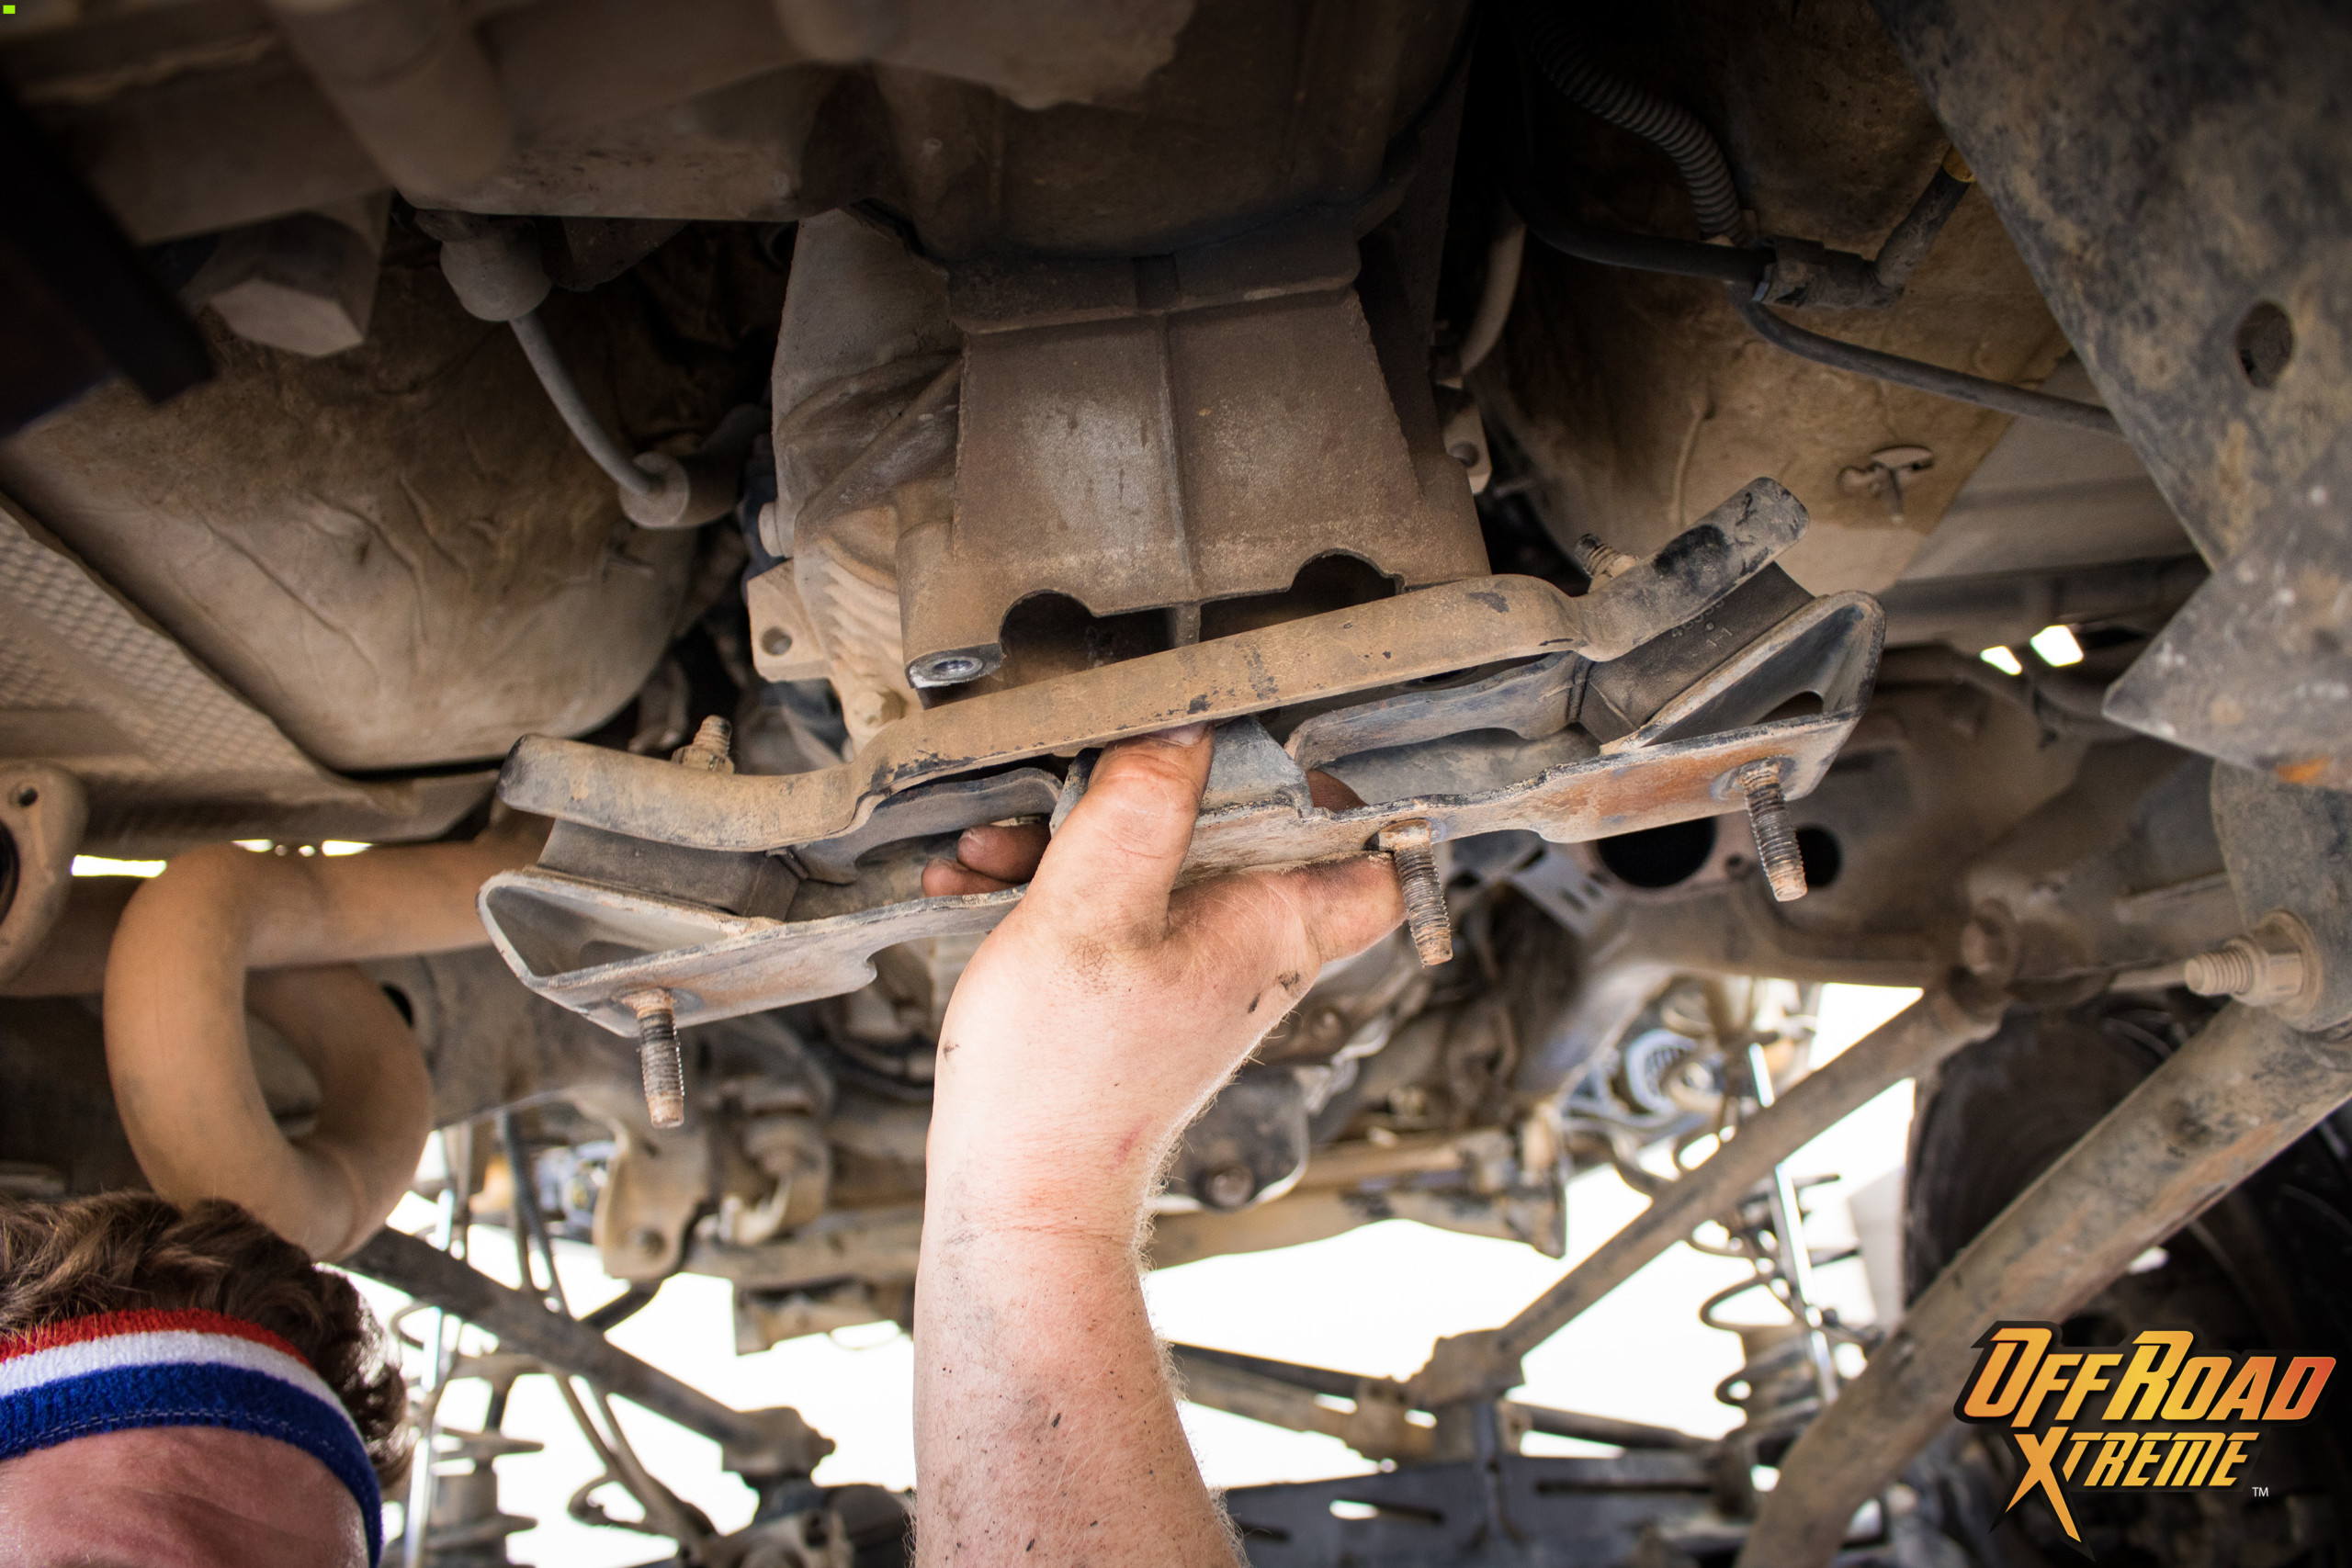
Remove the crossmember support.
- Loosen and remove two 18MM bolts attaching fuel tank skid plate to crossmember.
- Remove three 16MM nuts in the center of the crossmember attaching transmission to the isolator. The nuts are located inside the crossmember support.
- Loosen and remove two 18MM bolts from each end of the crossmember.
- Remove and set aside the crossmember.

STEP 12:
Slowly lower the transmission a couple of inches to allow access to the top of two bellhousing bolts and remove two 15MM bolts. Note which bolts go where when removing. It is a good idea to strap down or secure the transmission to a transmission jack.


STEP 13:
Continue to lower transmission until you have proper clearance to slide transmission out easily. Be mindful of your engine mounts and the wiring harness running along the top of the firewall inside the engine compartment.
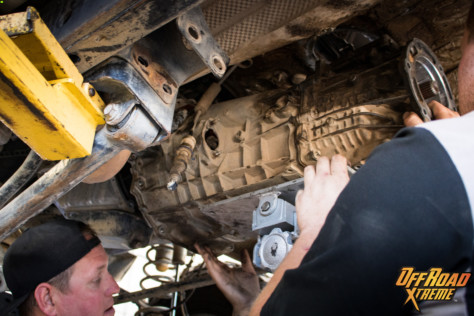
STEP 14:
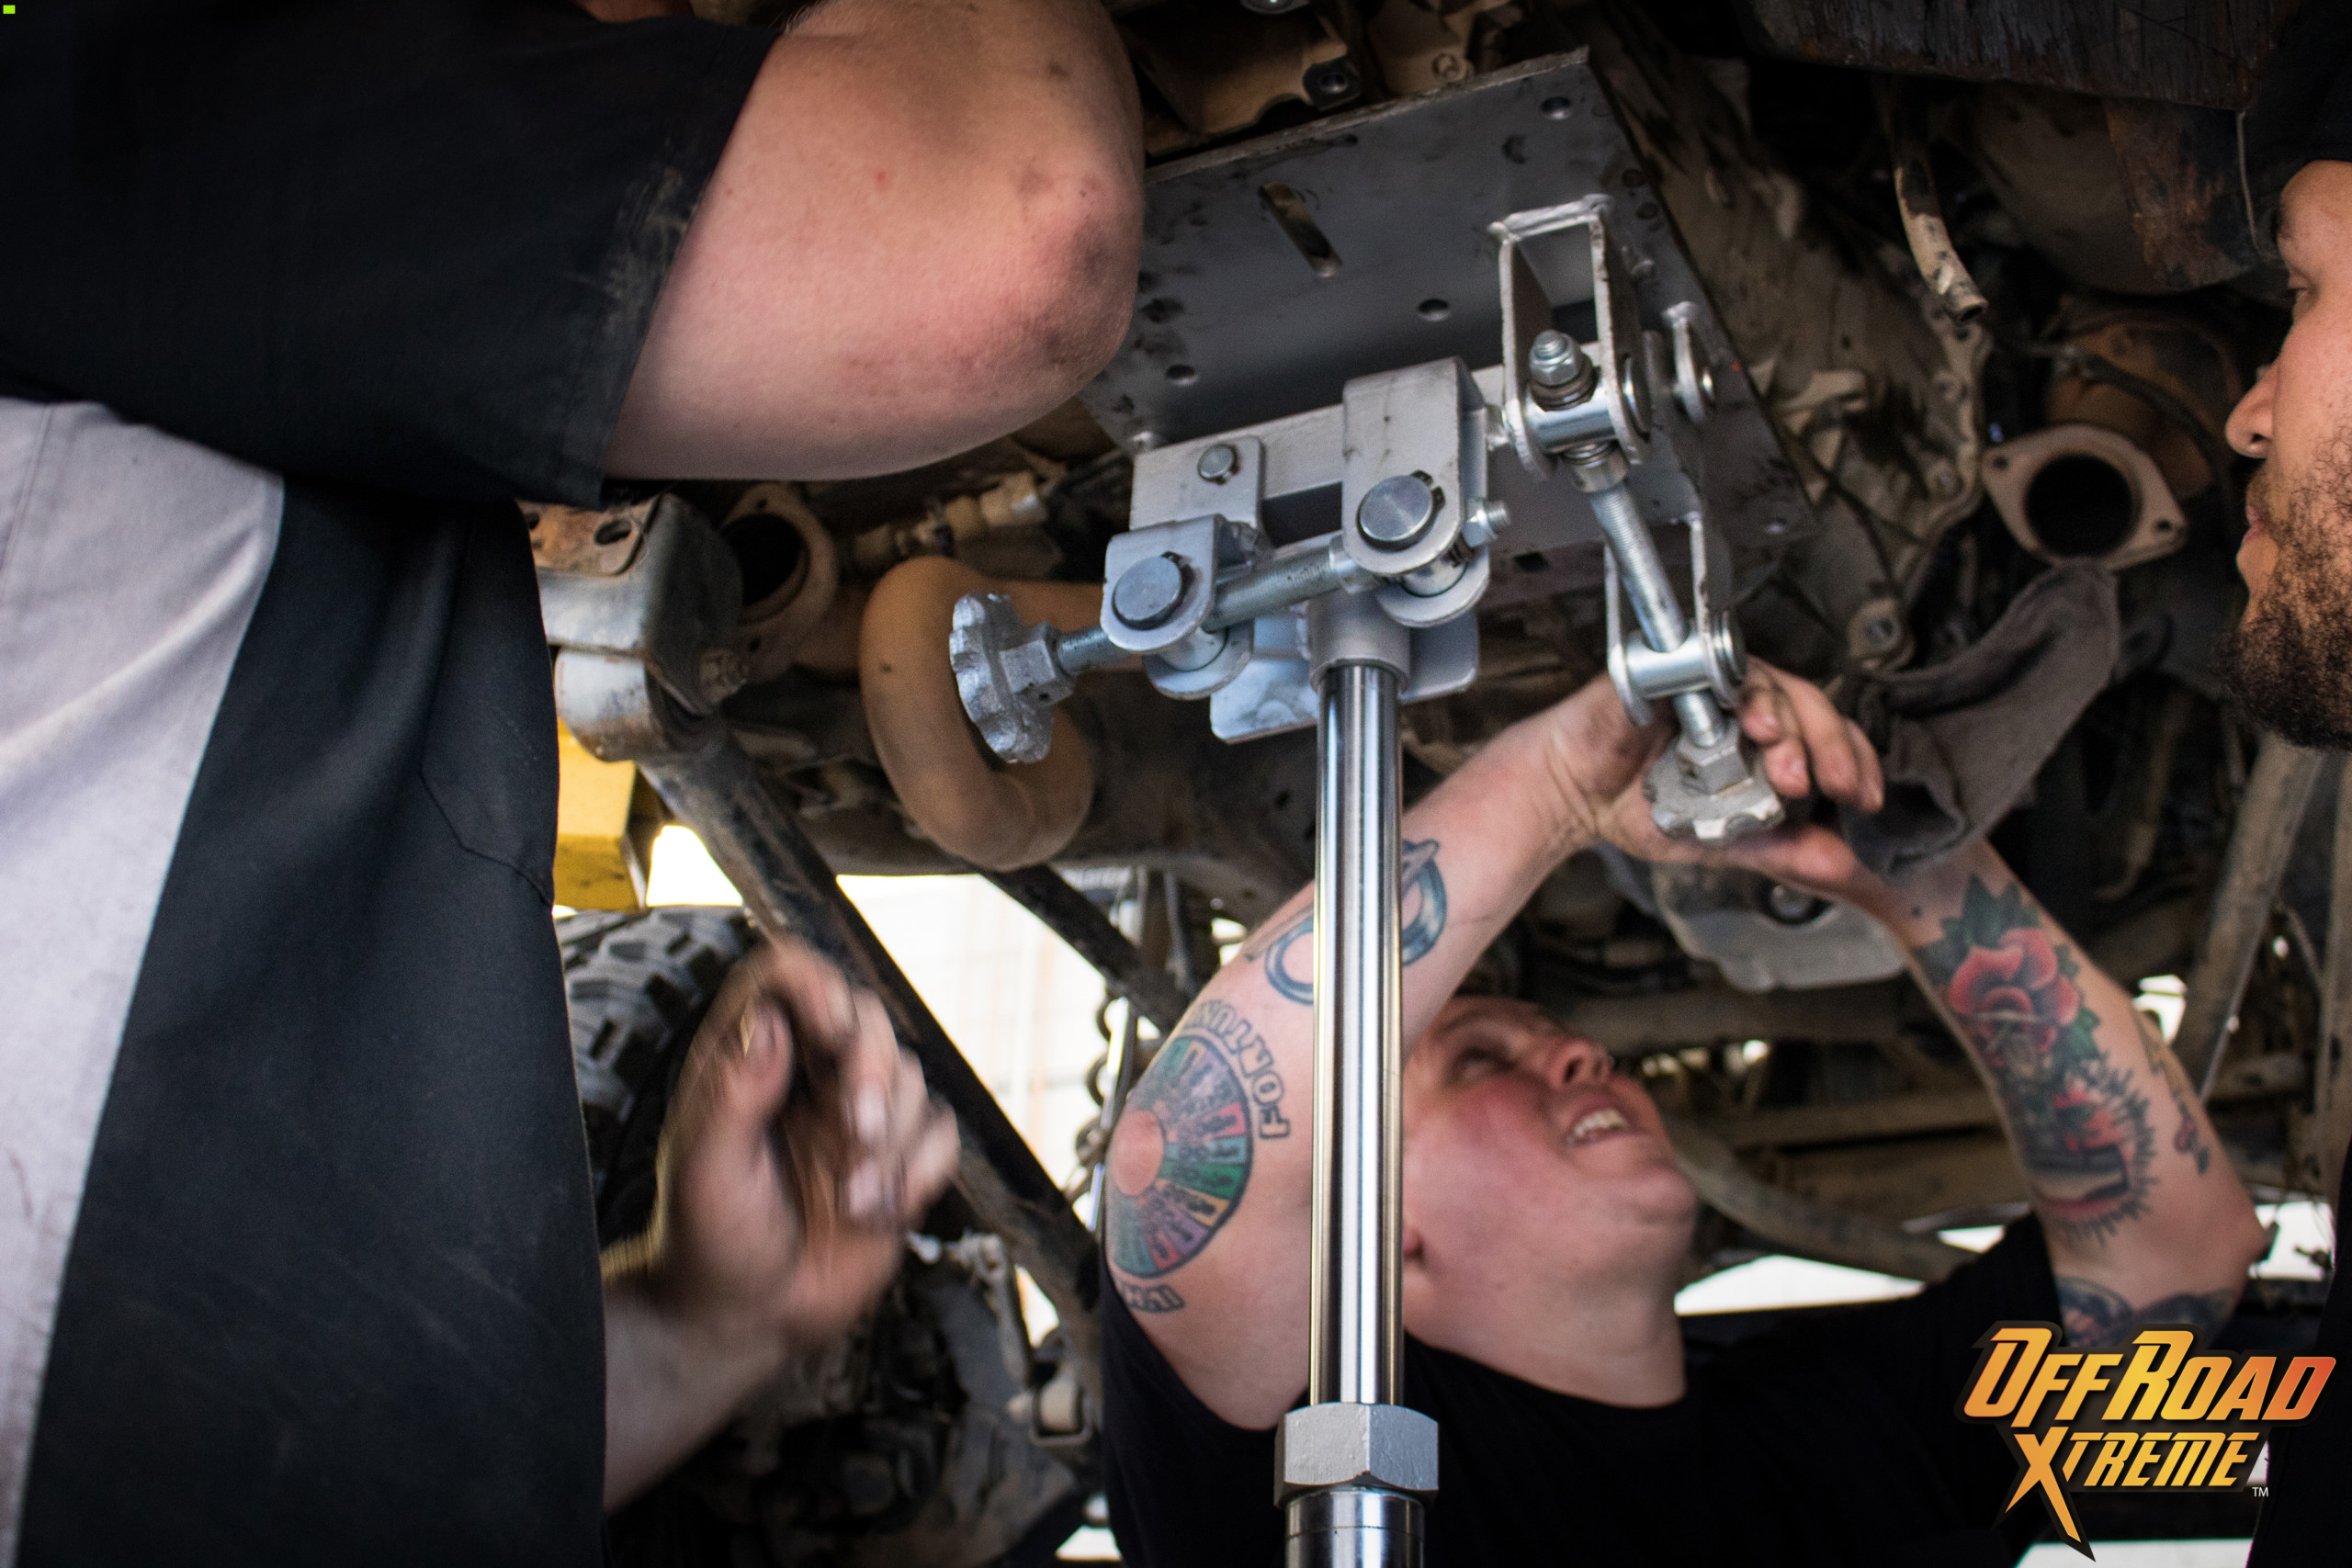
Brace and support the engine with a stand or jack under the front end of the engine. DO NOT allow the engine to drop back to level when removing the transmission. You risk damage and it will make reinstallation more difficult.
STEP 15:
Remove remaining 15MM bolts around bellhousing.
STEP 16:
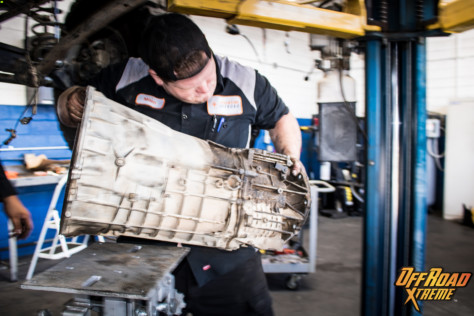
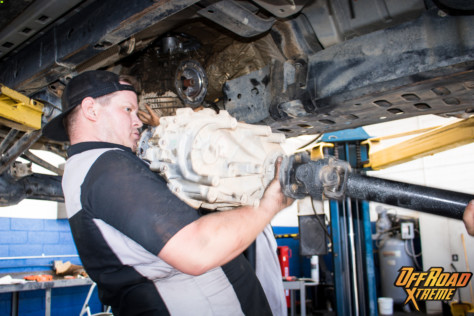
Slide transmission out and down.
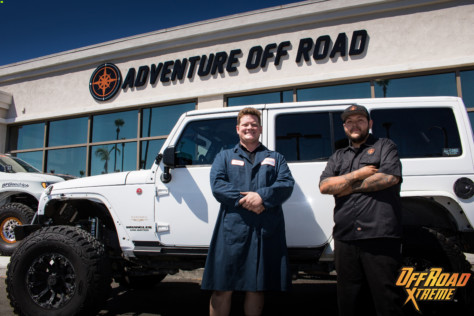
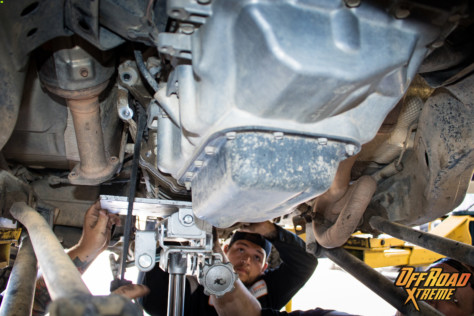
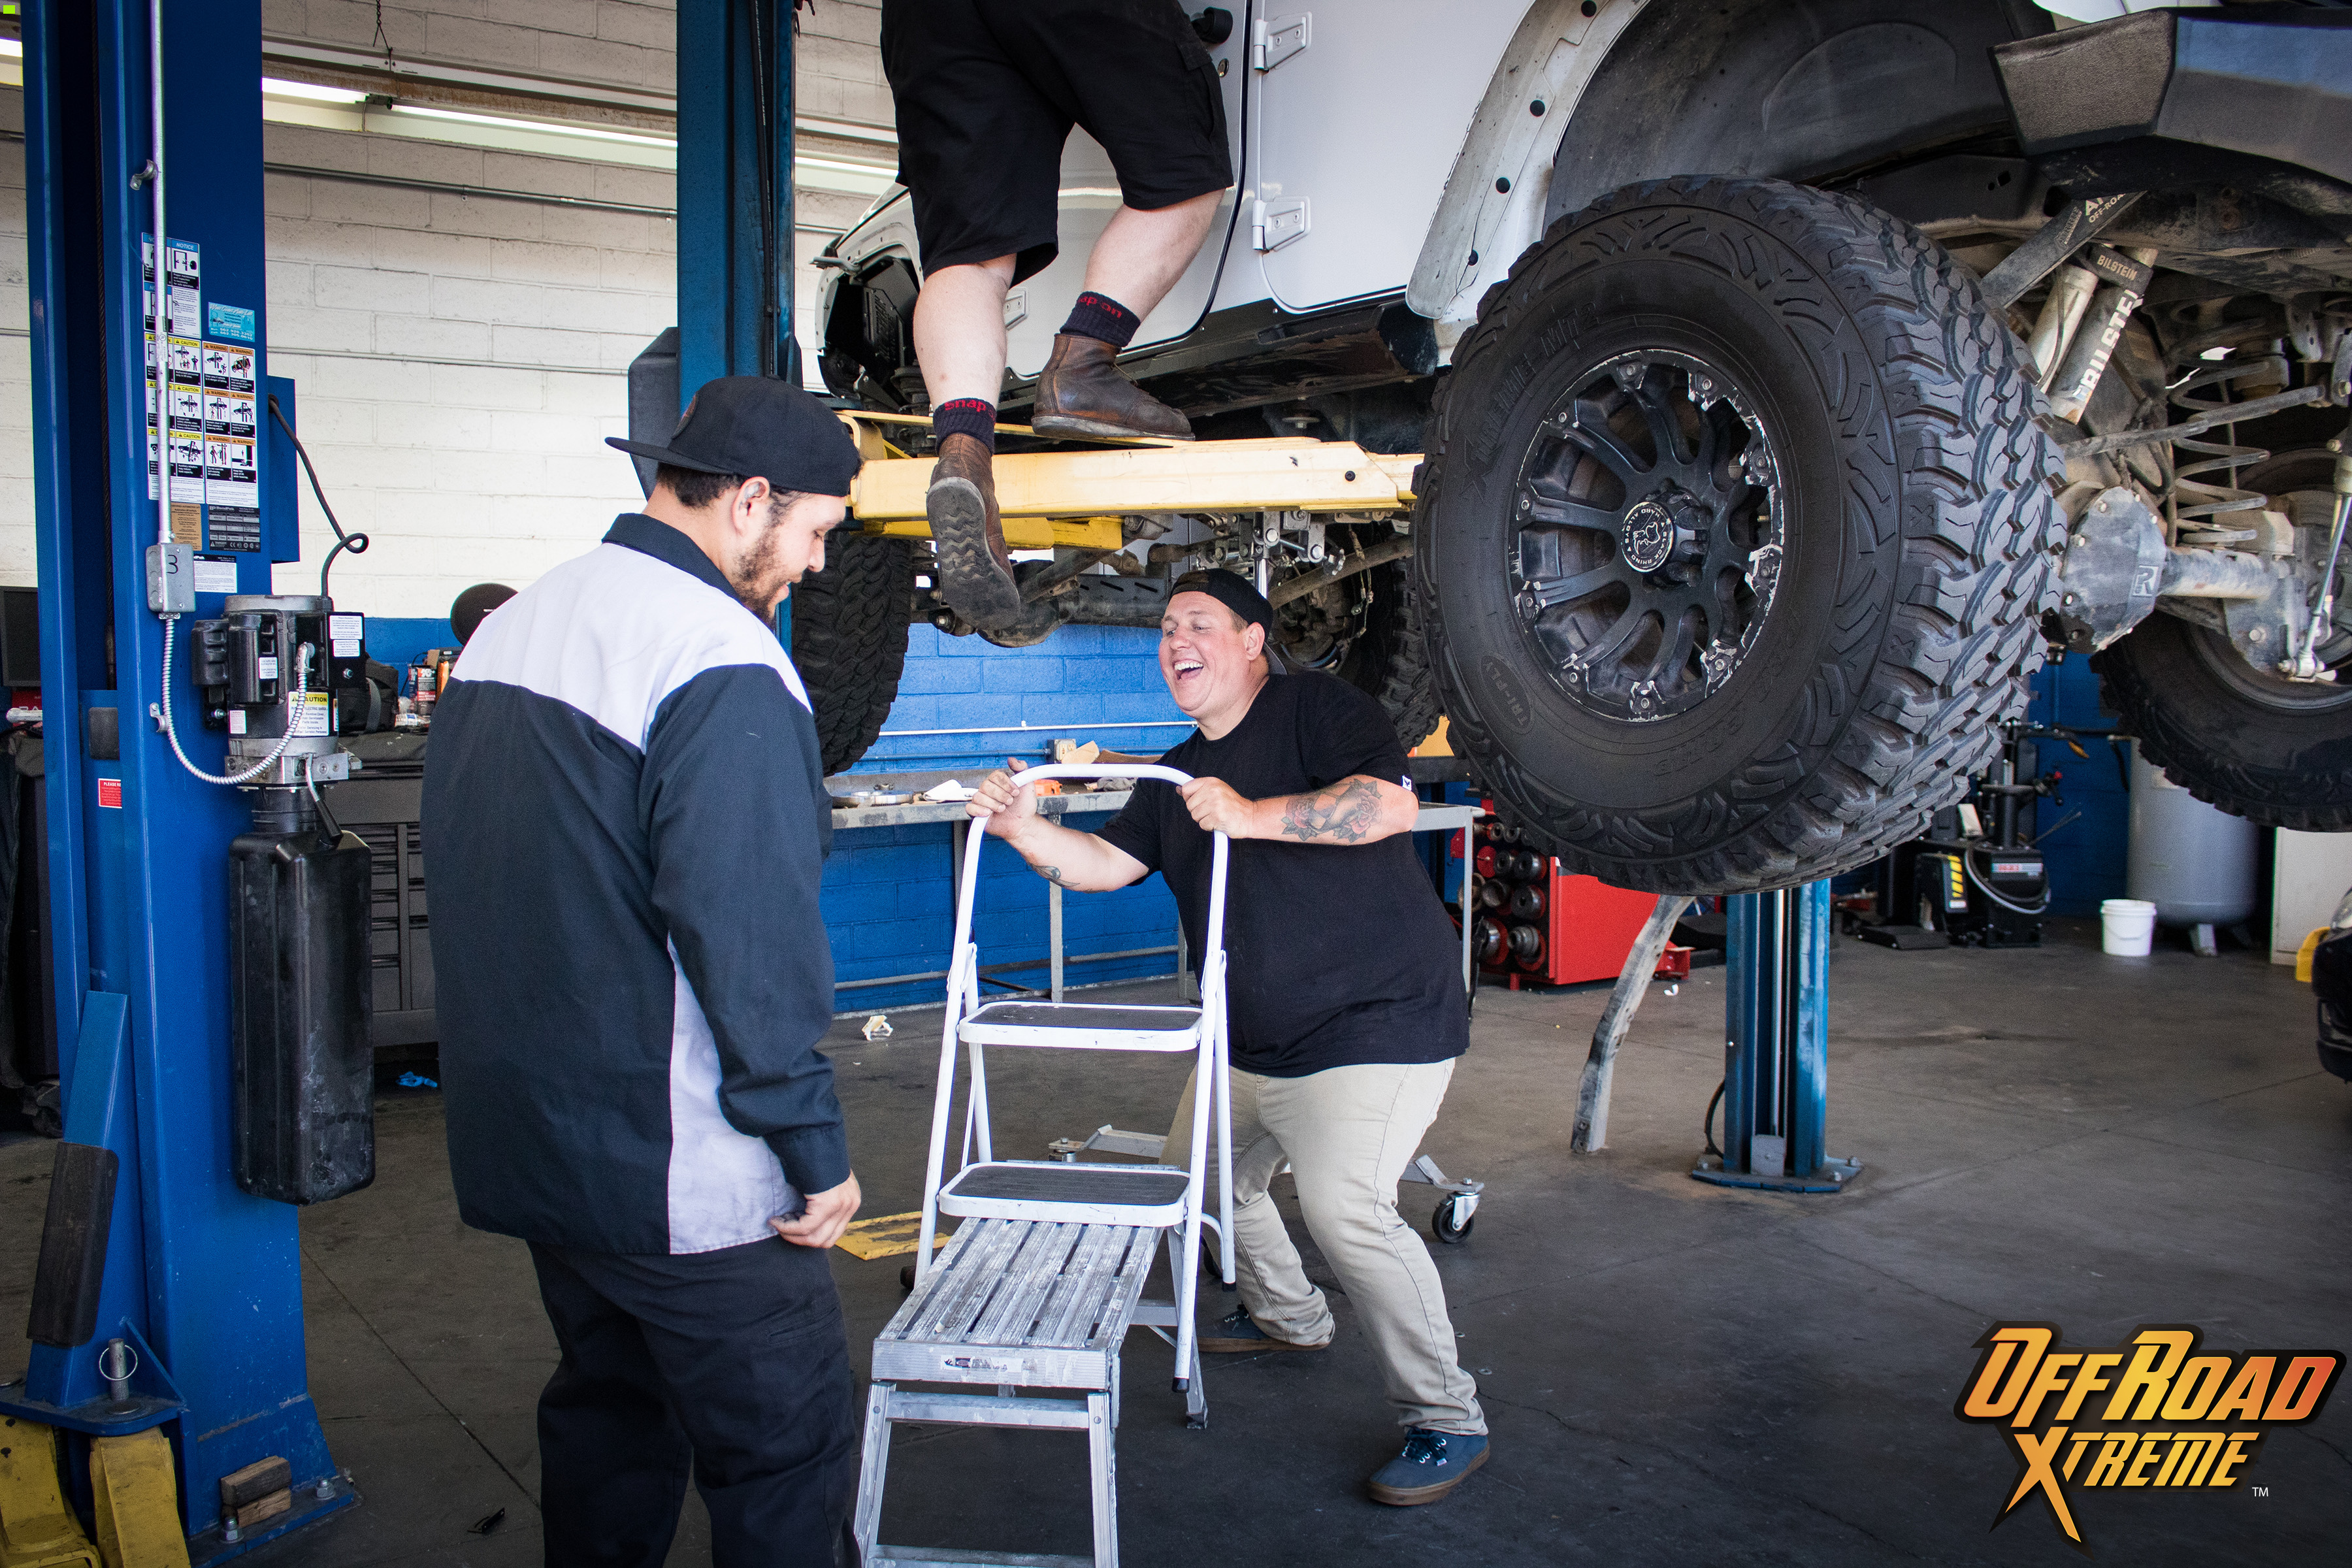
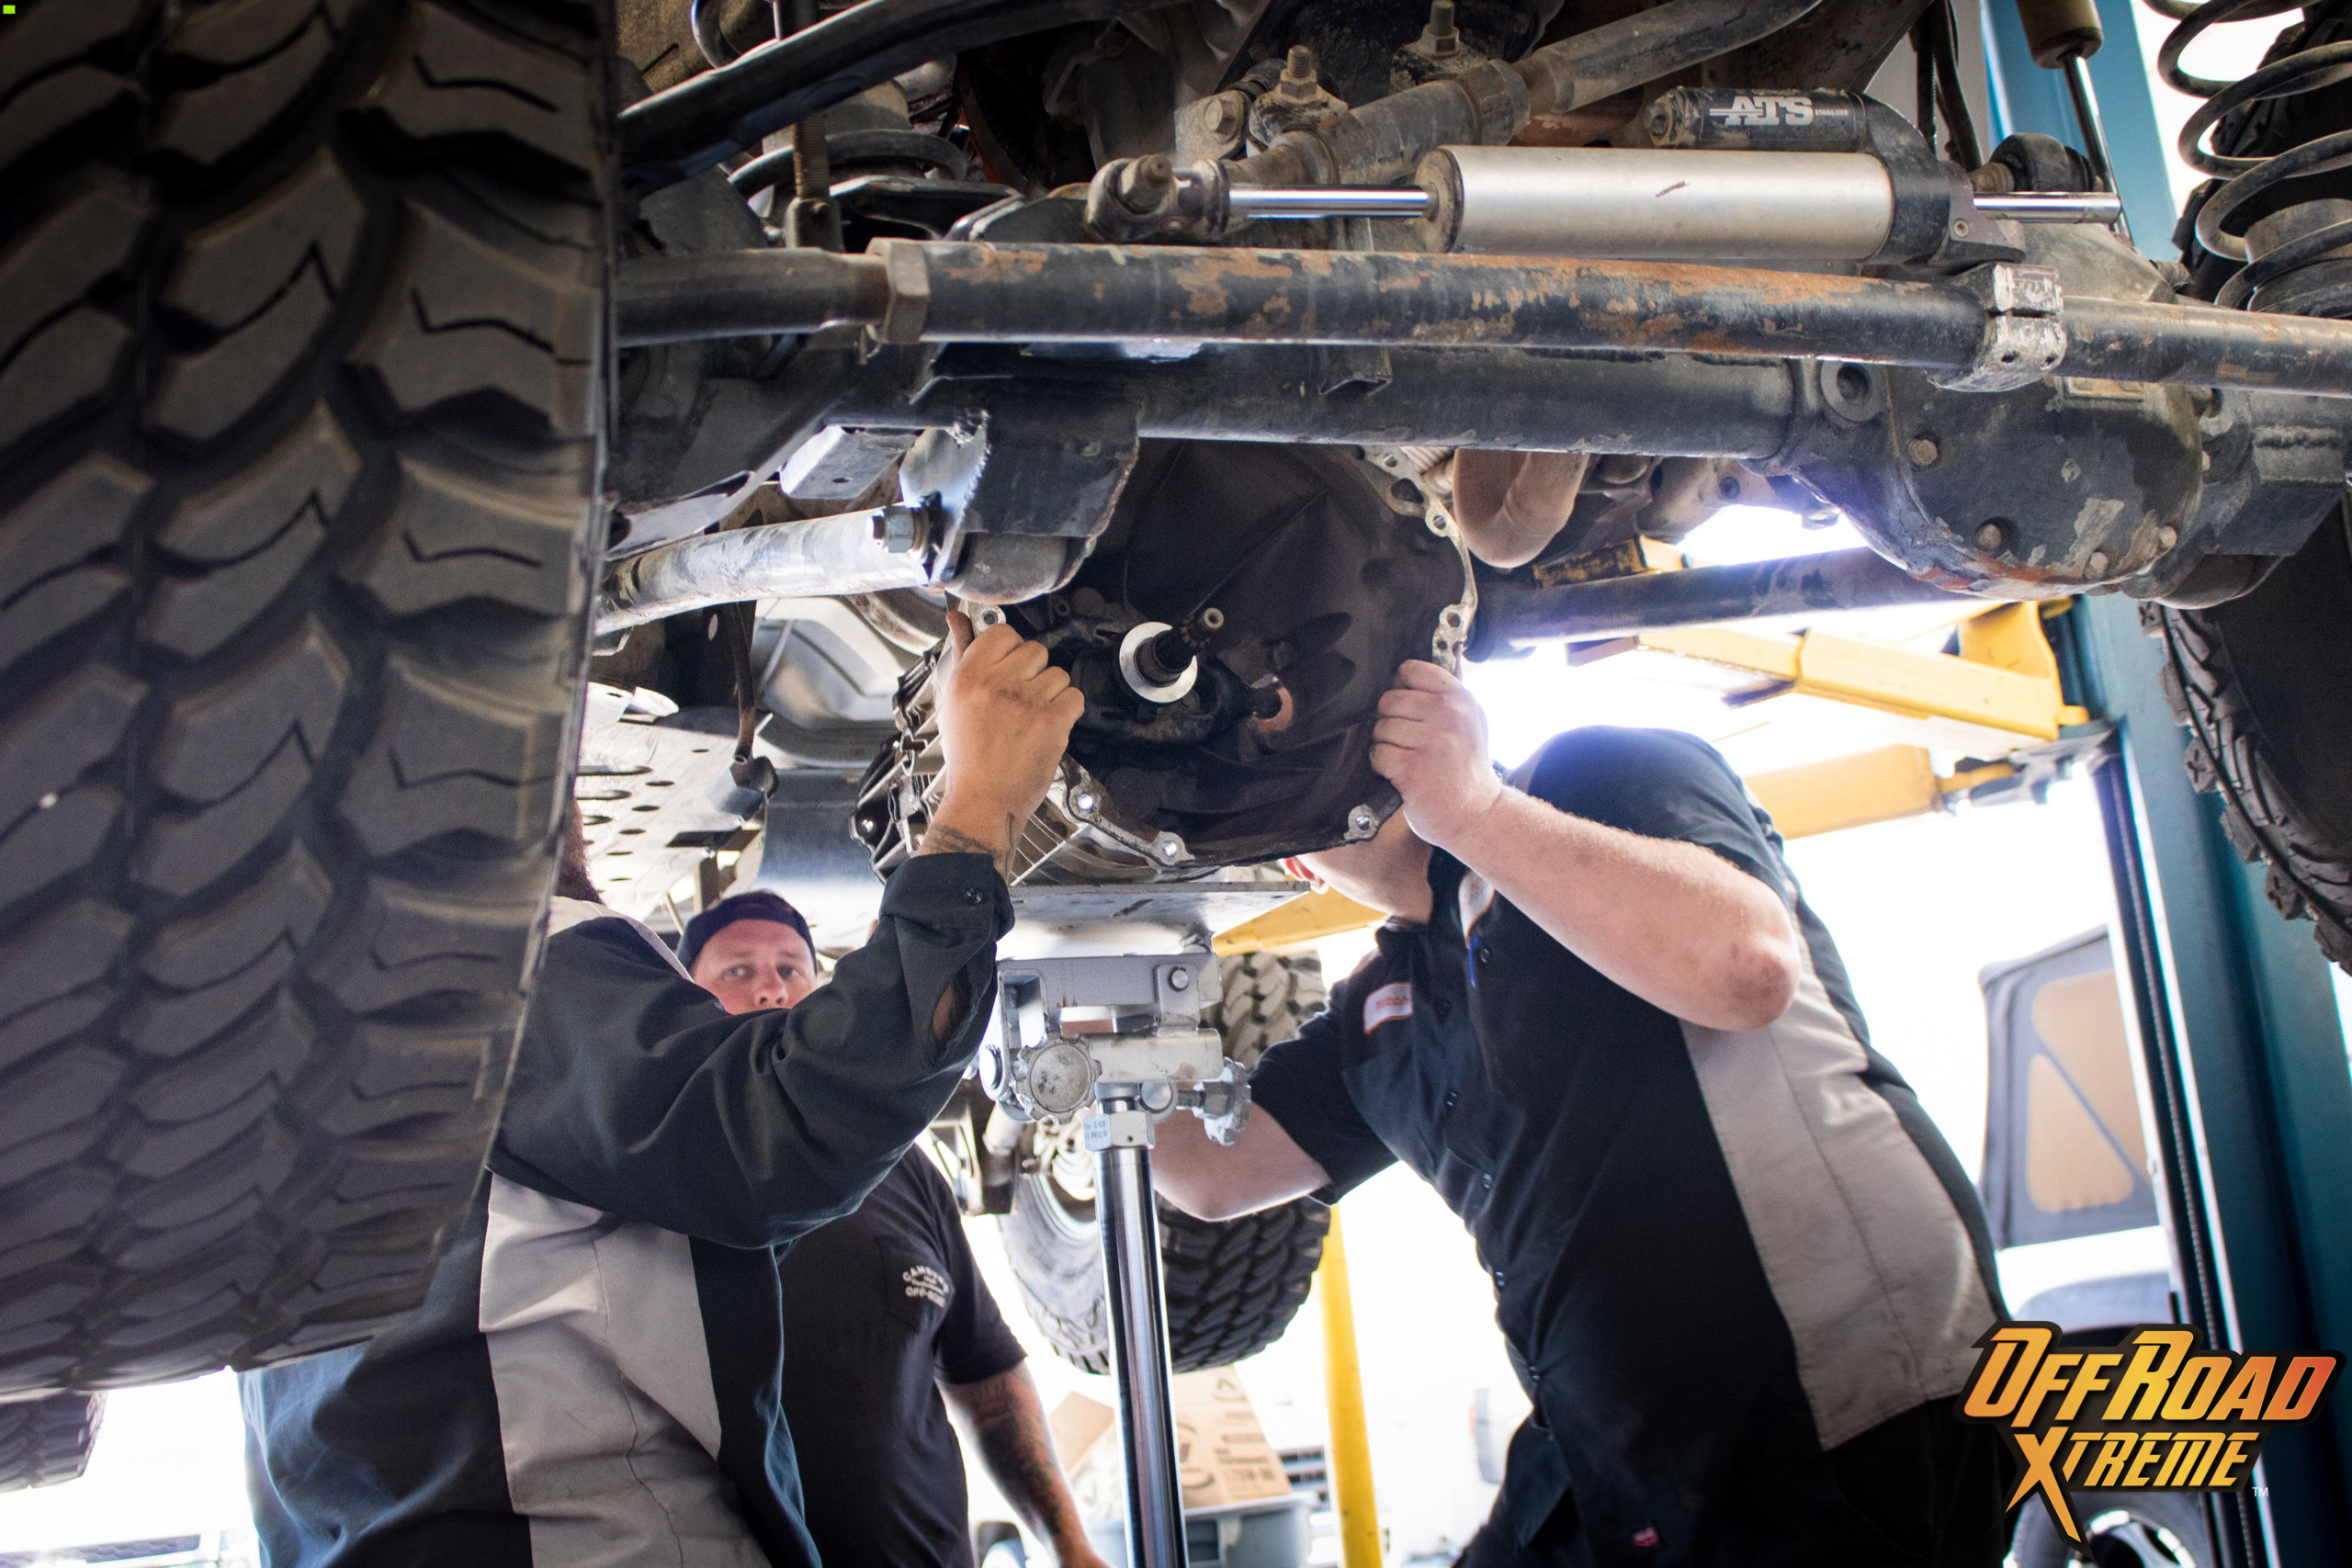
Adventure Off-Road Has A Good Crew That Makes Hard Work Look Easy.


OFF ROAD XTREME PRO TIP:
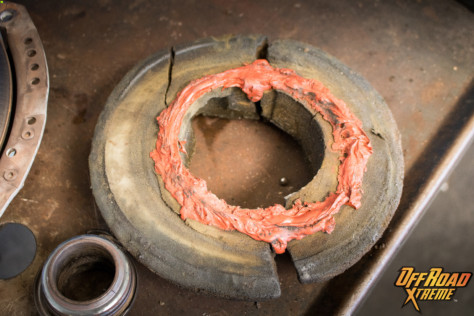
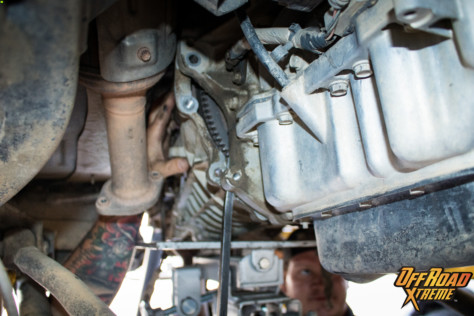
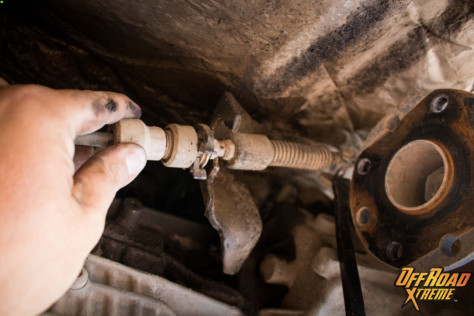
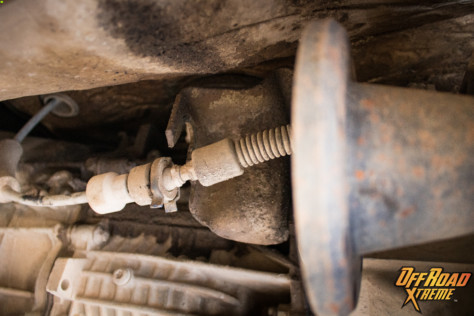
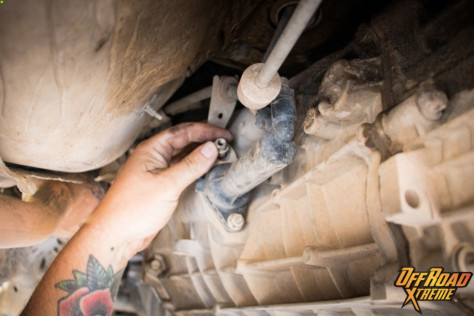
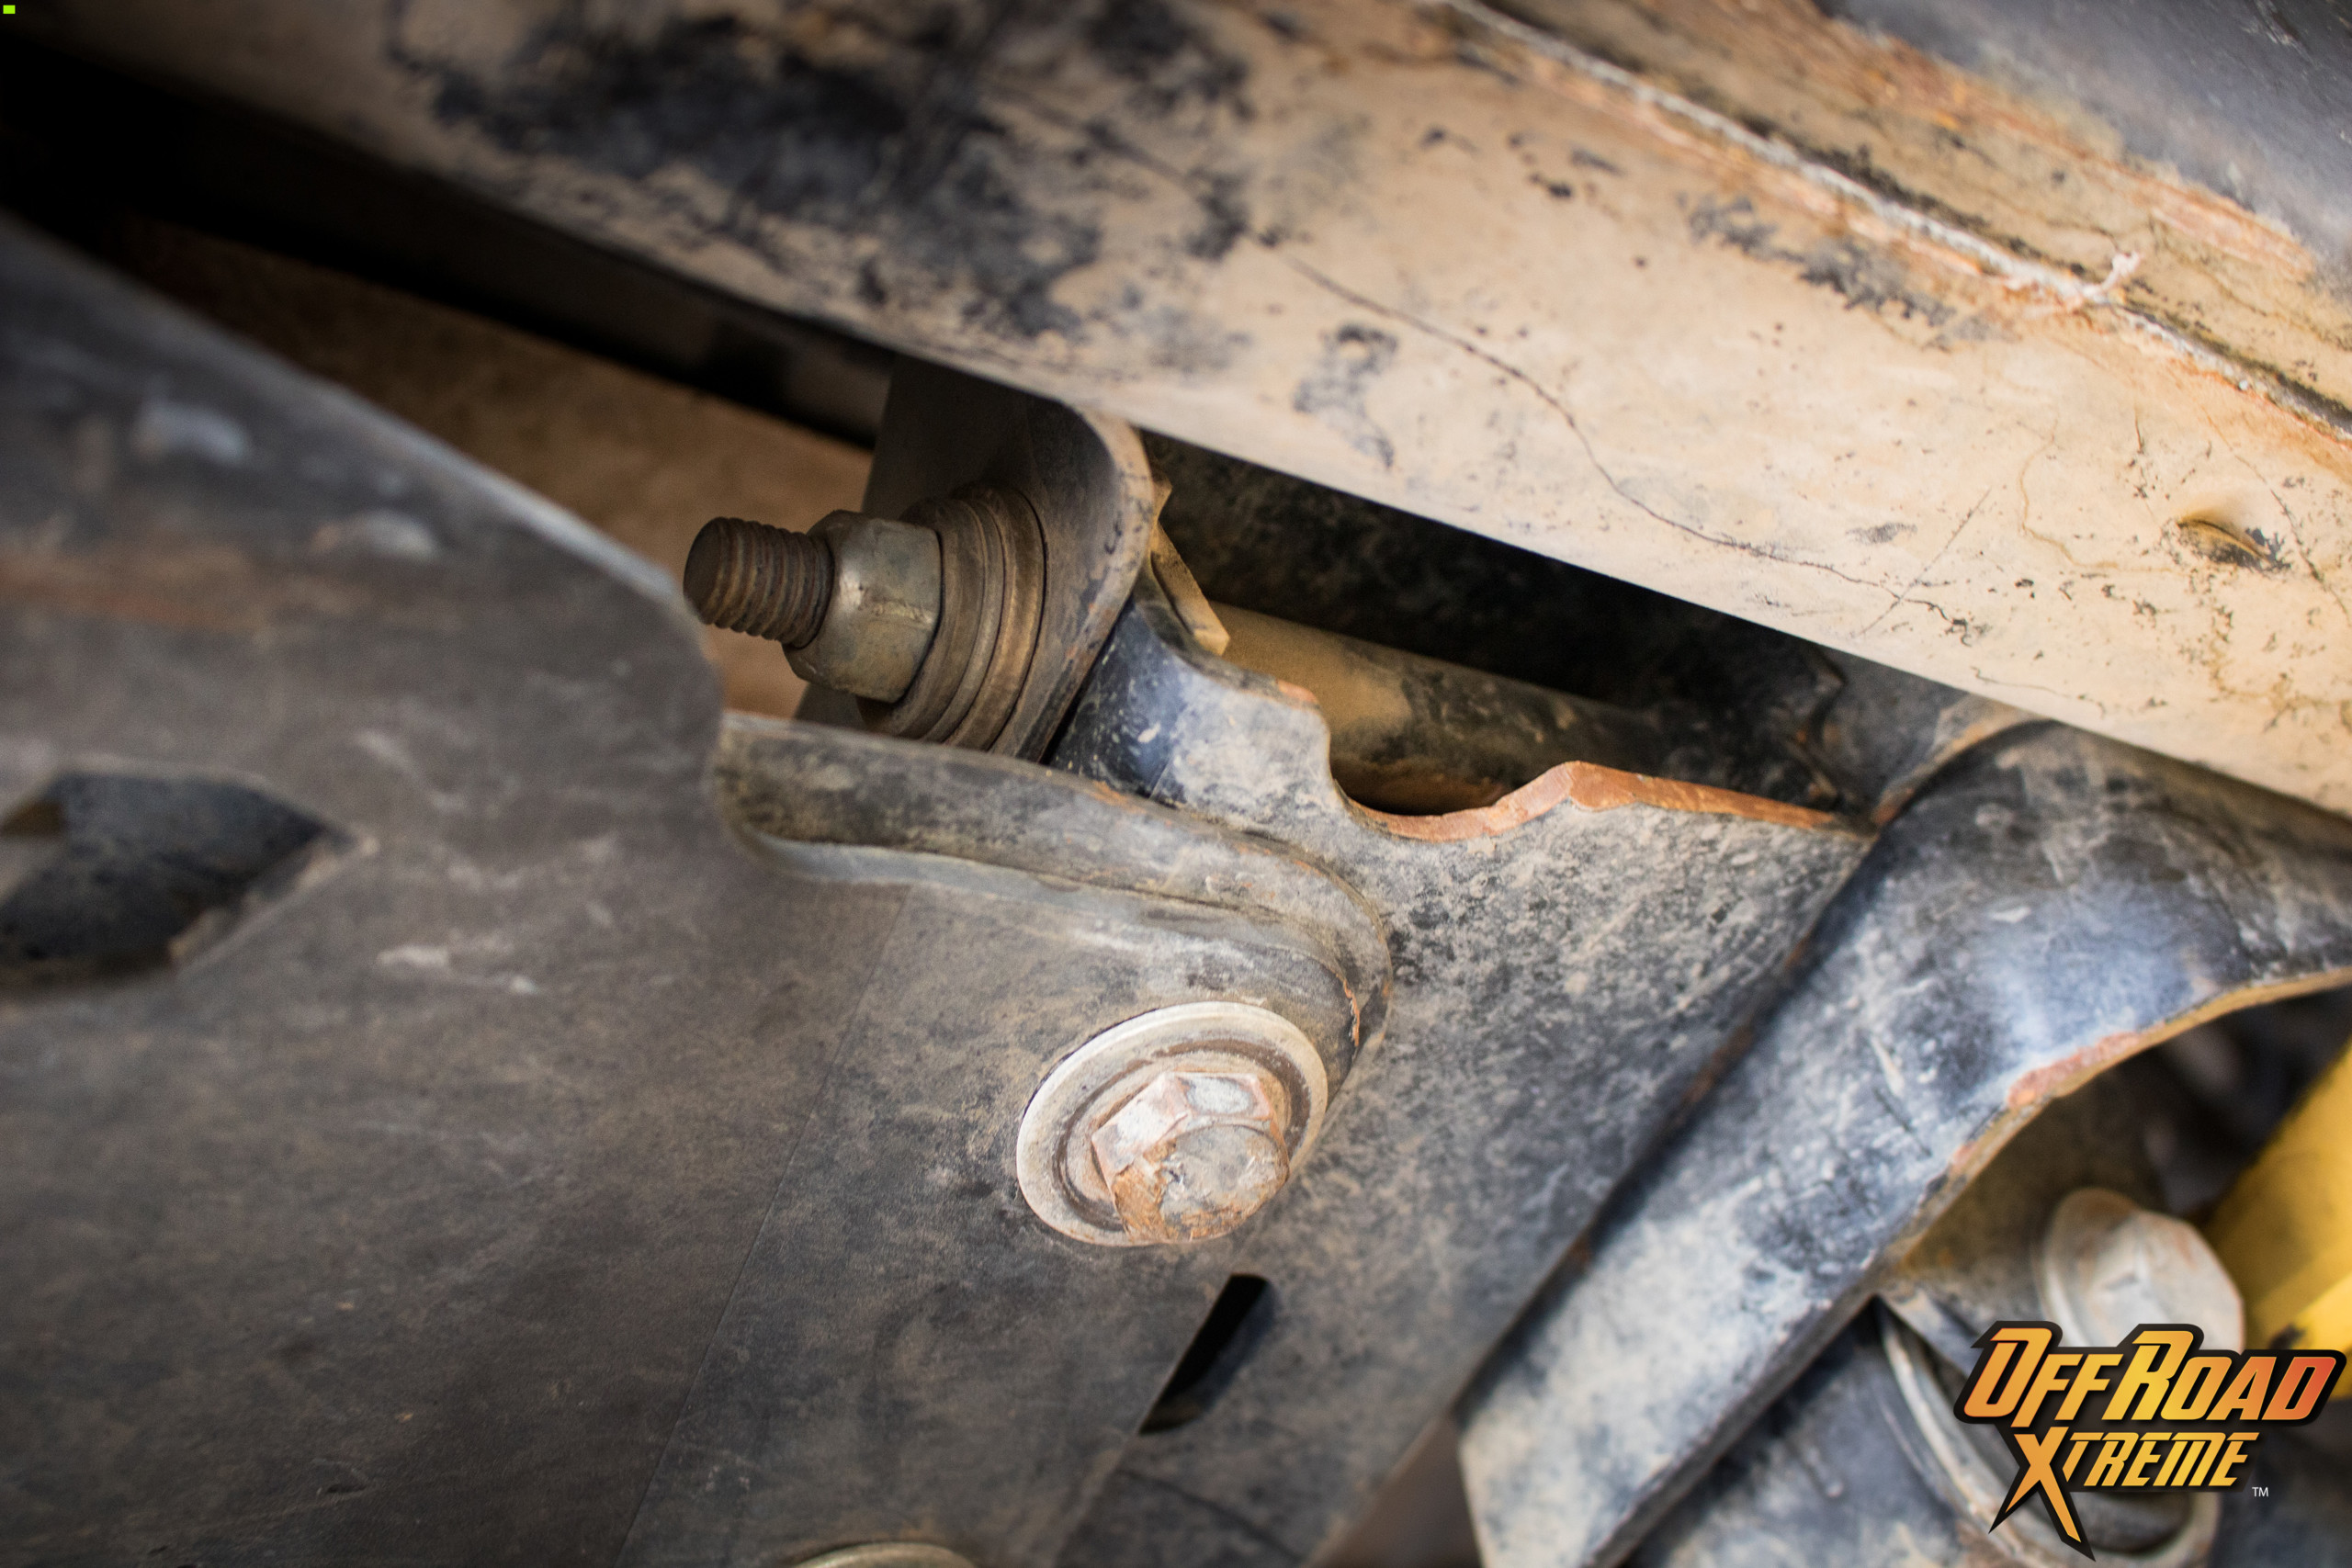
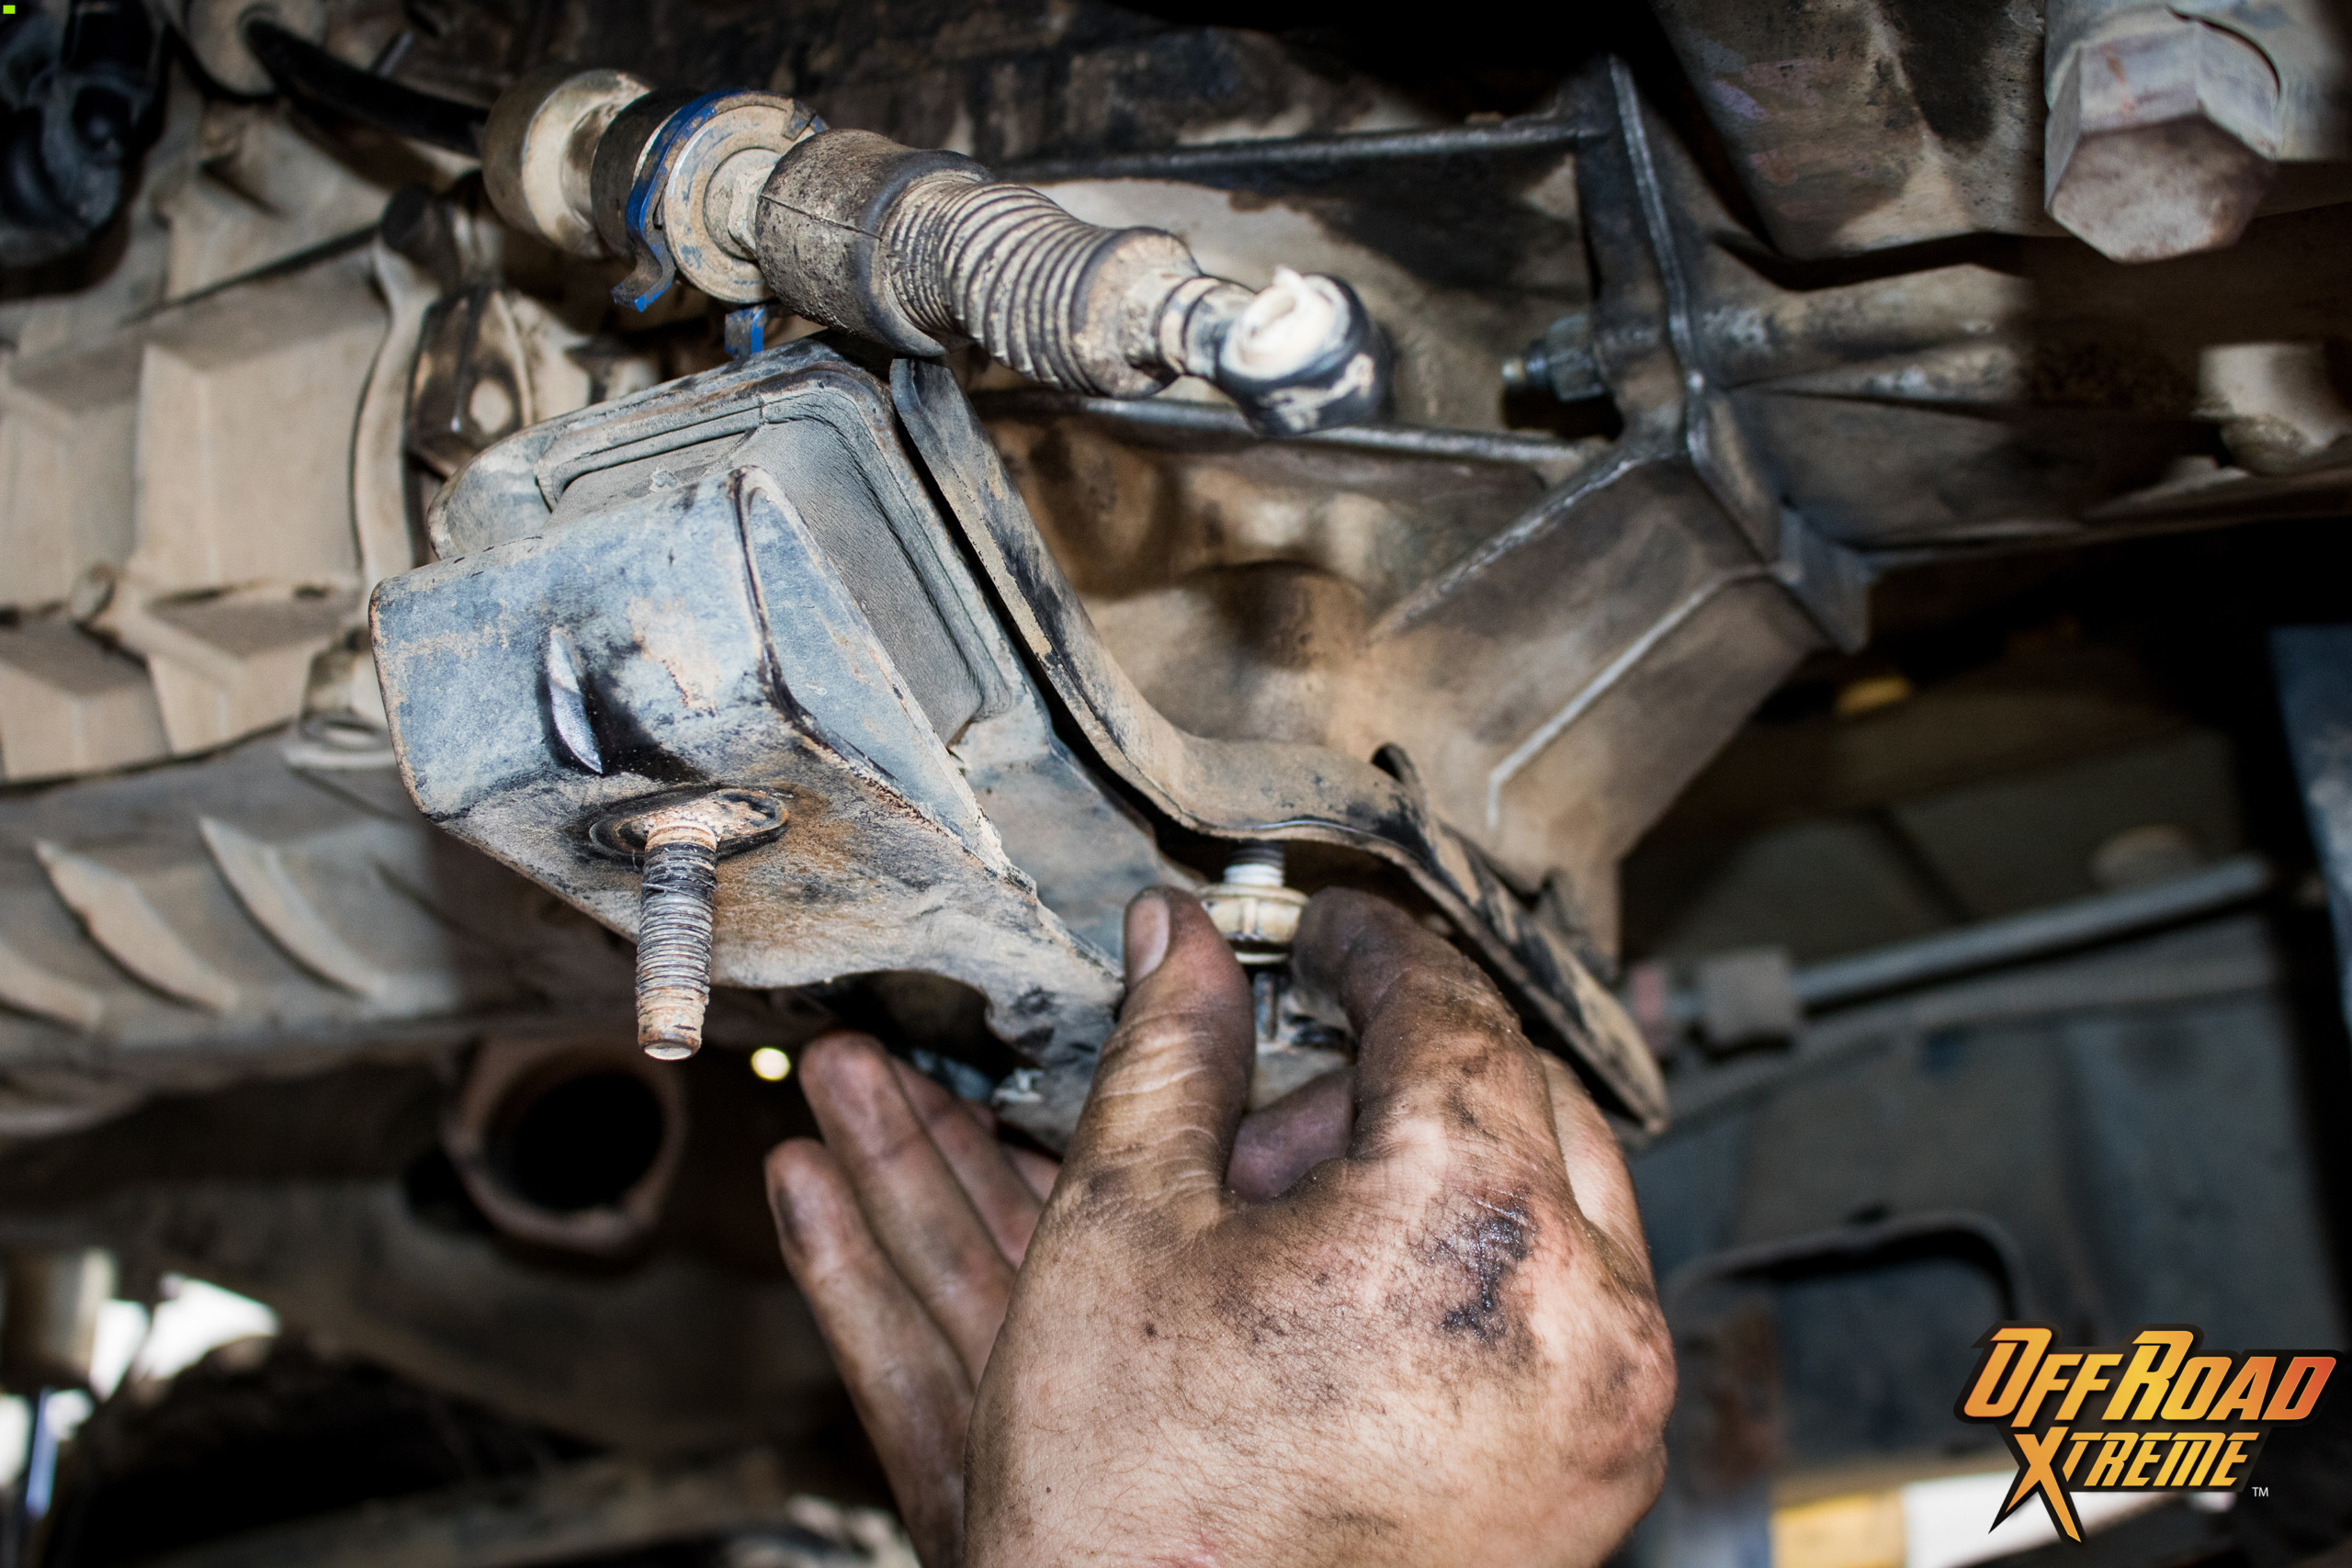
When doing a comprehensive job such as a clutch replacement, it is a good idea to take the time to go over the vehicle undercarriage and visually inspect all that is there. Inspect, clean, and replace any worn parts/mounts/bushings/and seals as necessary.
STEP 17:
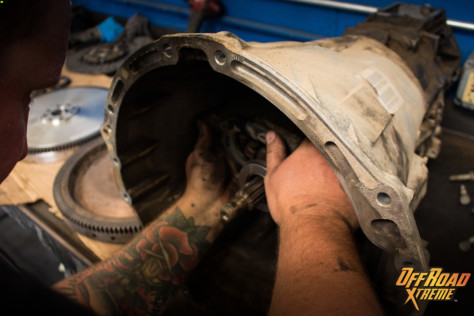
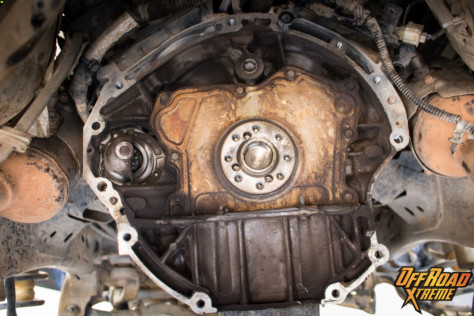
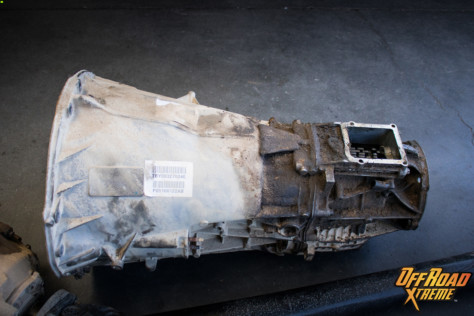
With the transmission removed, thoroughly clean inside of transmission bellhousing.

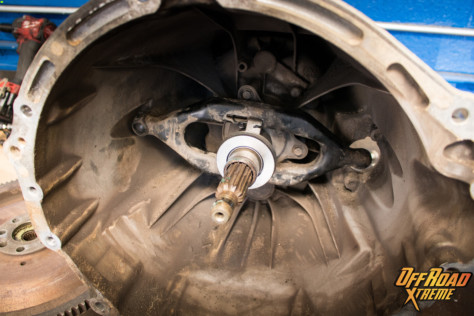
STEP 18:
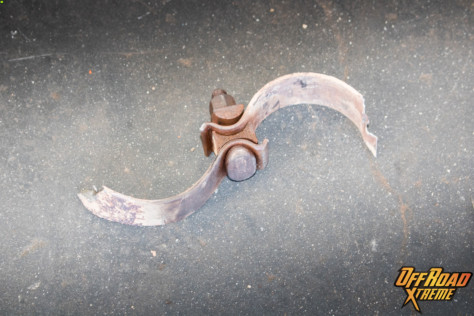
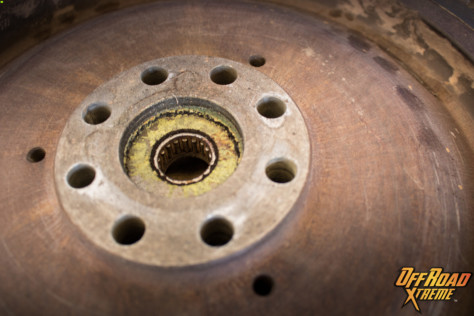
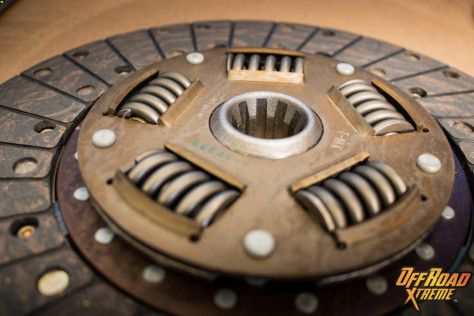
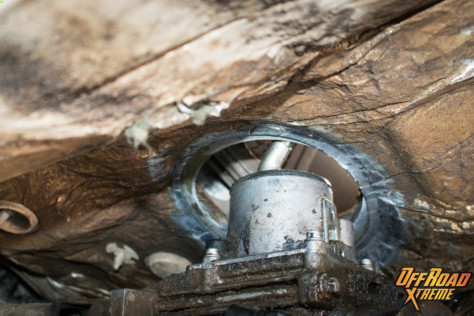
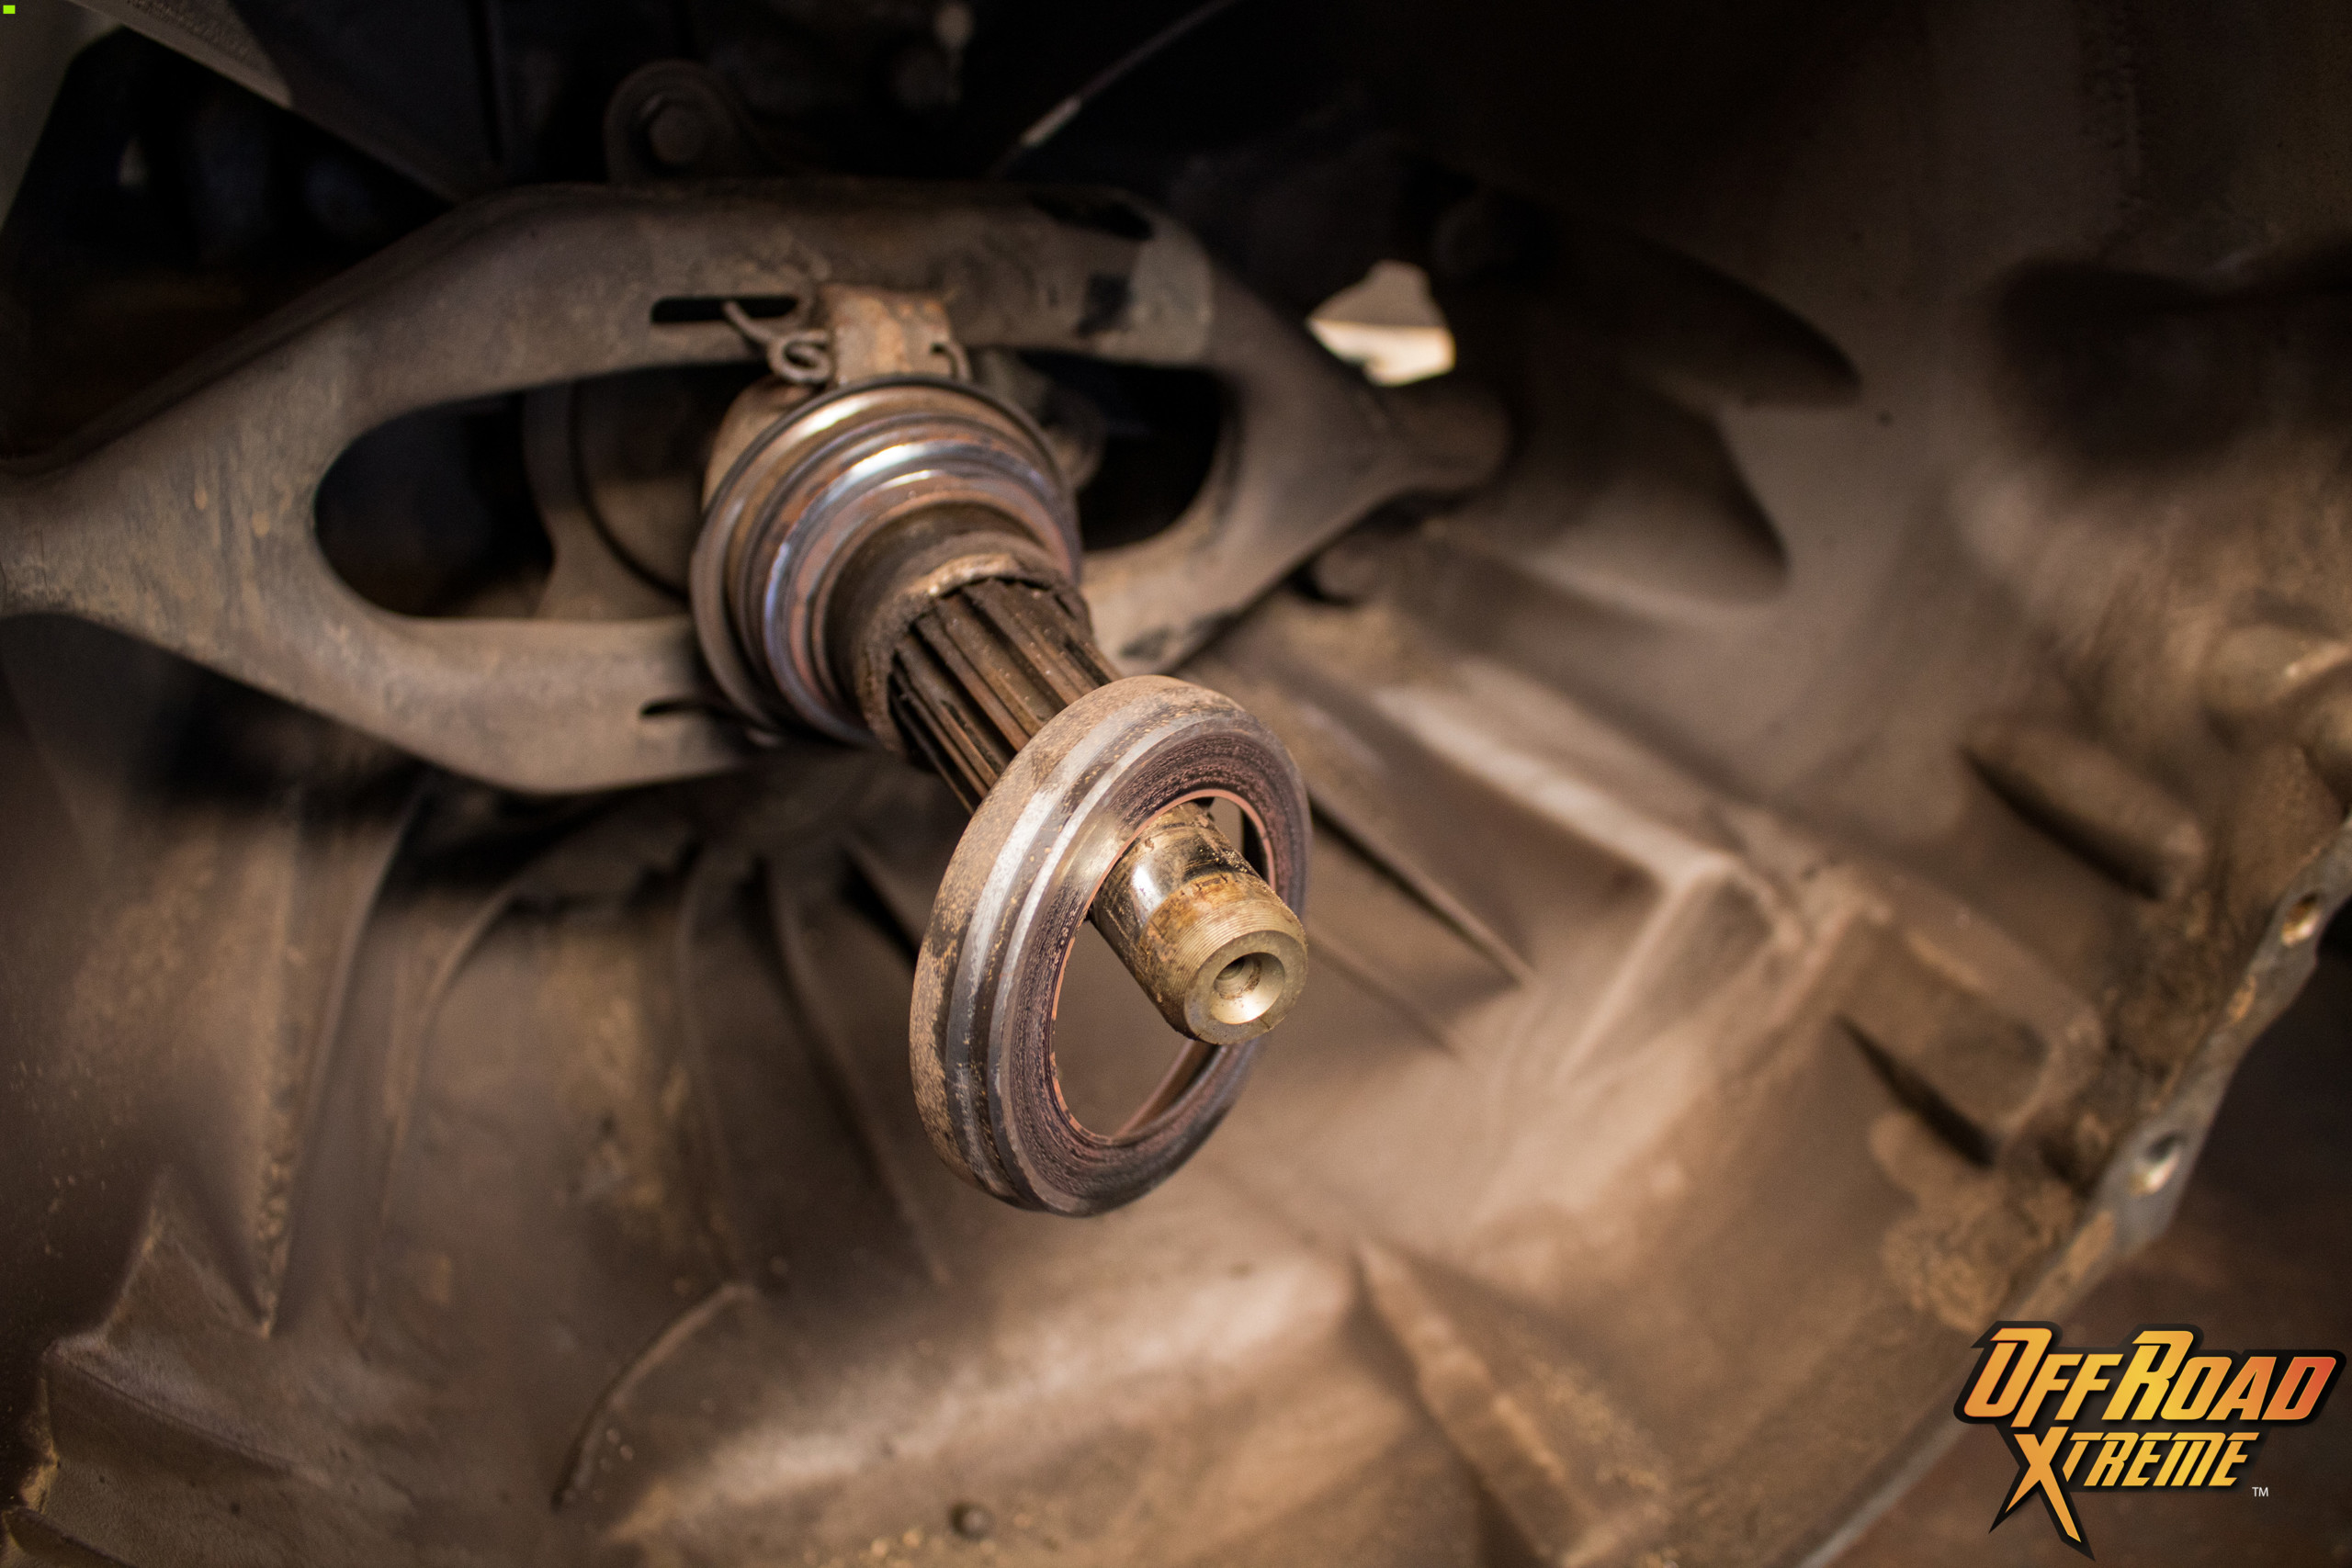
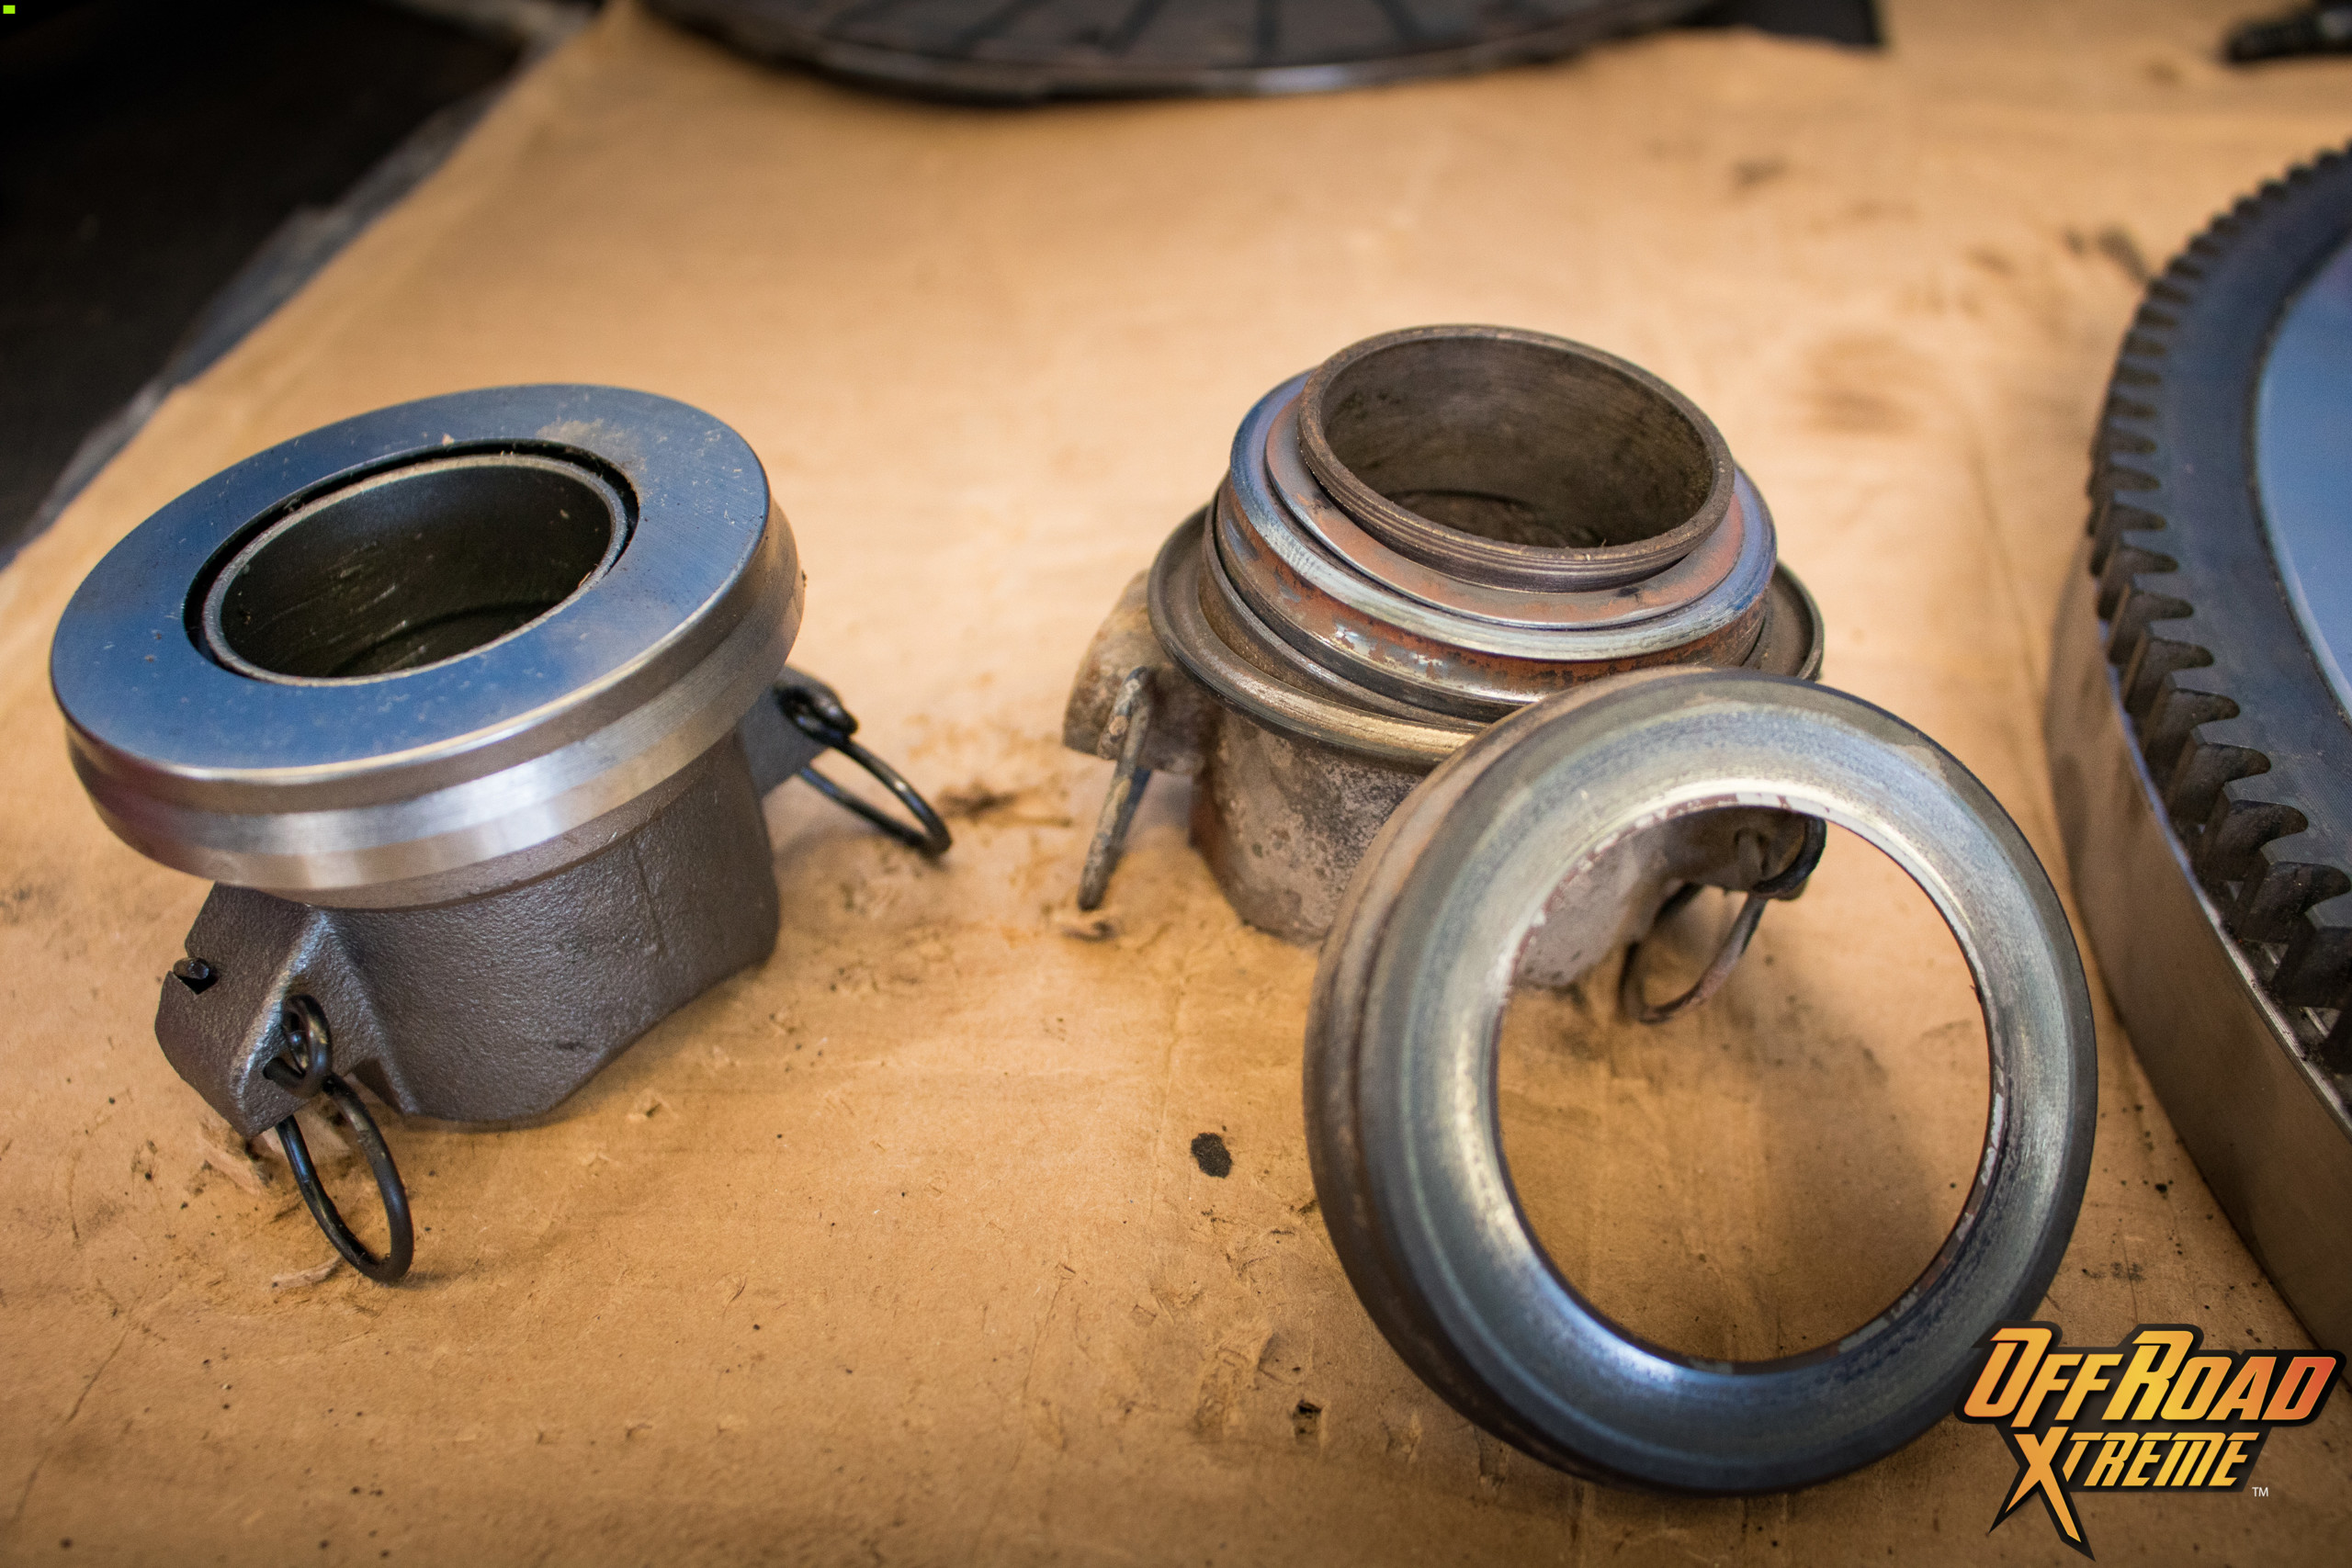
Remove clutch fork and throwout bearing assembly by detaching the ball joint.
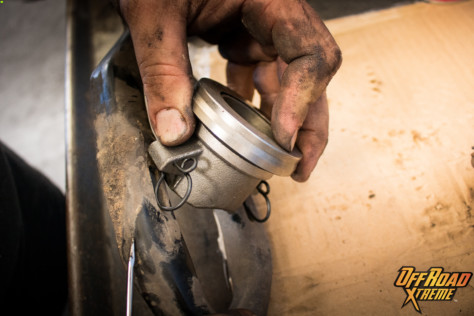
STEP 19:
Remove the pins attaching throwout bearing to clutch fork and replace with new throwout bearing.
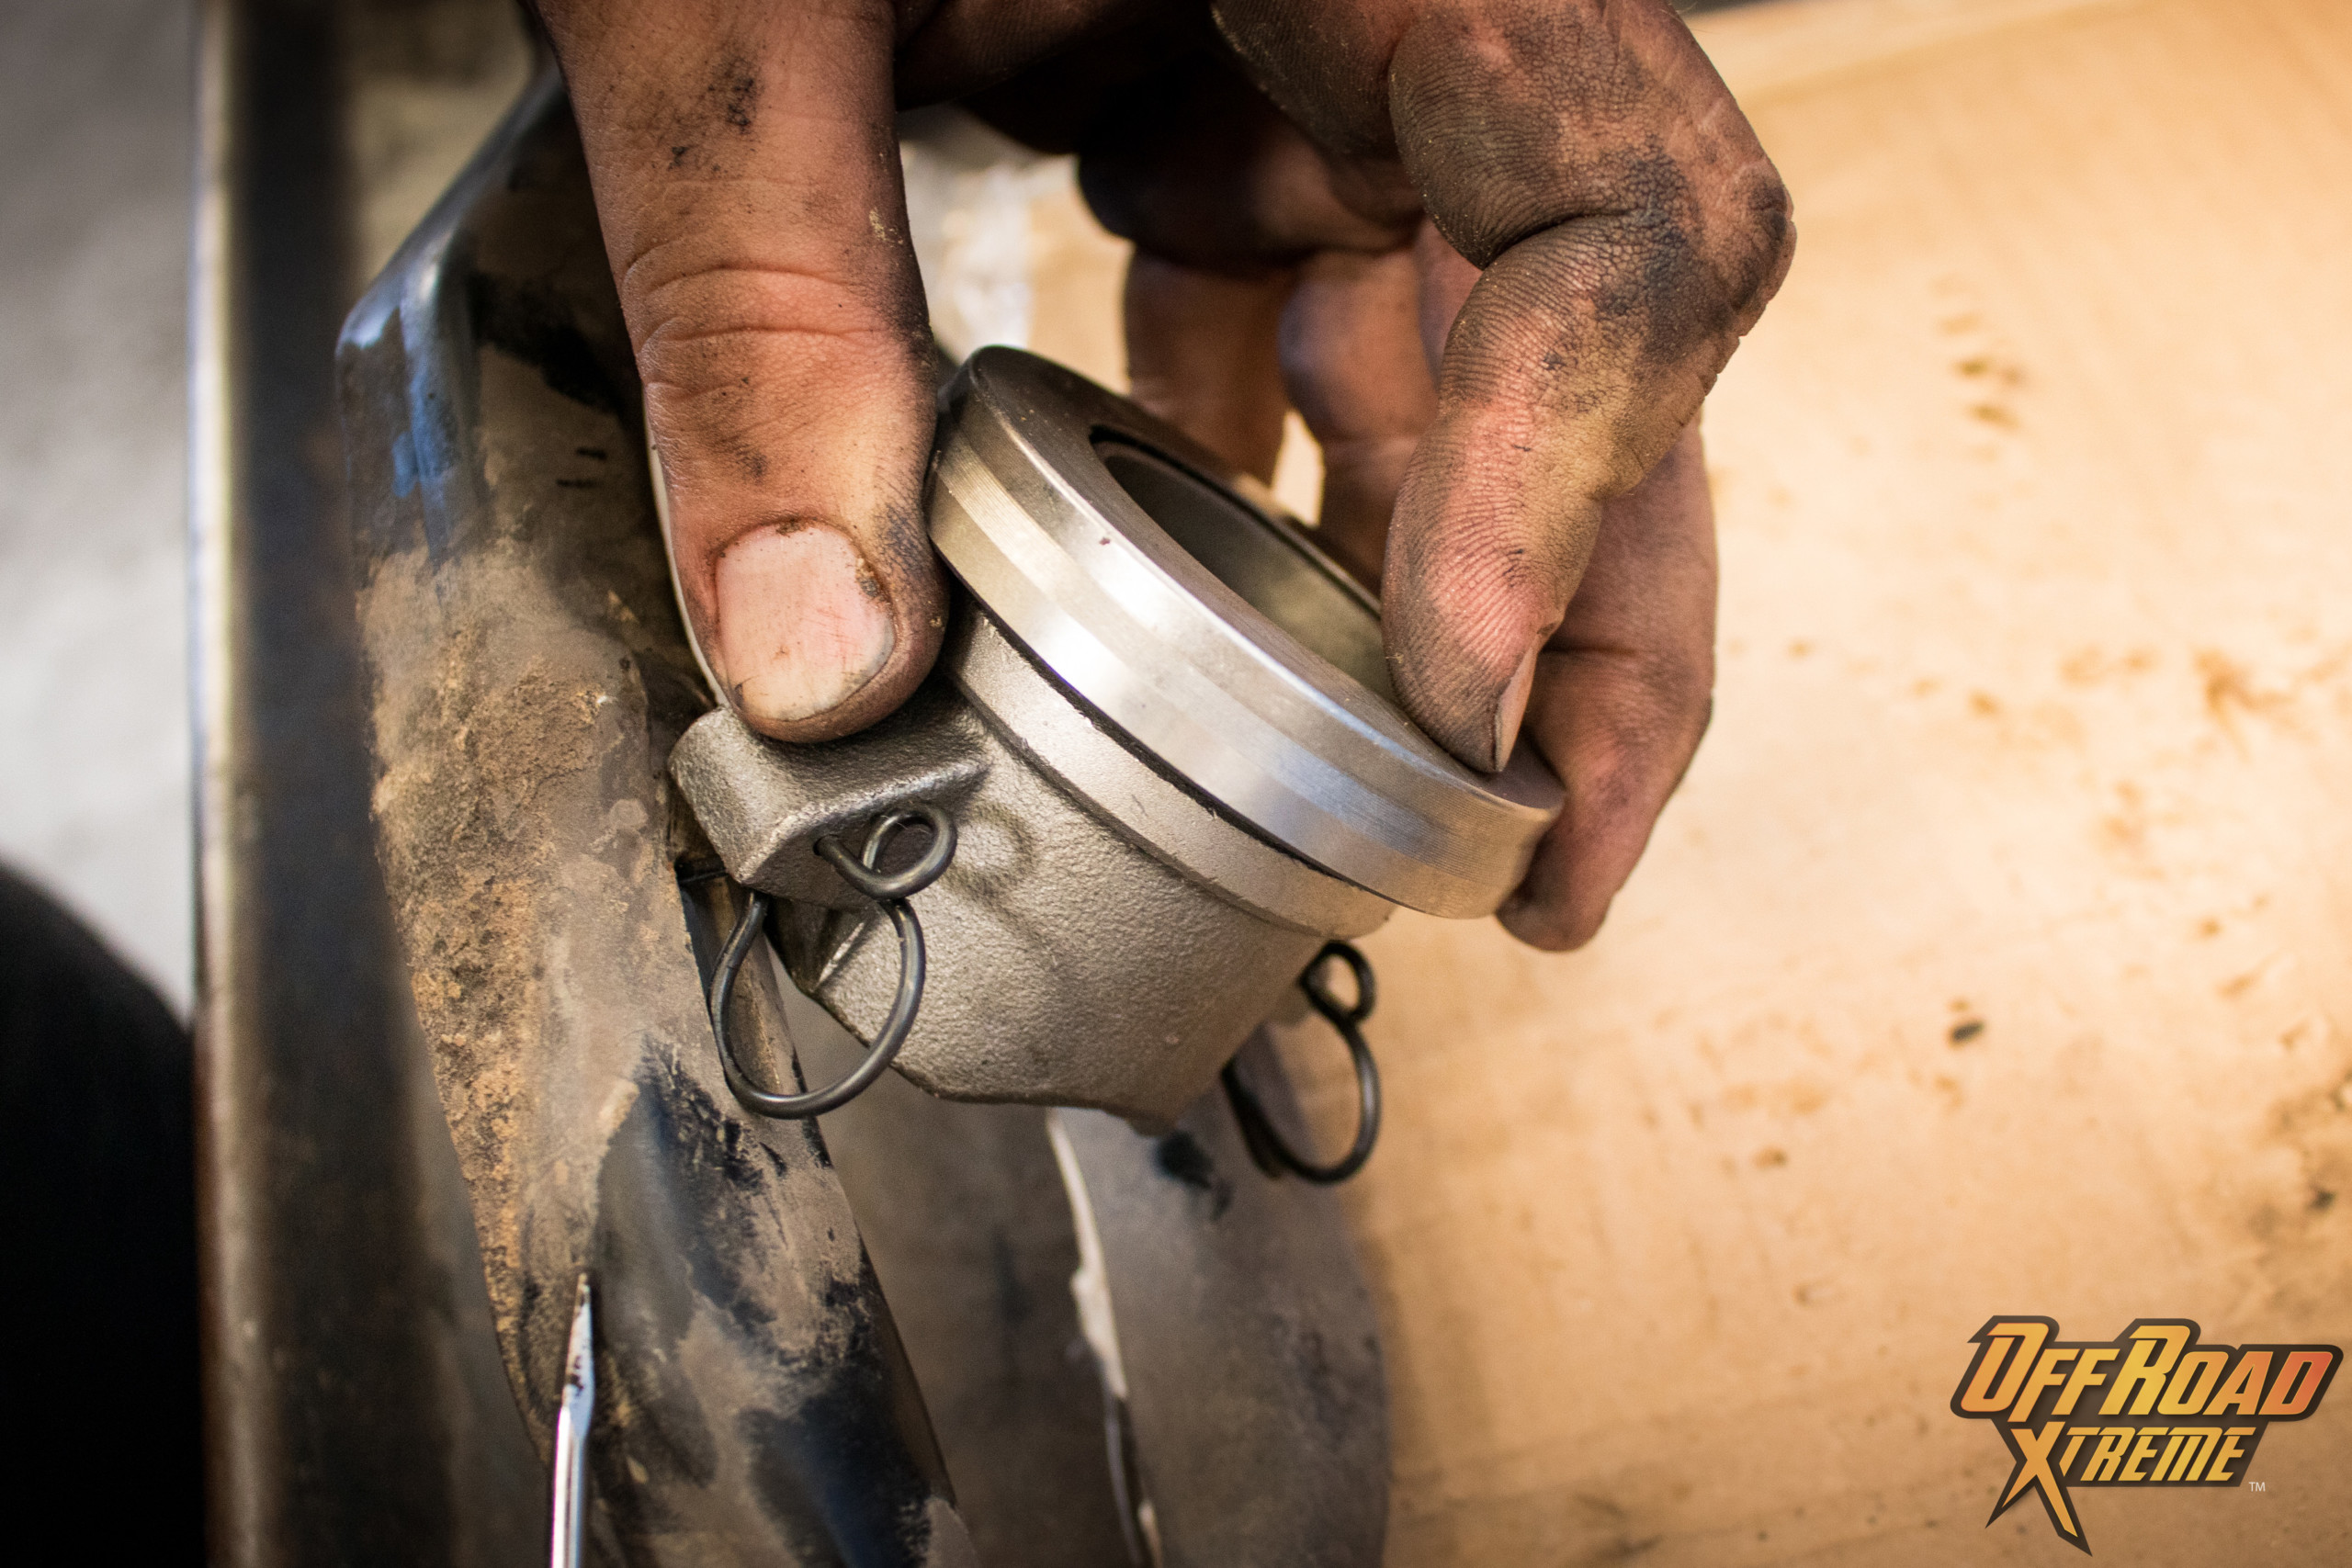
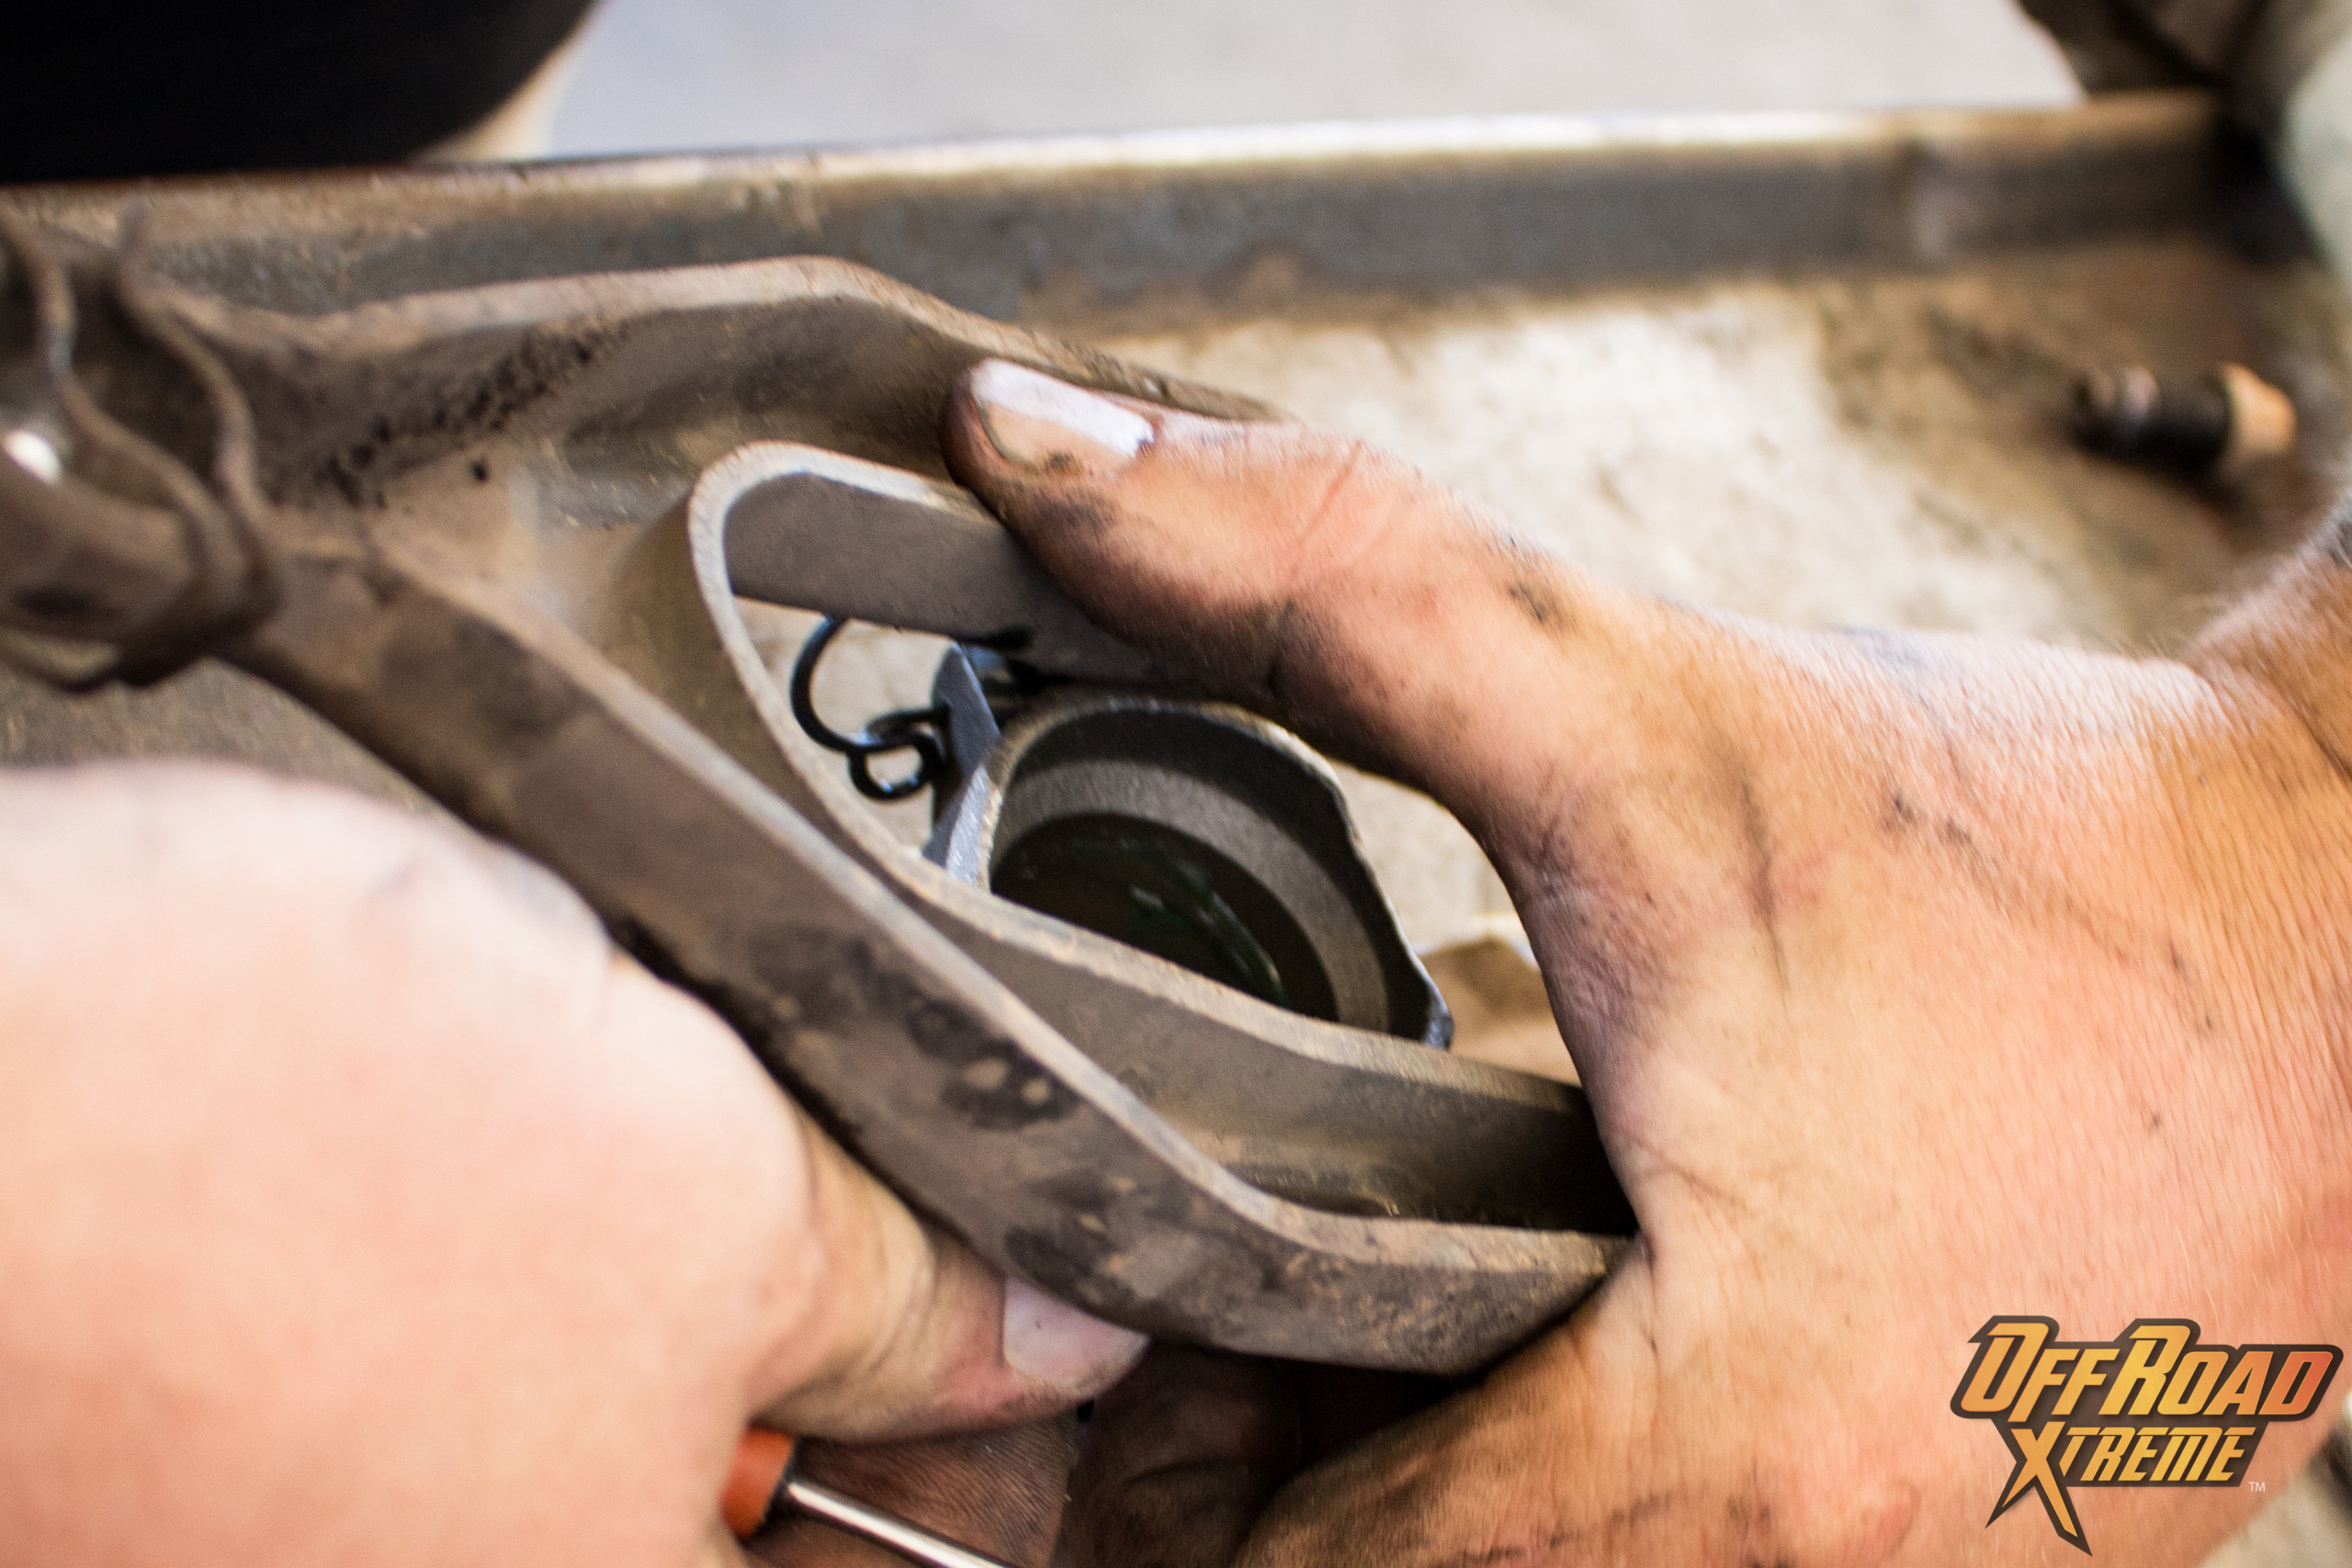

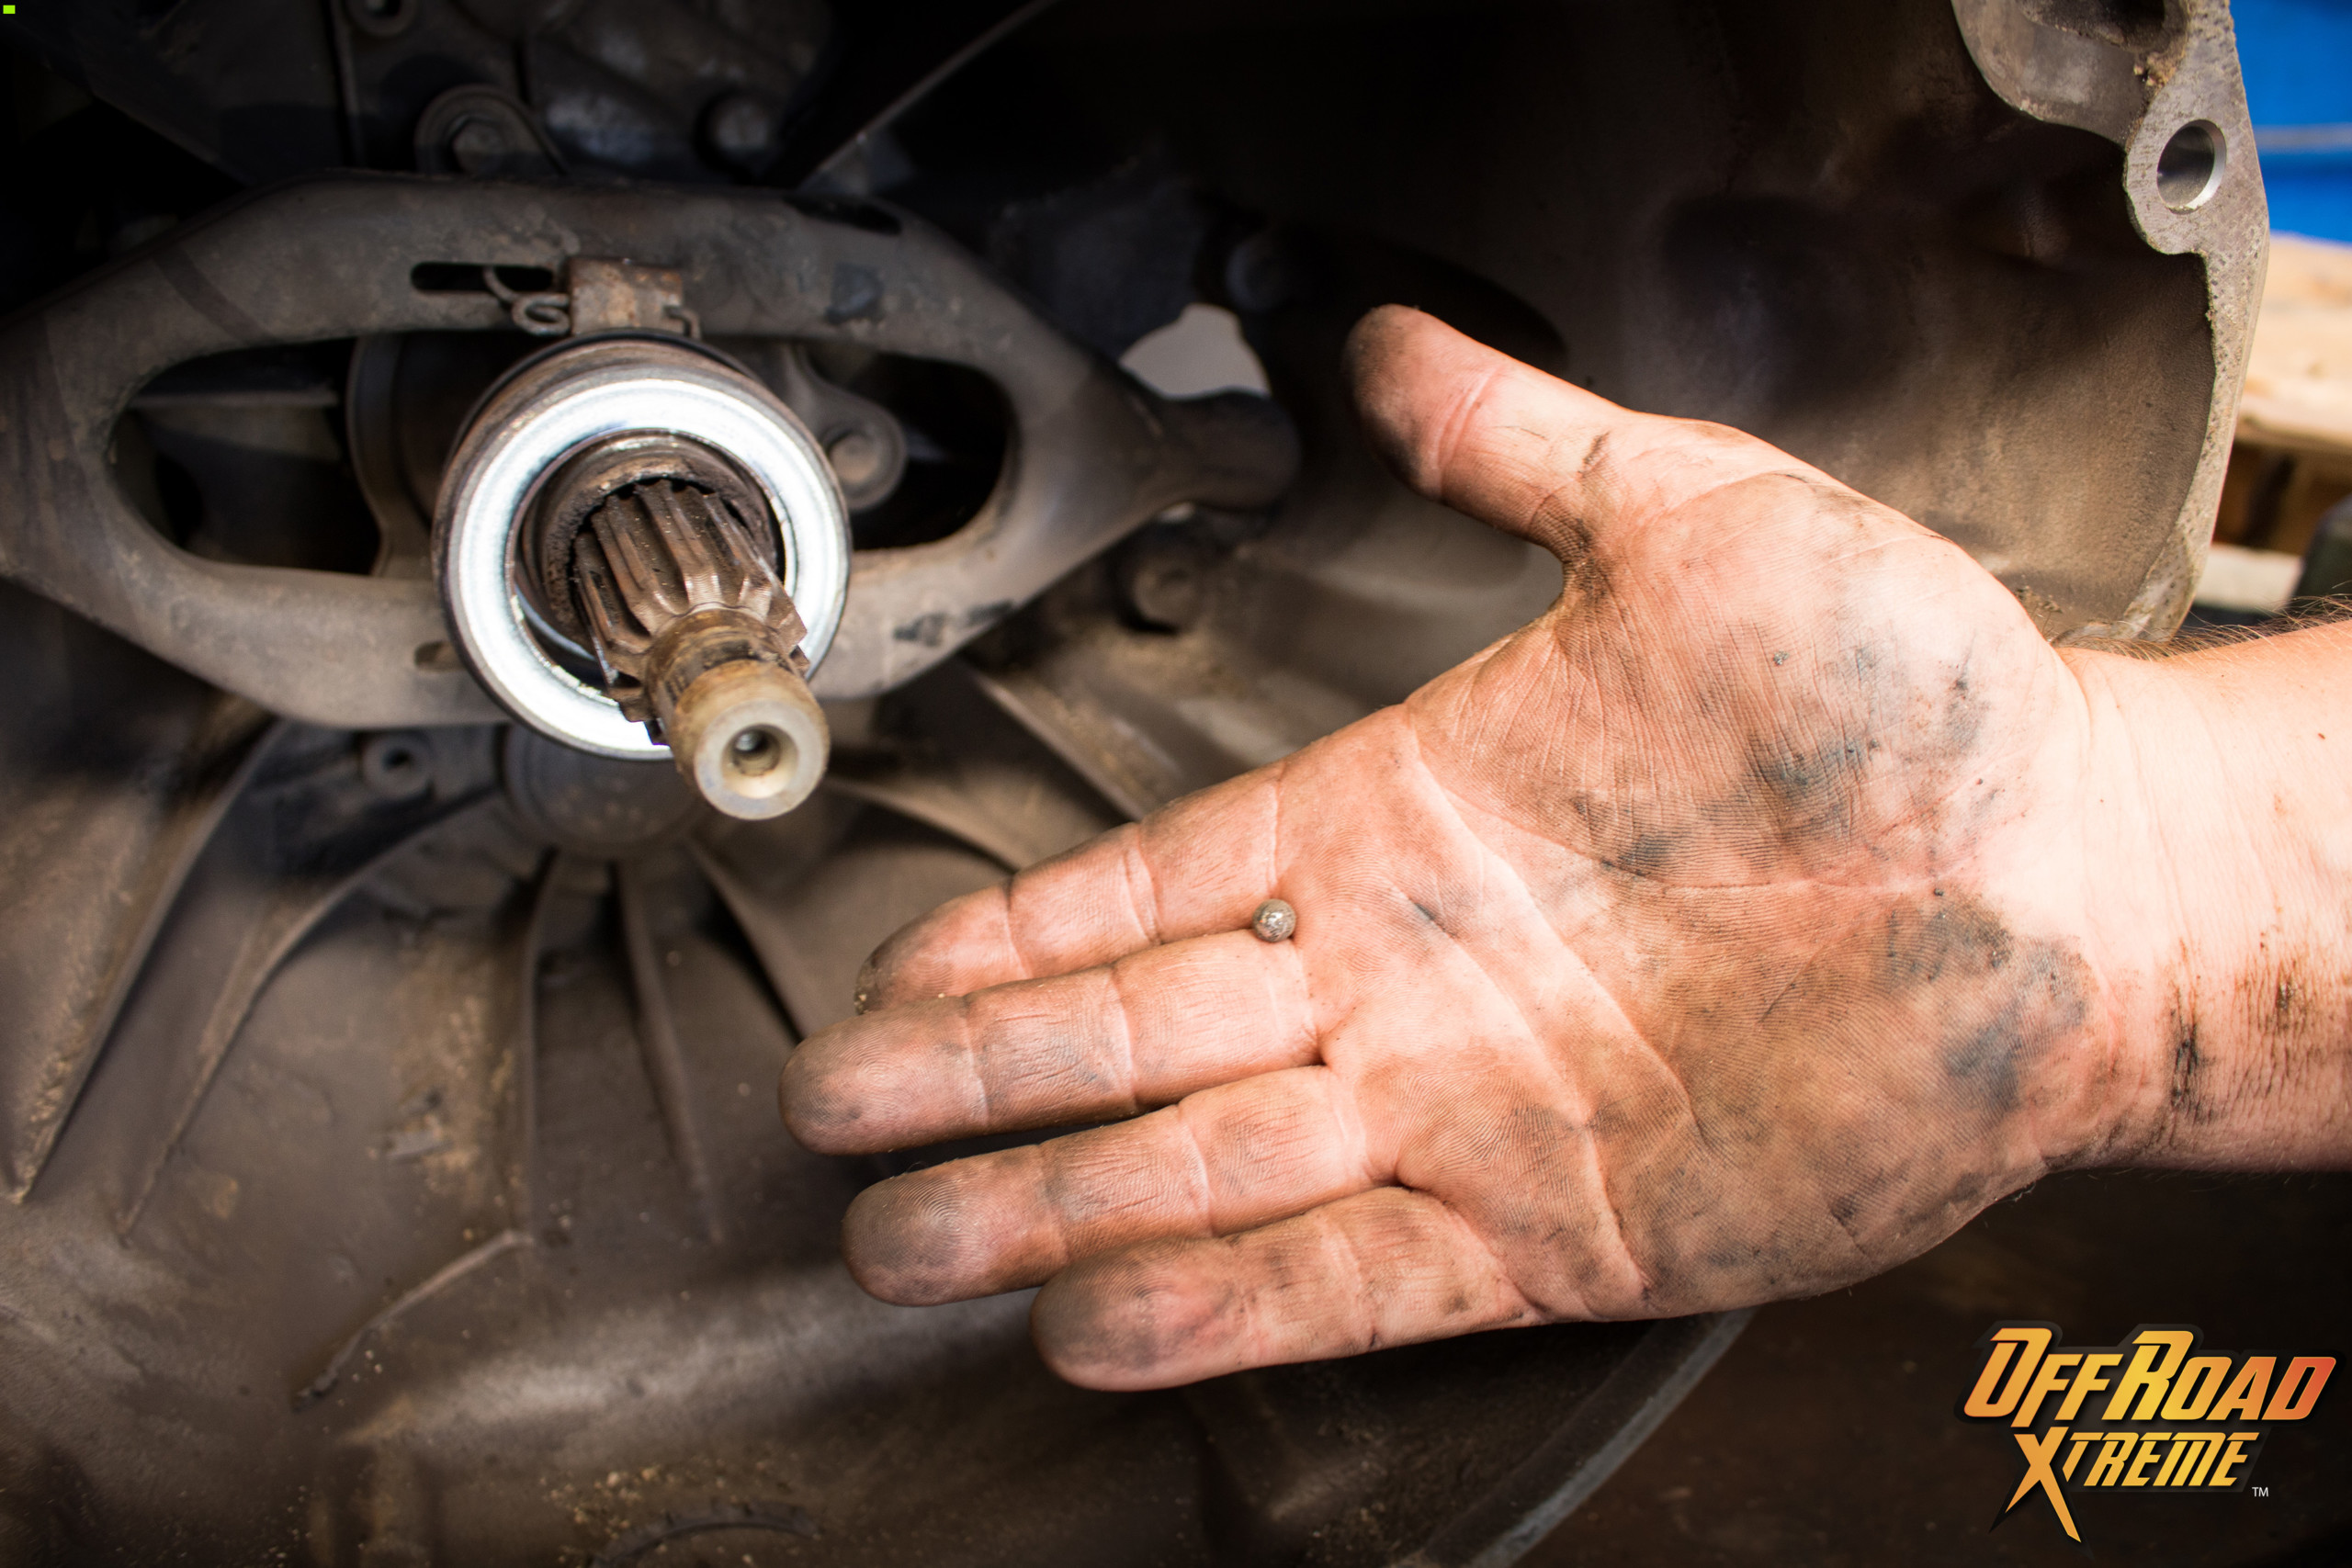
STEP 20:
Grease stem inside bellhousing and reinstall the clutch fork/throwout bearing assembly.
STEP 21:
Apply grease to the outside of the throwout bearing.
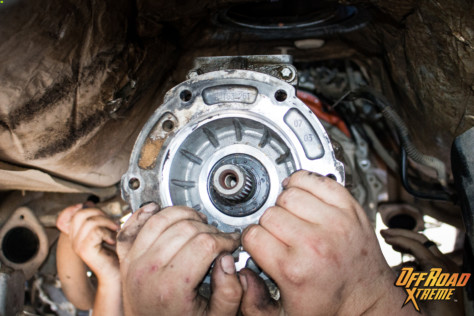
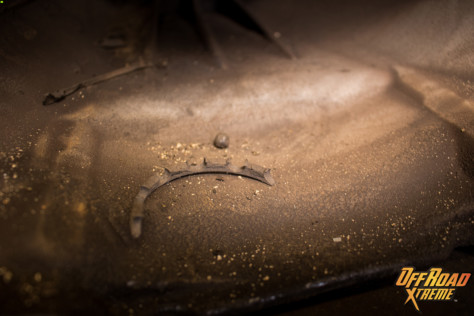
STEP 22:
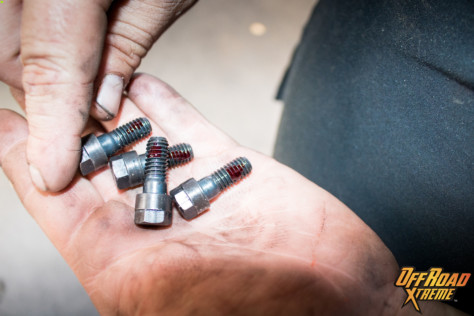
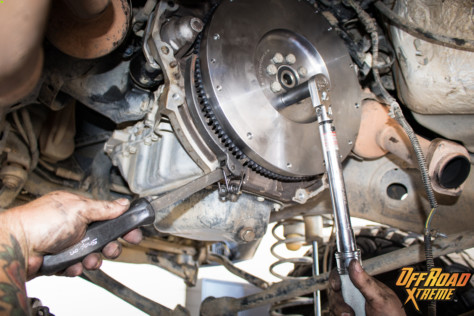
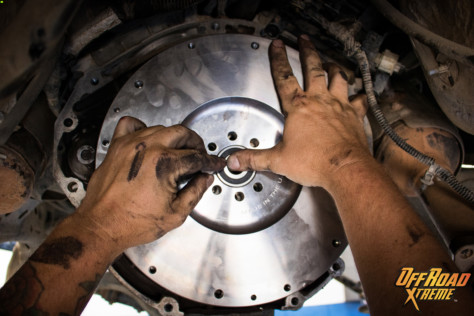
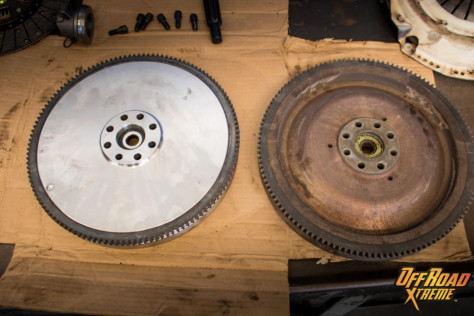
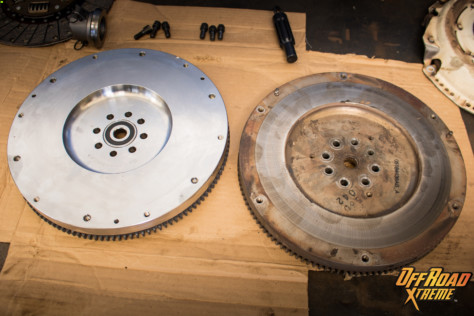
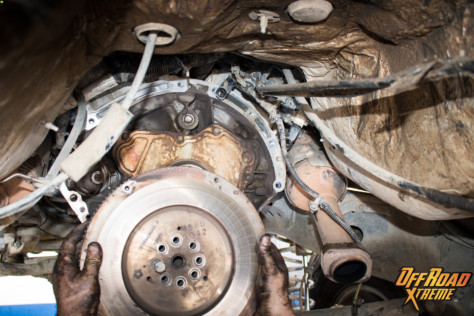
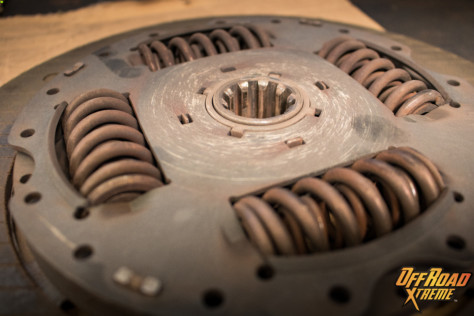
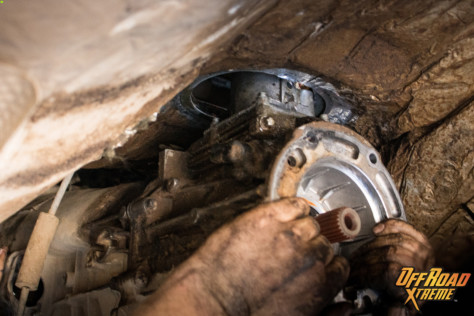
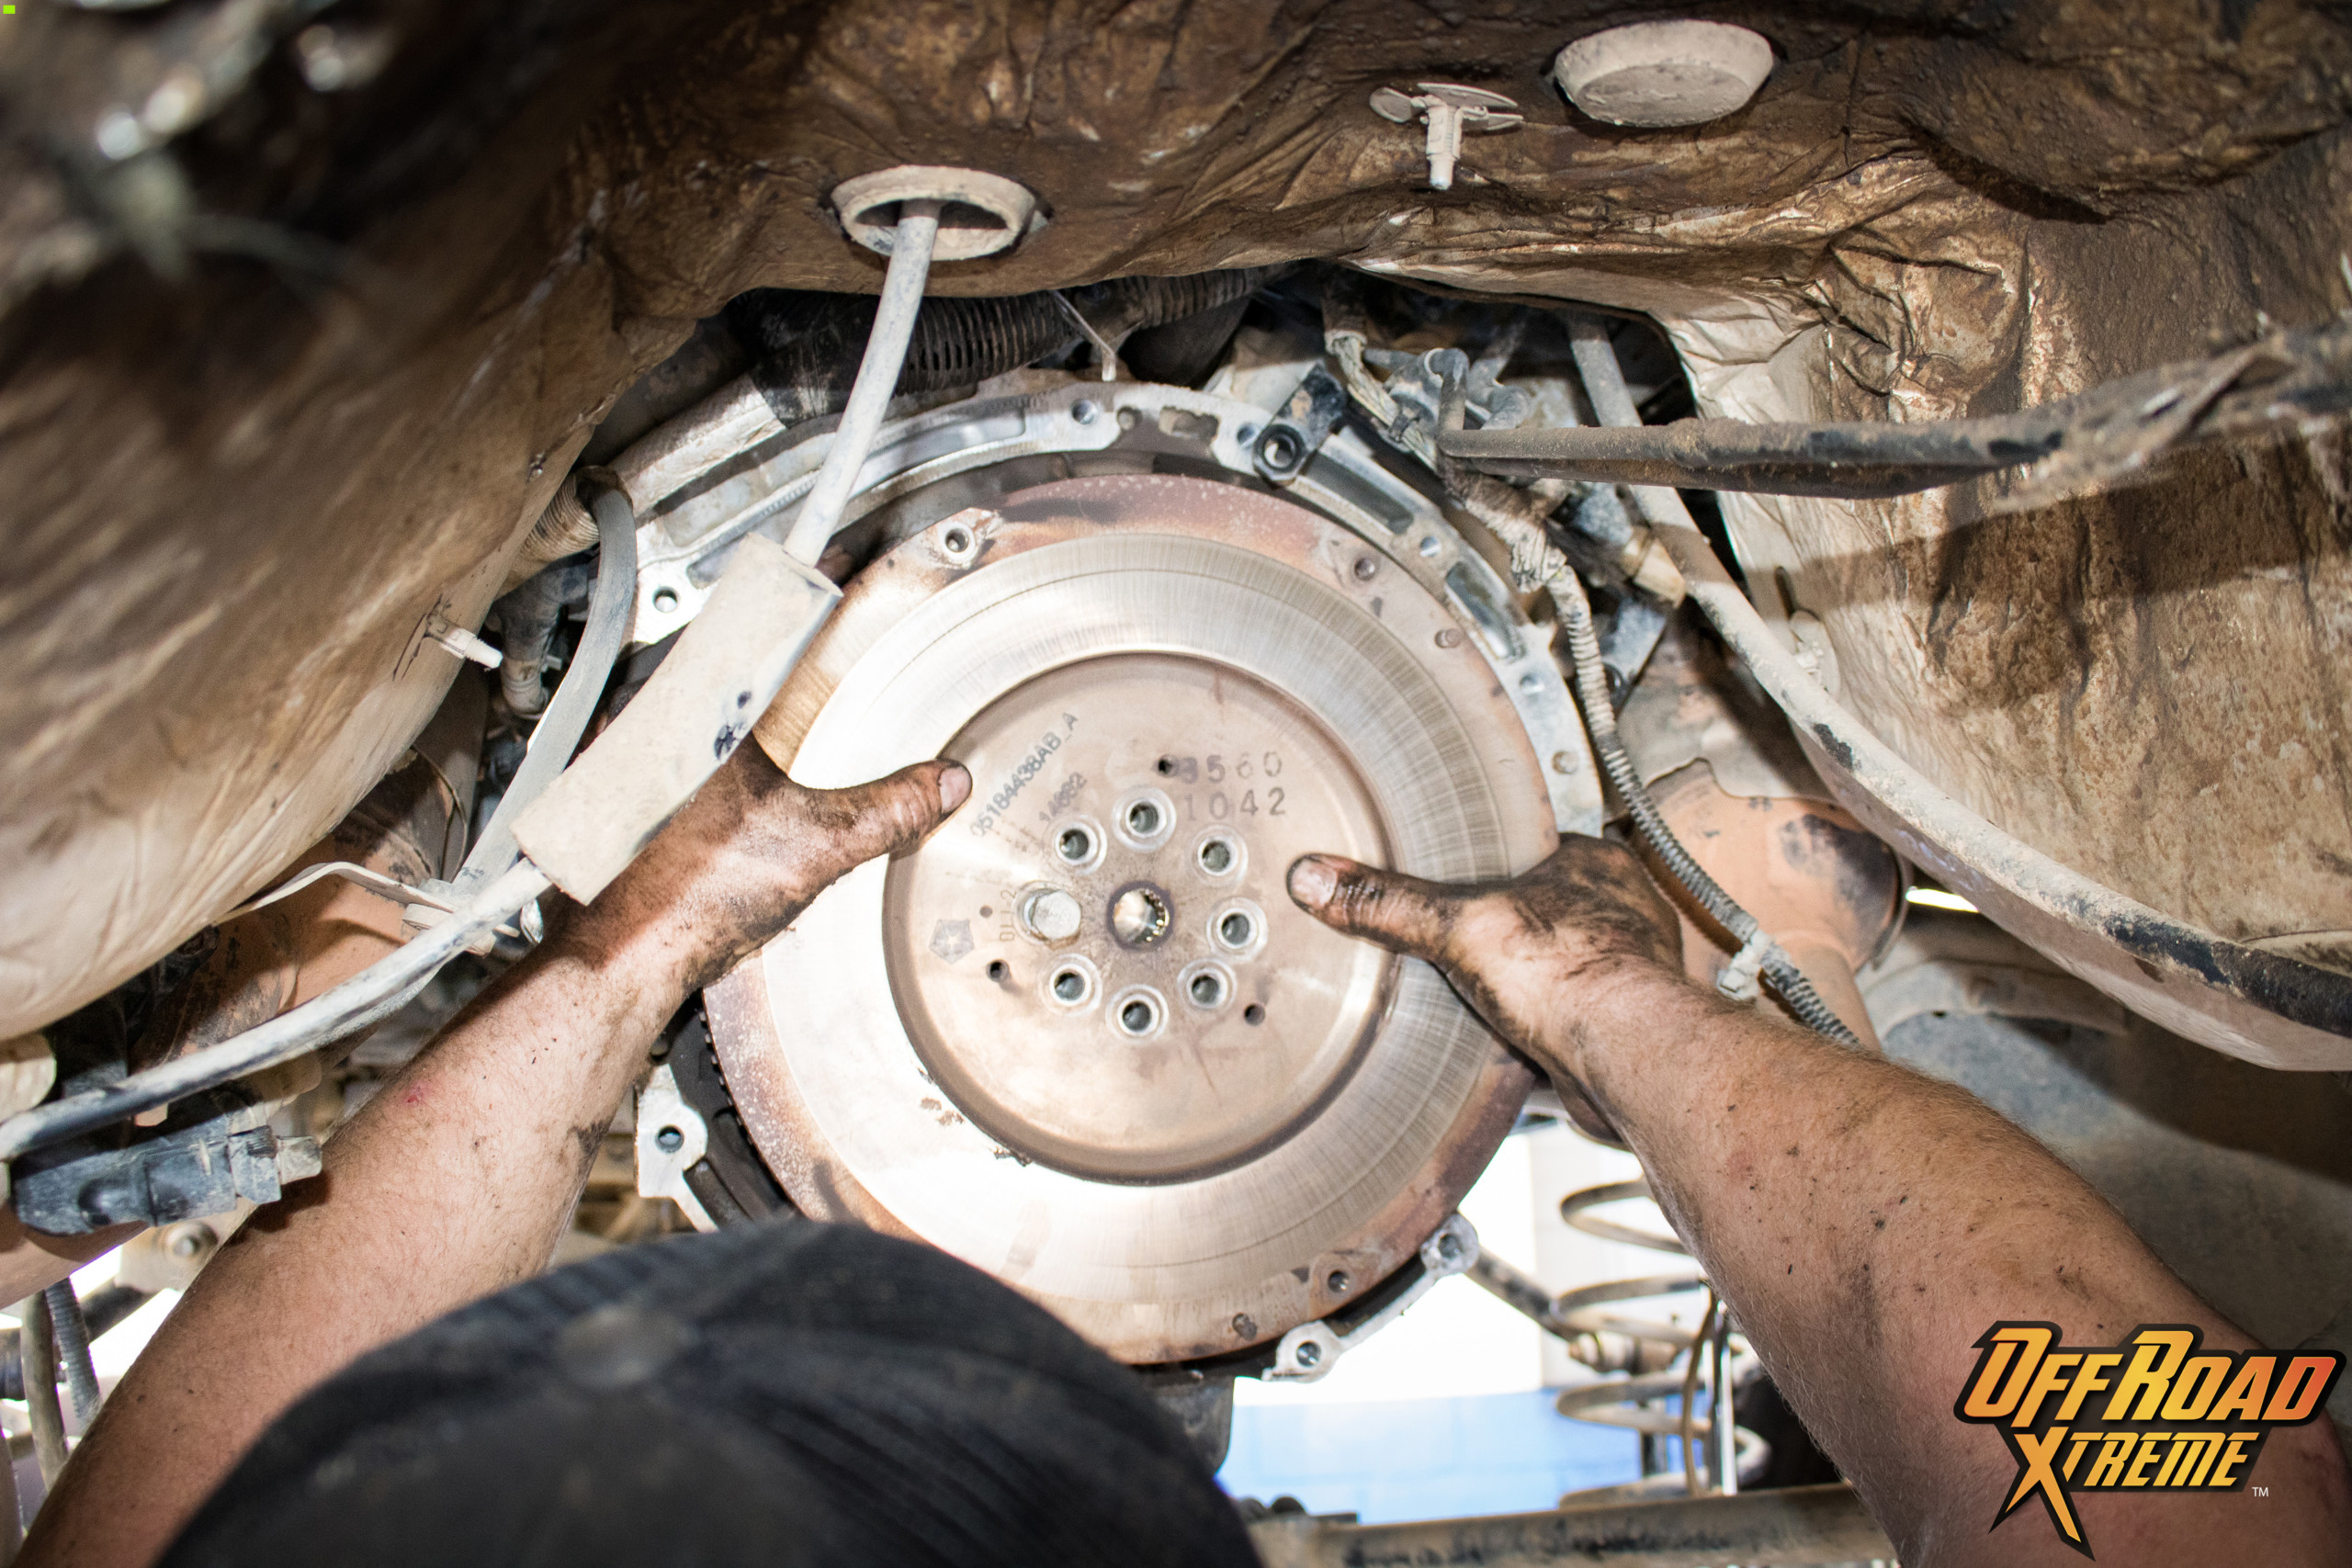
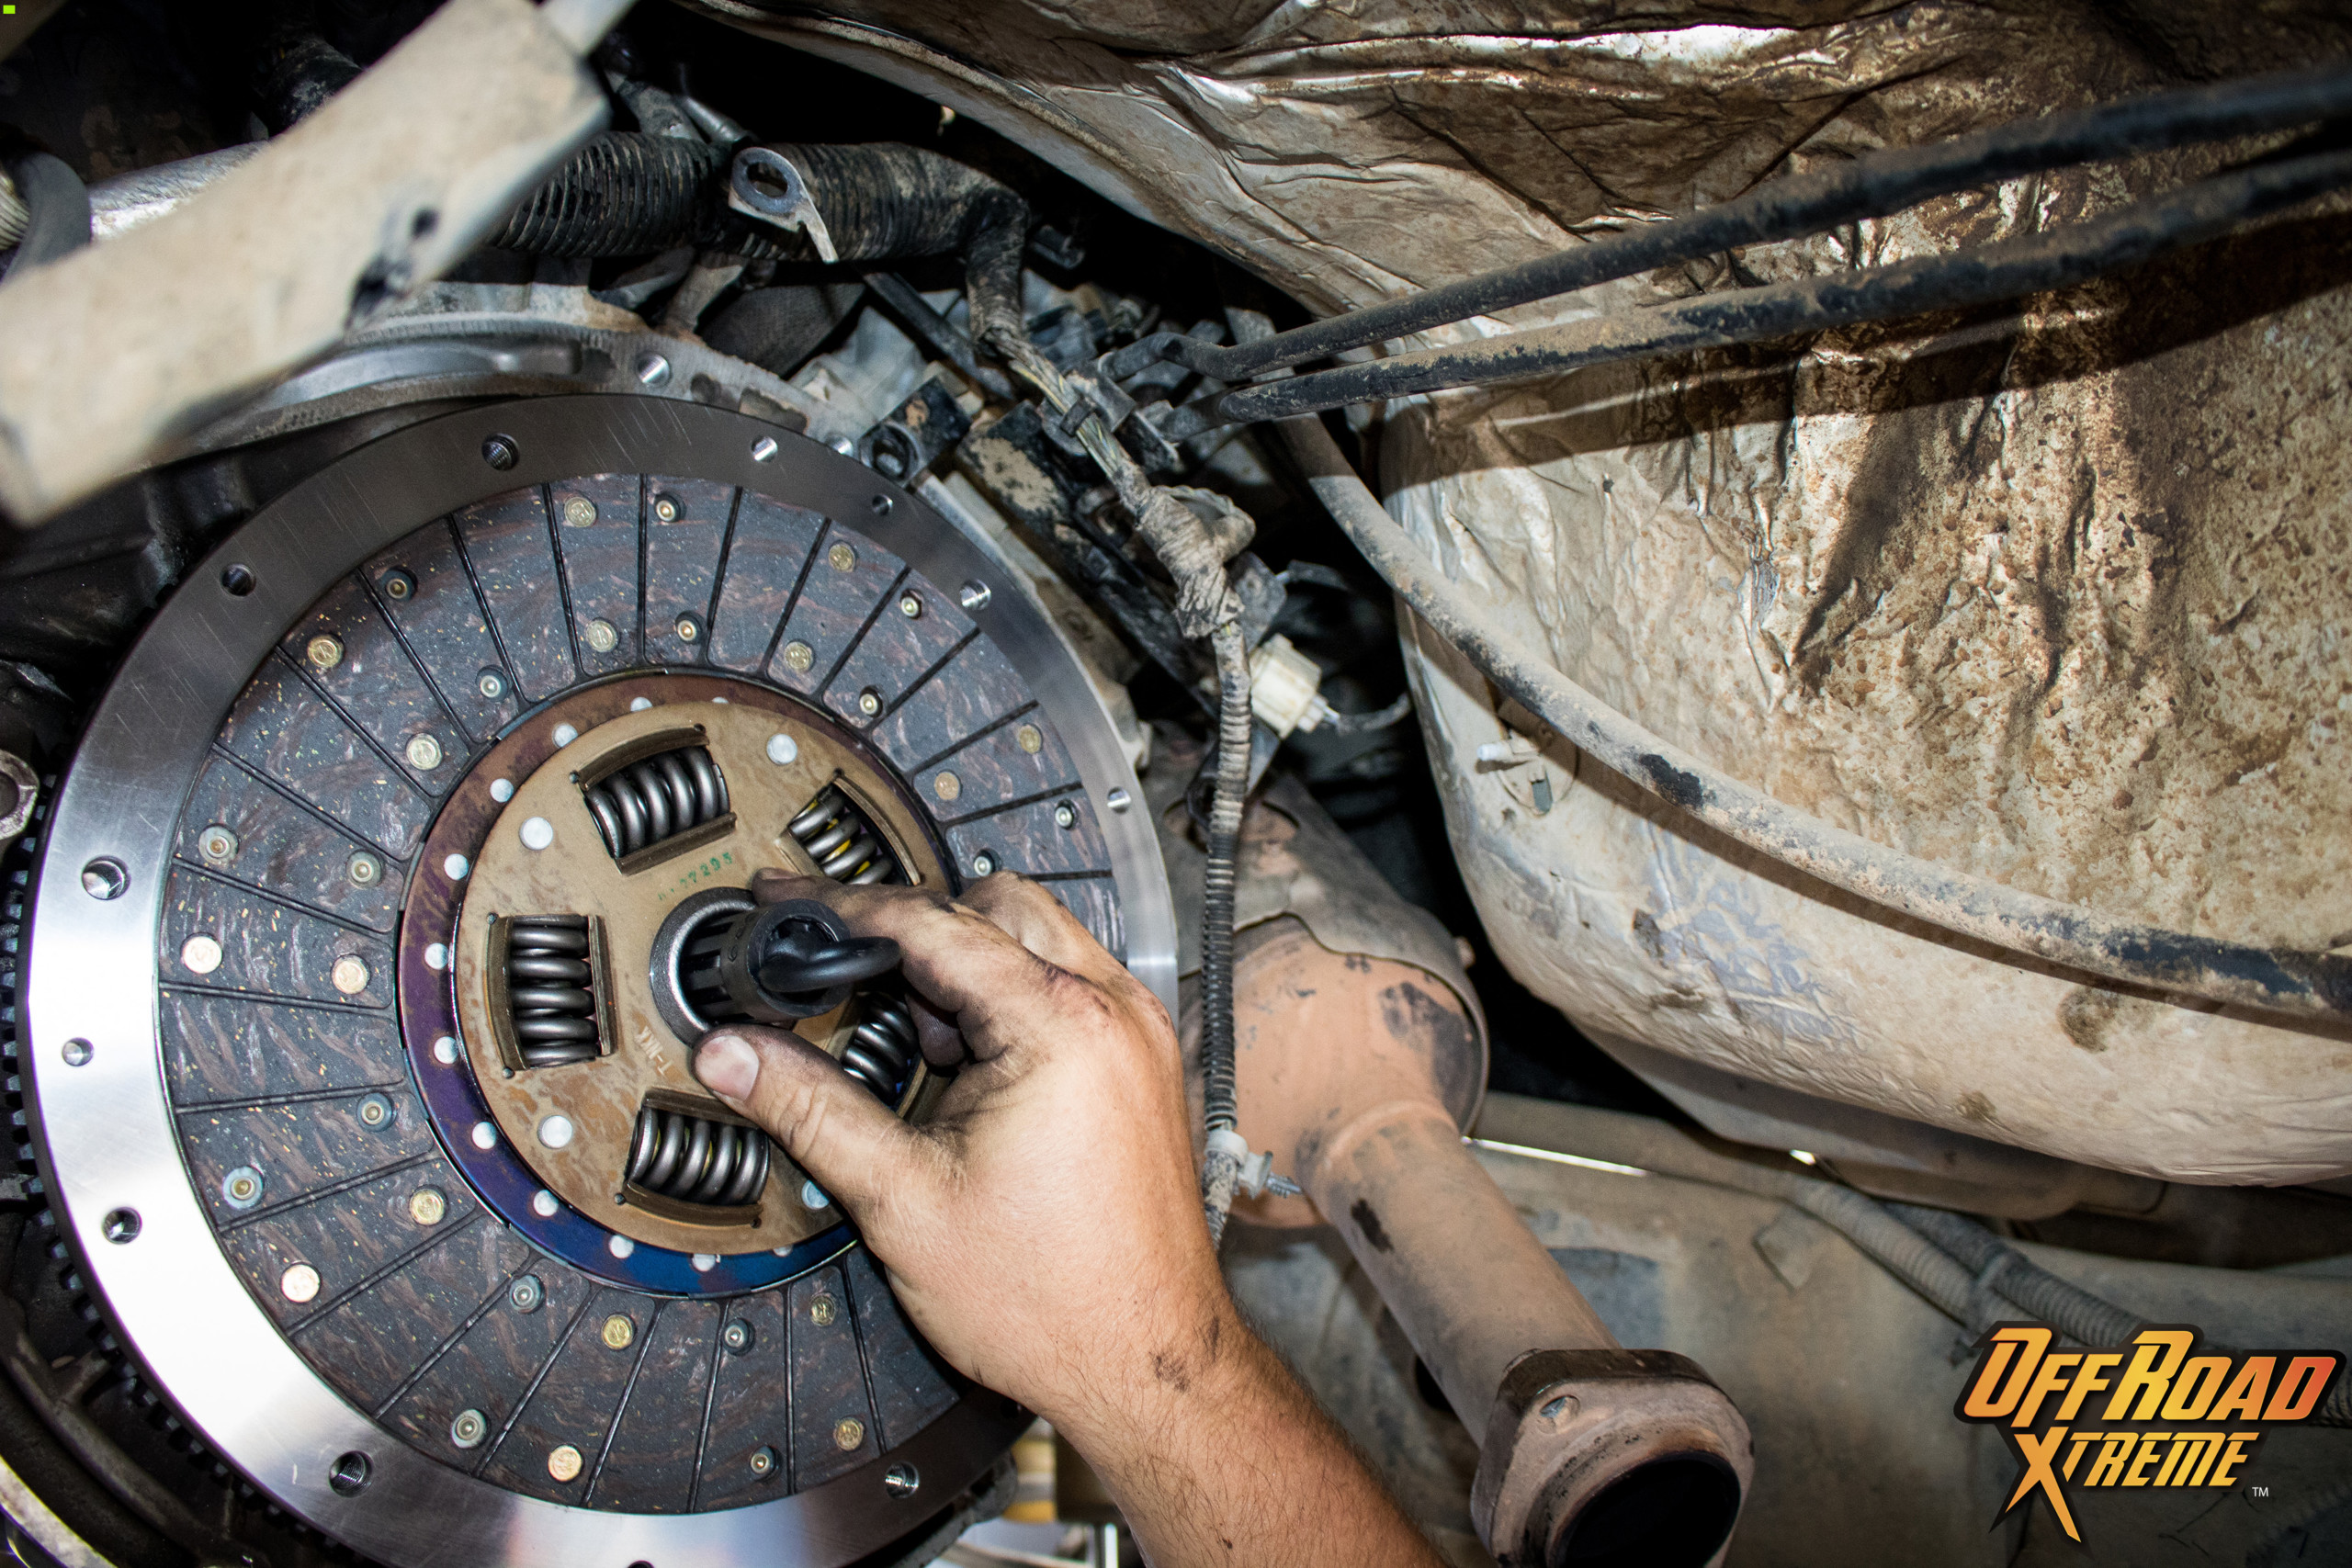
Remove the pressure plate from the flywheel by removing six 10MM bolts. These can be discarded as the kit provides new bolts. The clutch disc is not mounted with bolts so be careful when removing the pressure plate.
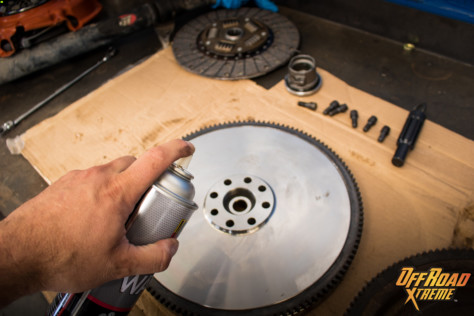
STEP 23:
Remove eight 17MM Bolts holding the Flywheel. The flywheel is heavy so use caution when removing.

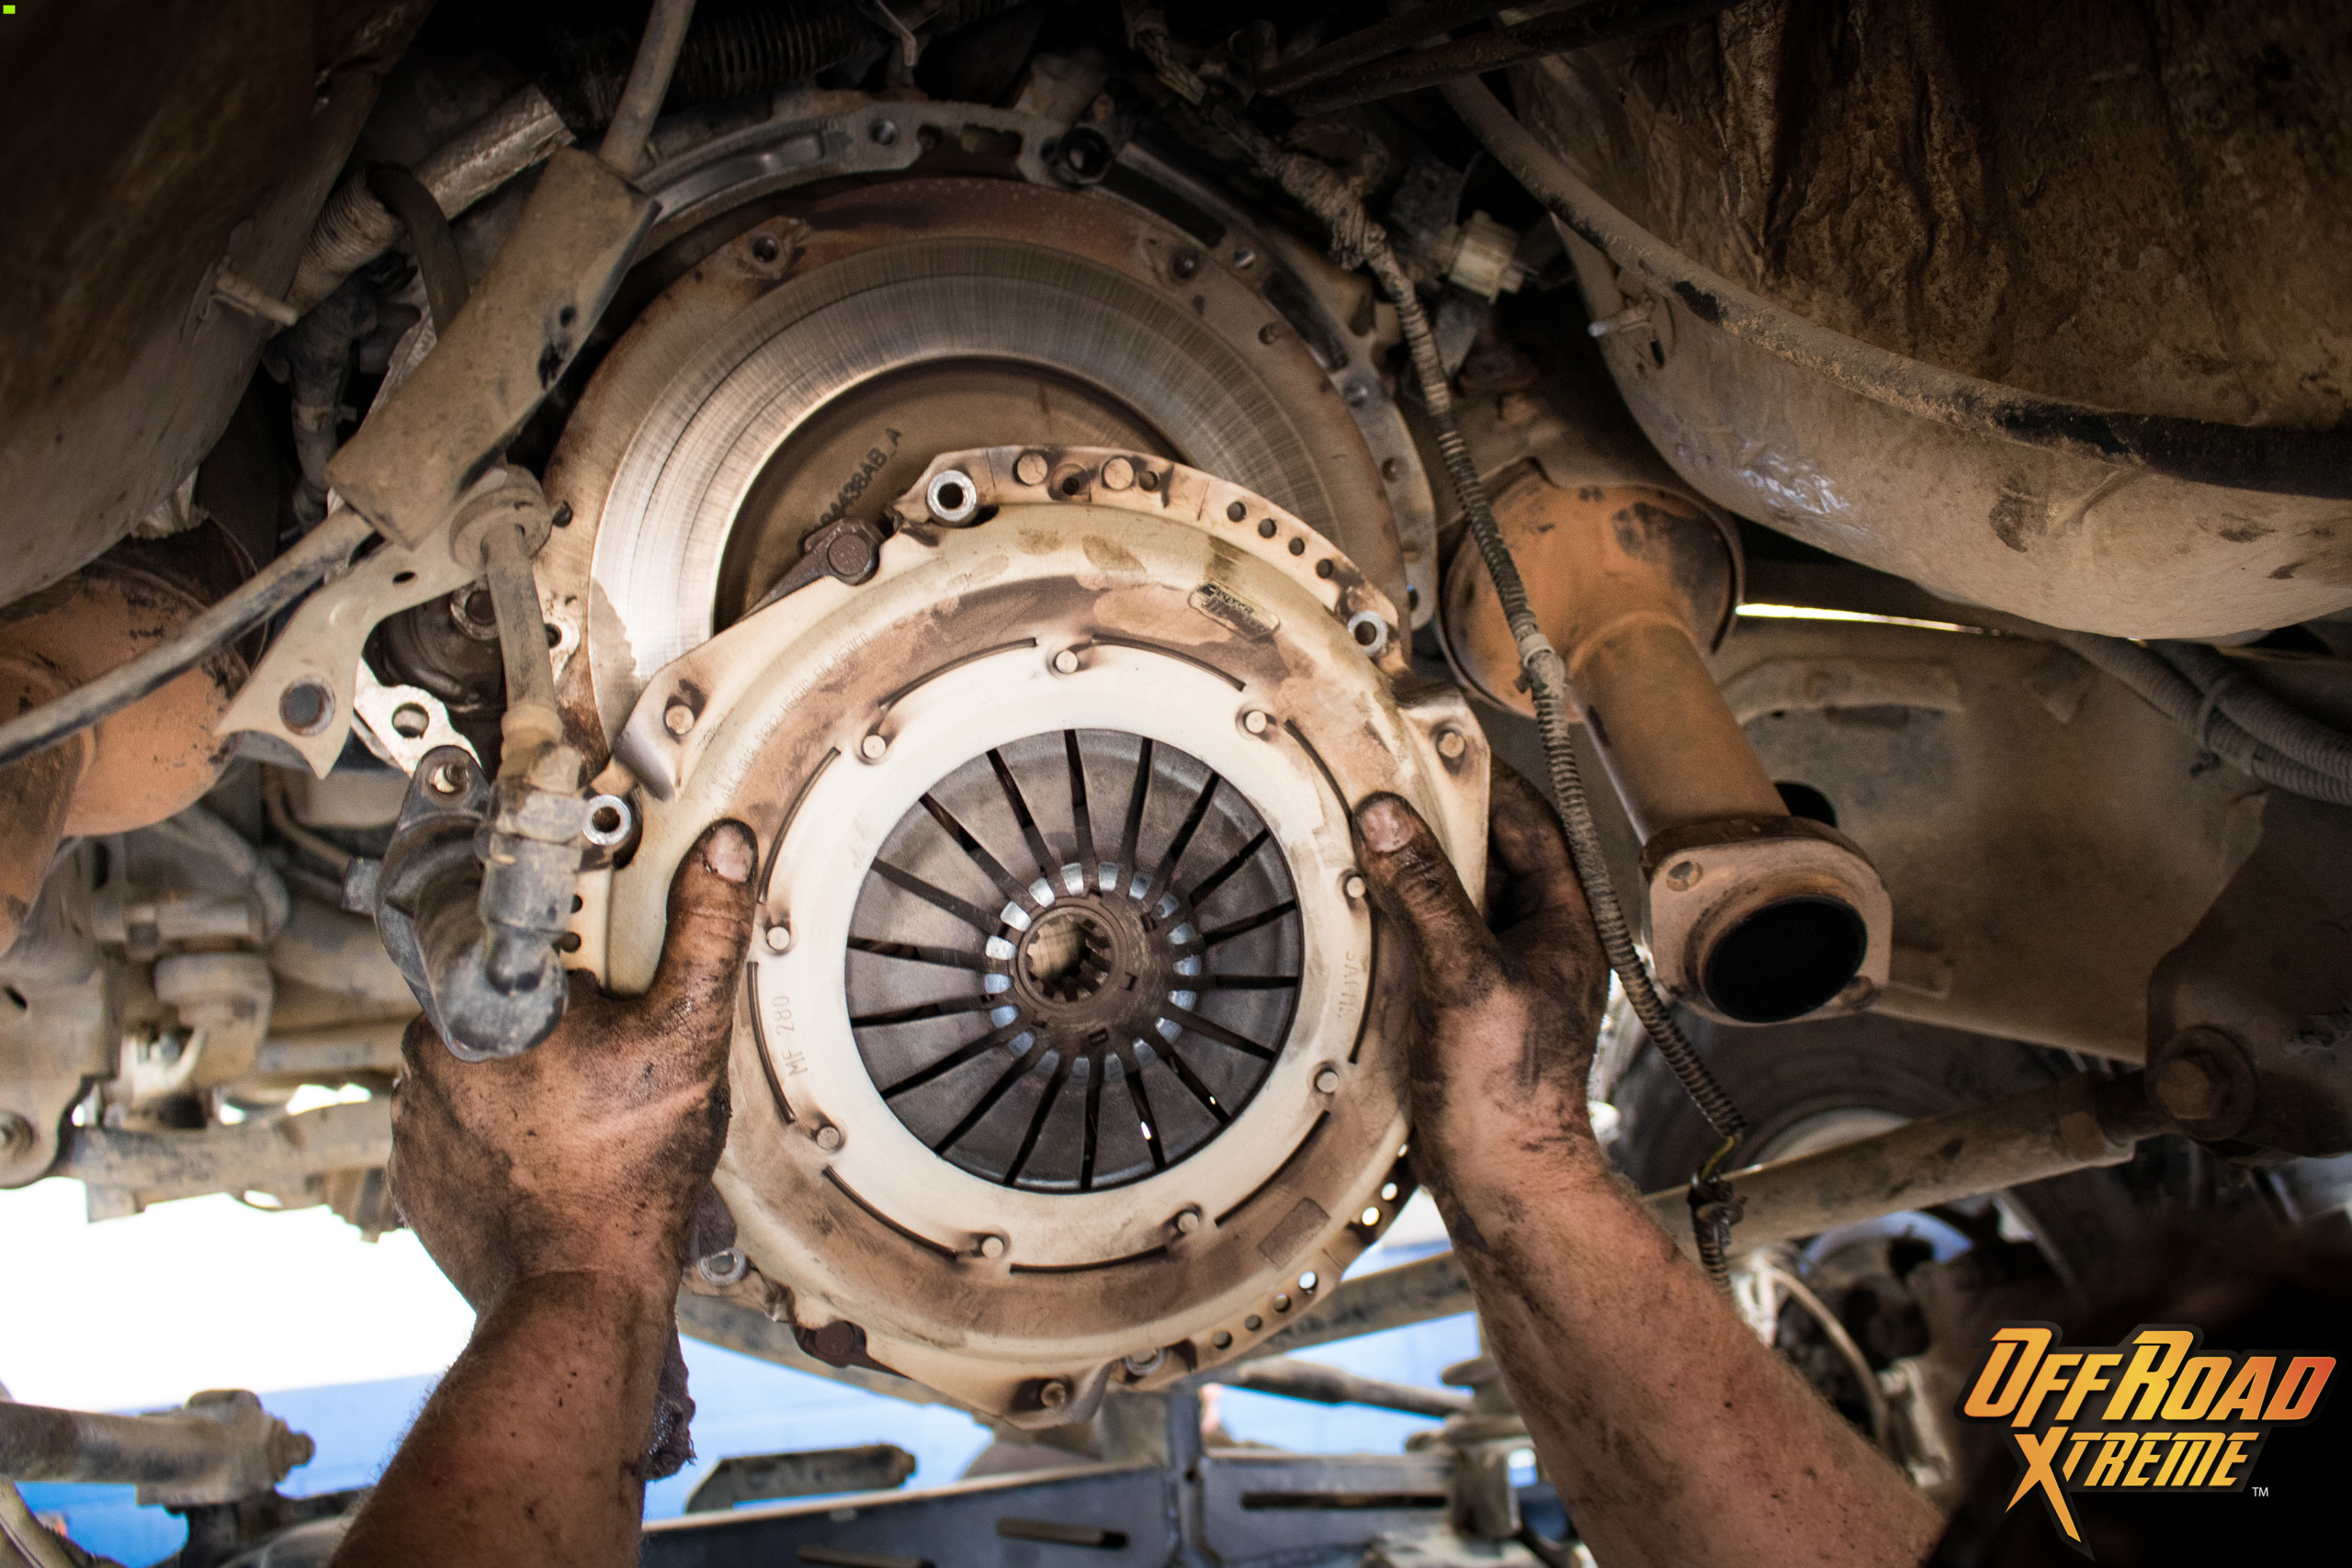
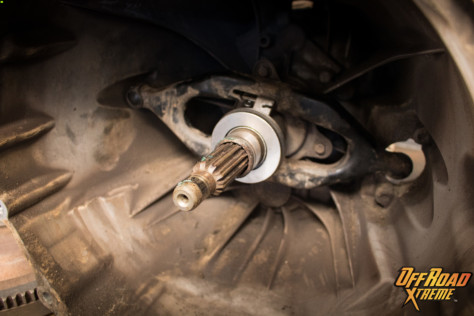
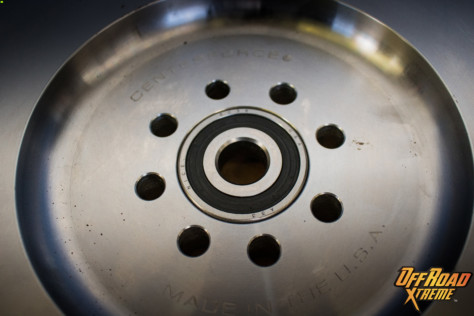
The New Premium Off-Road Clutch Comes With The Pilot Bearing Pre-Installed.


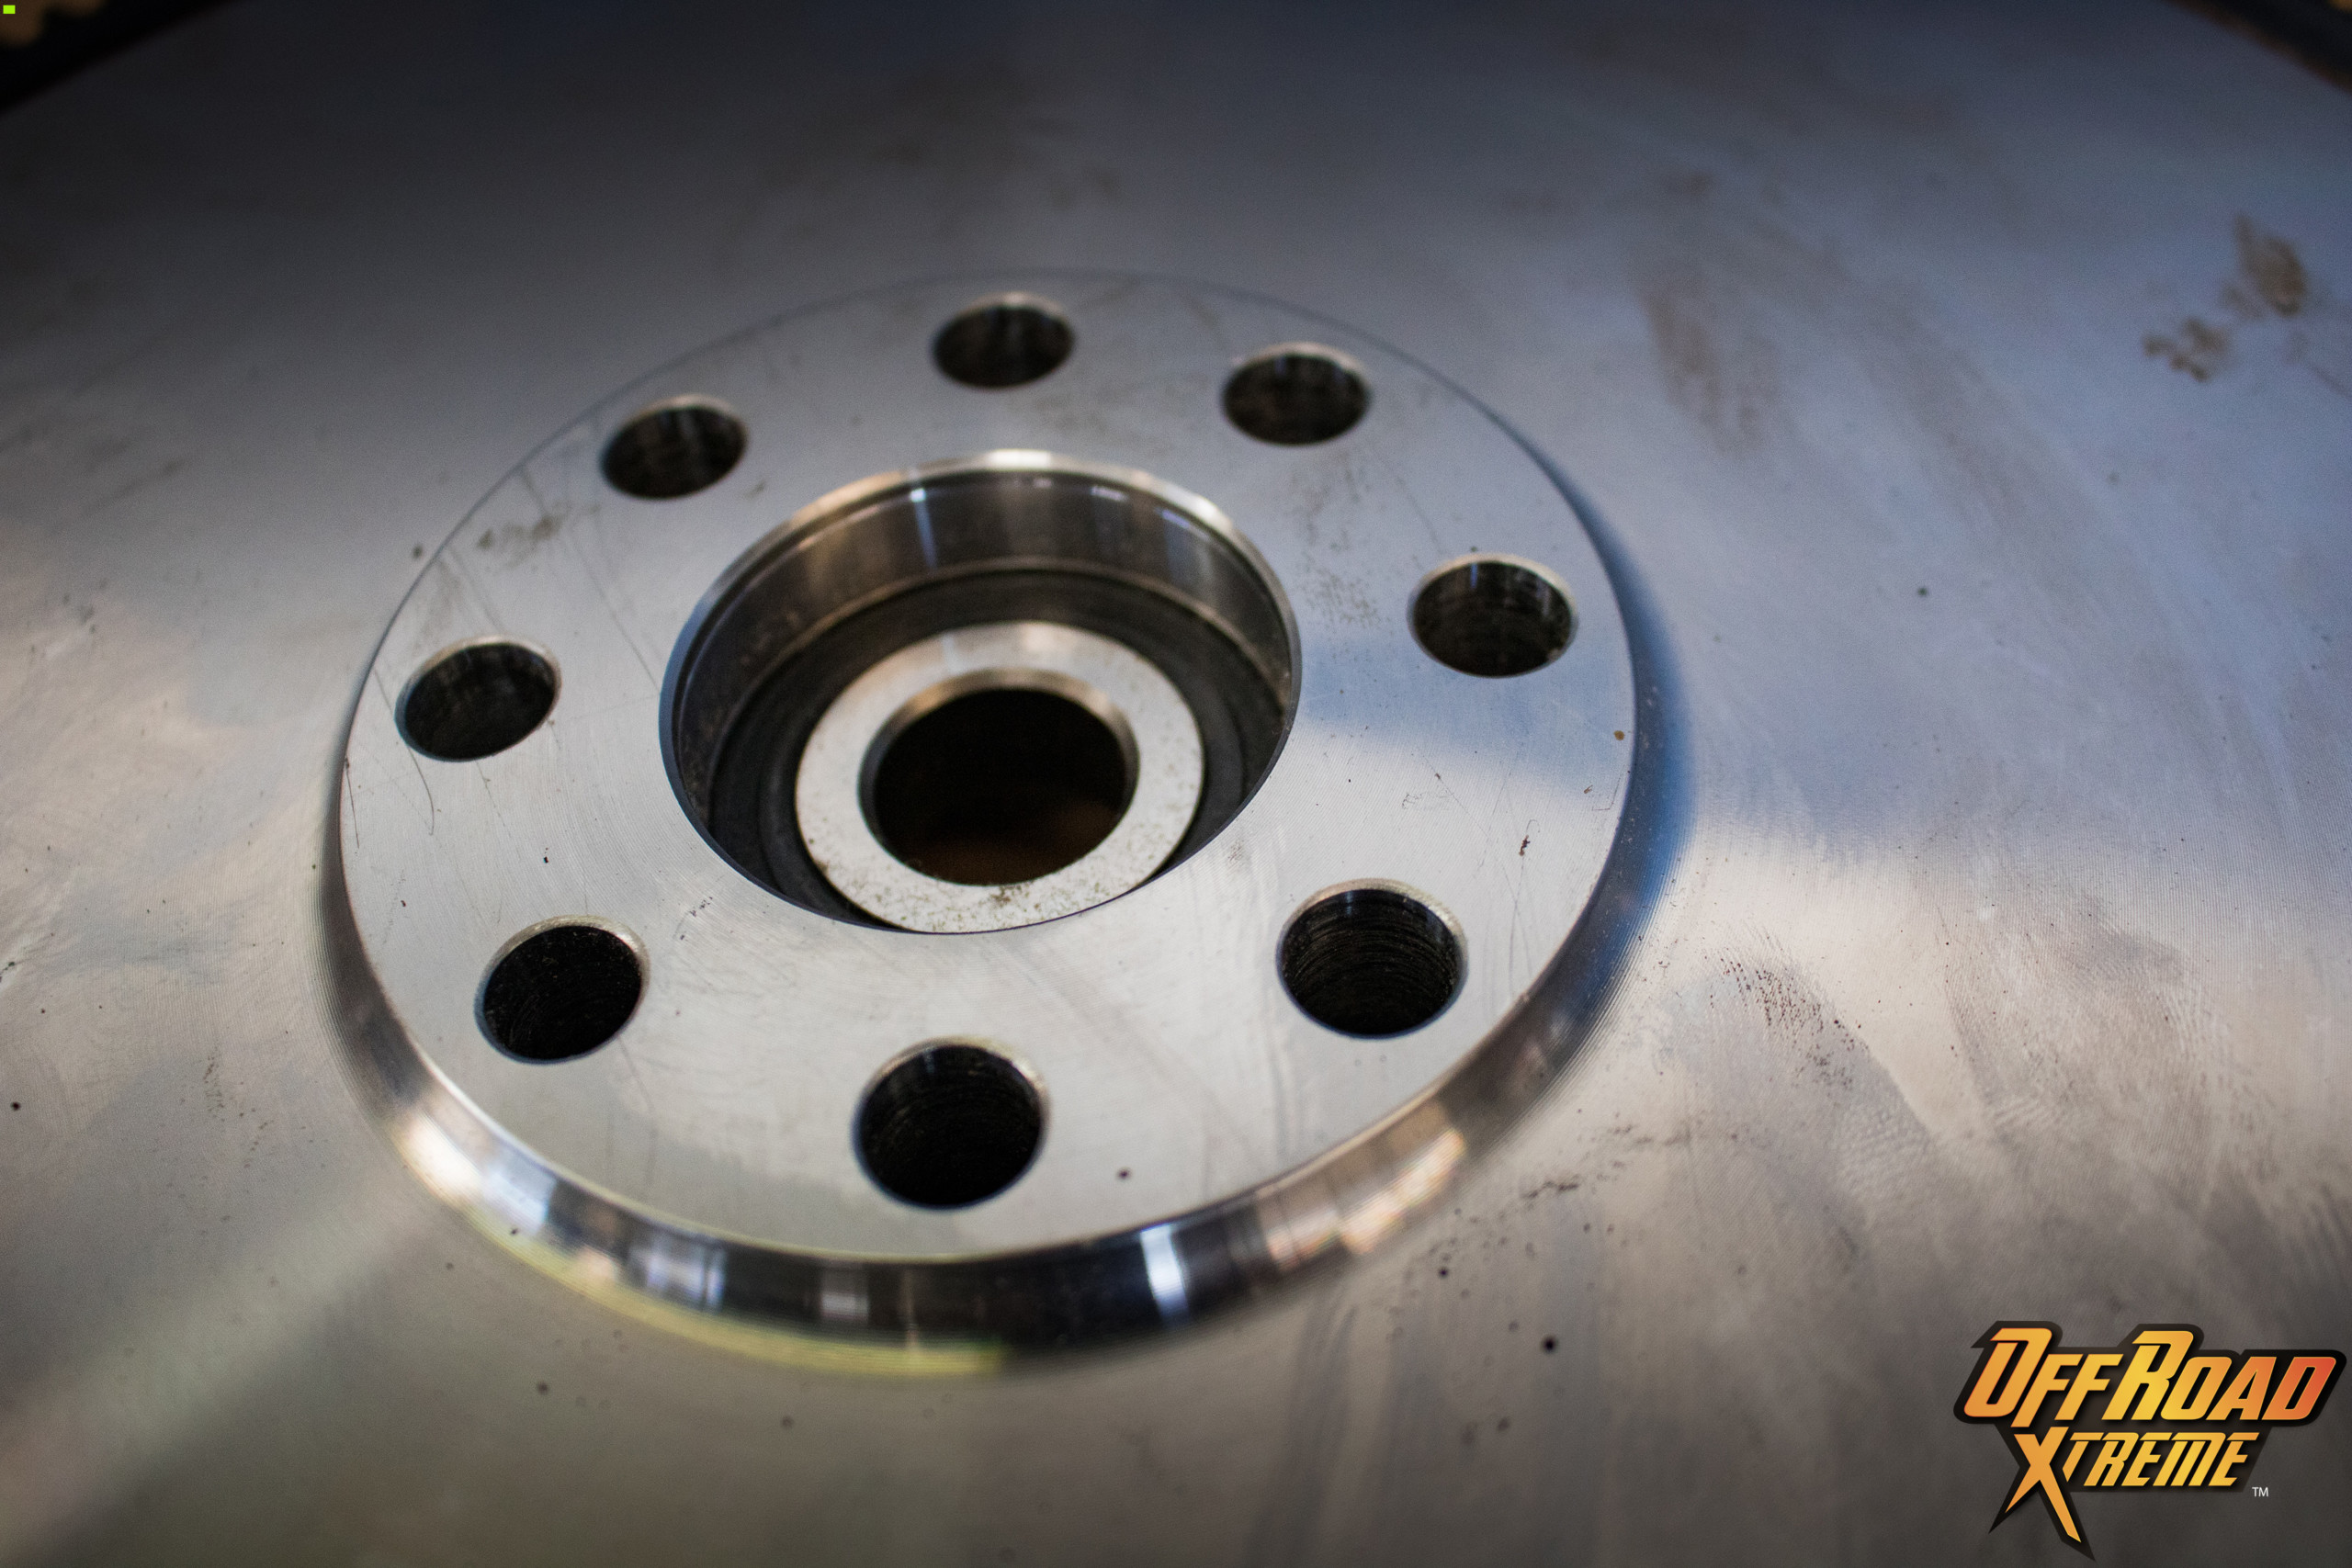

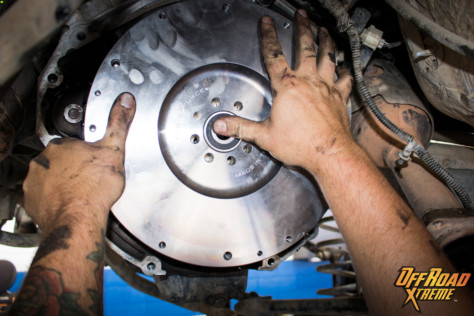
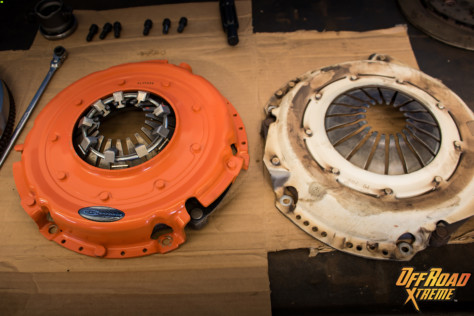
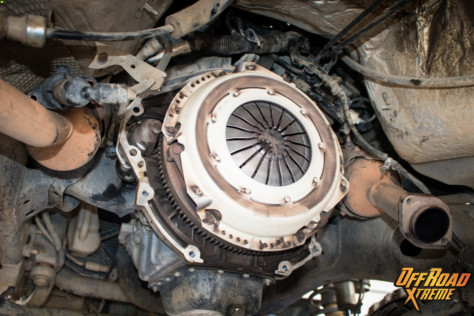
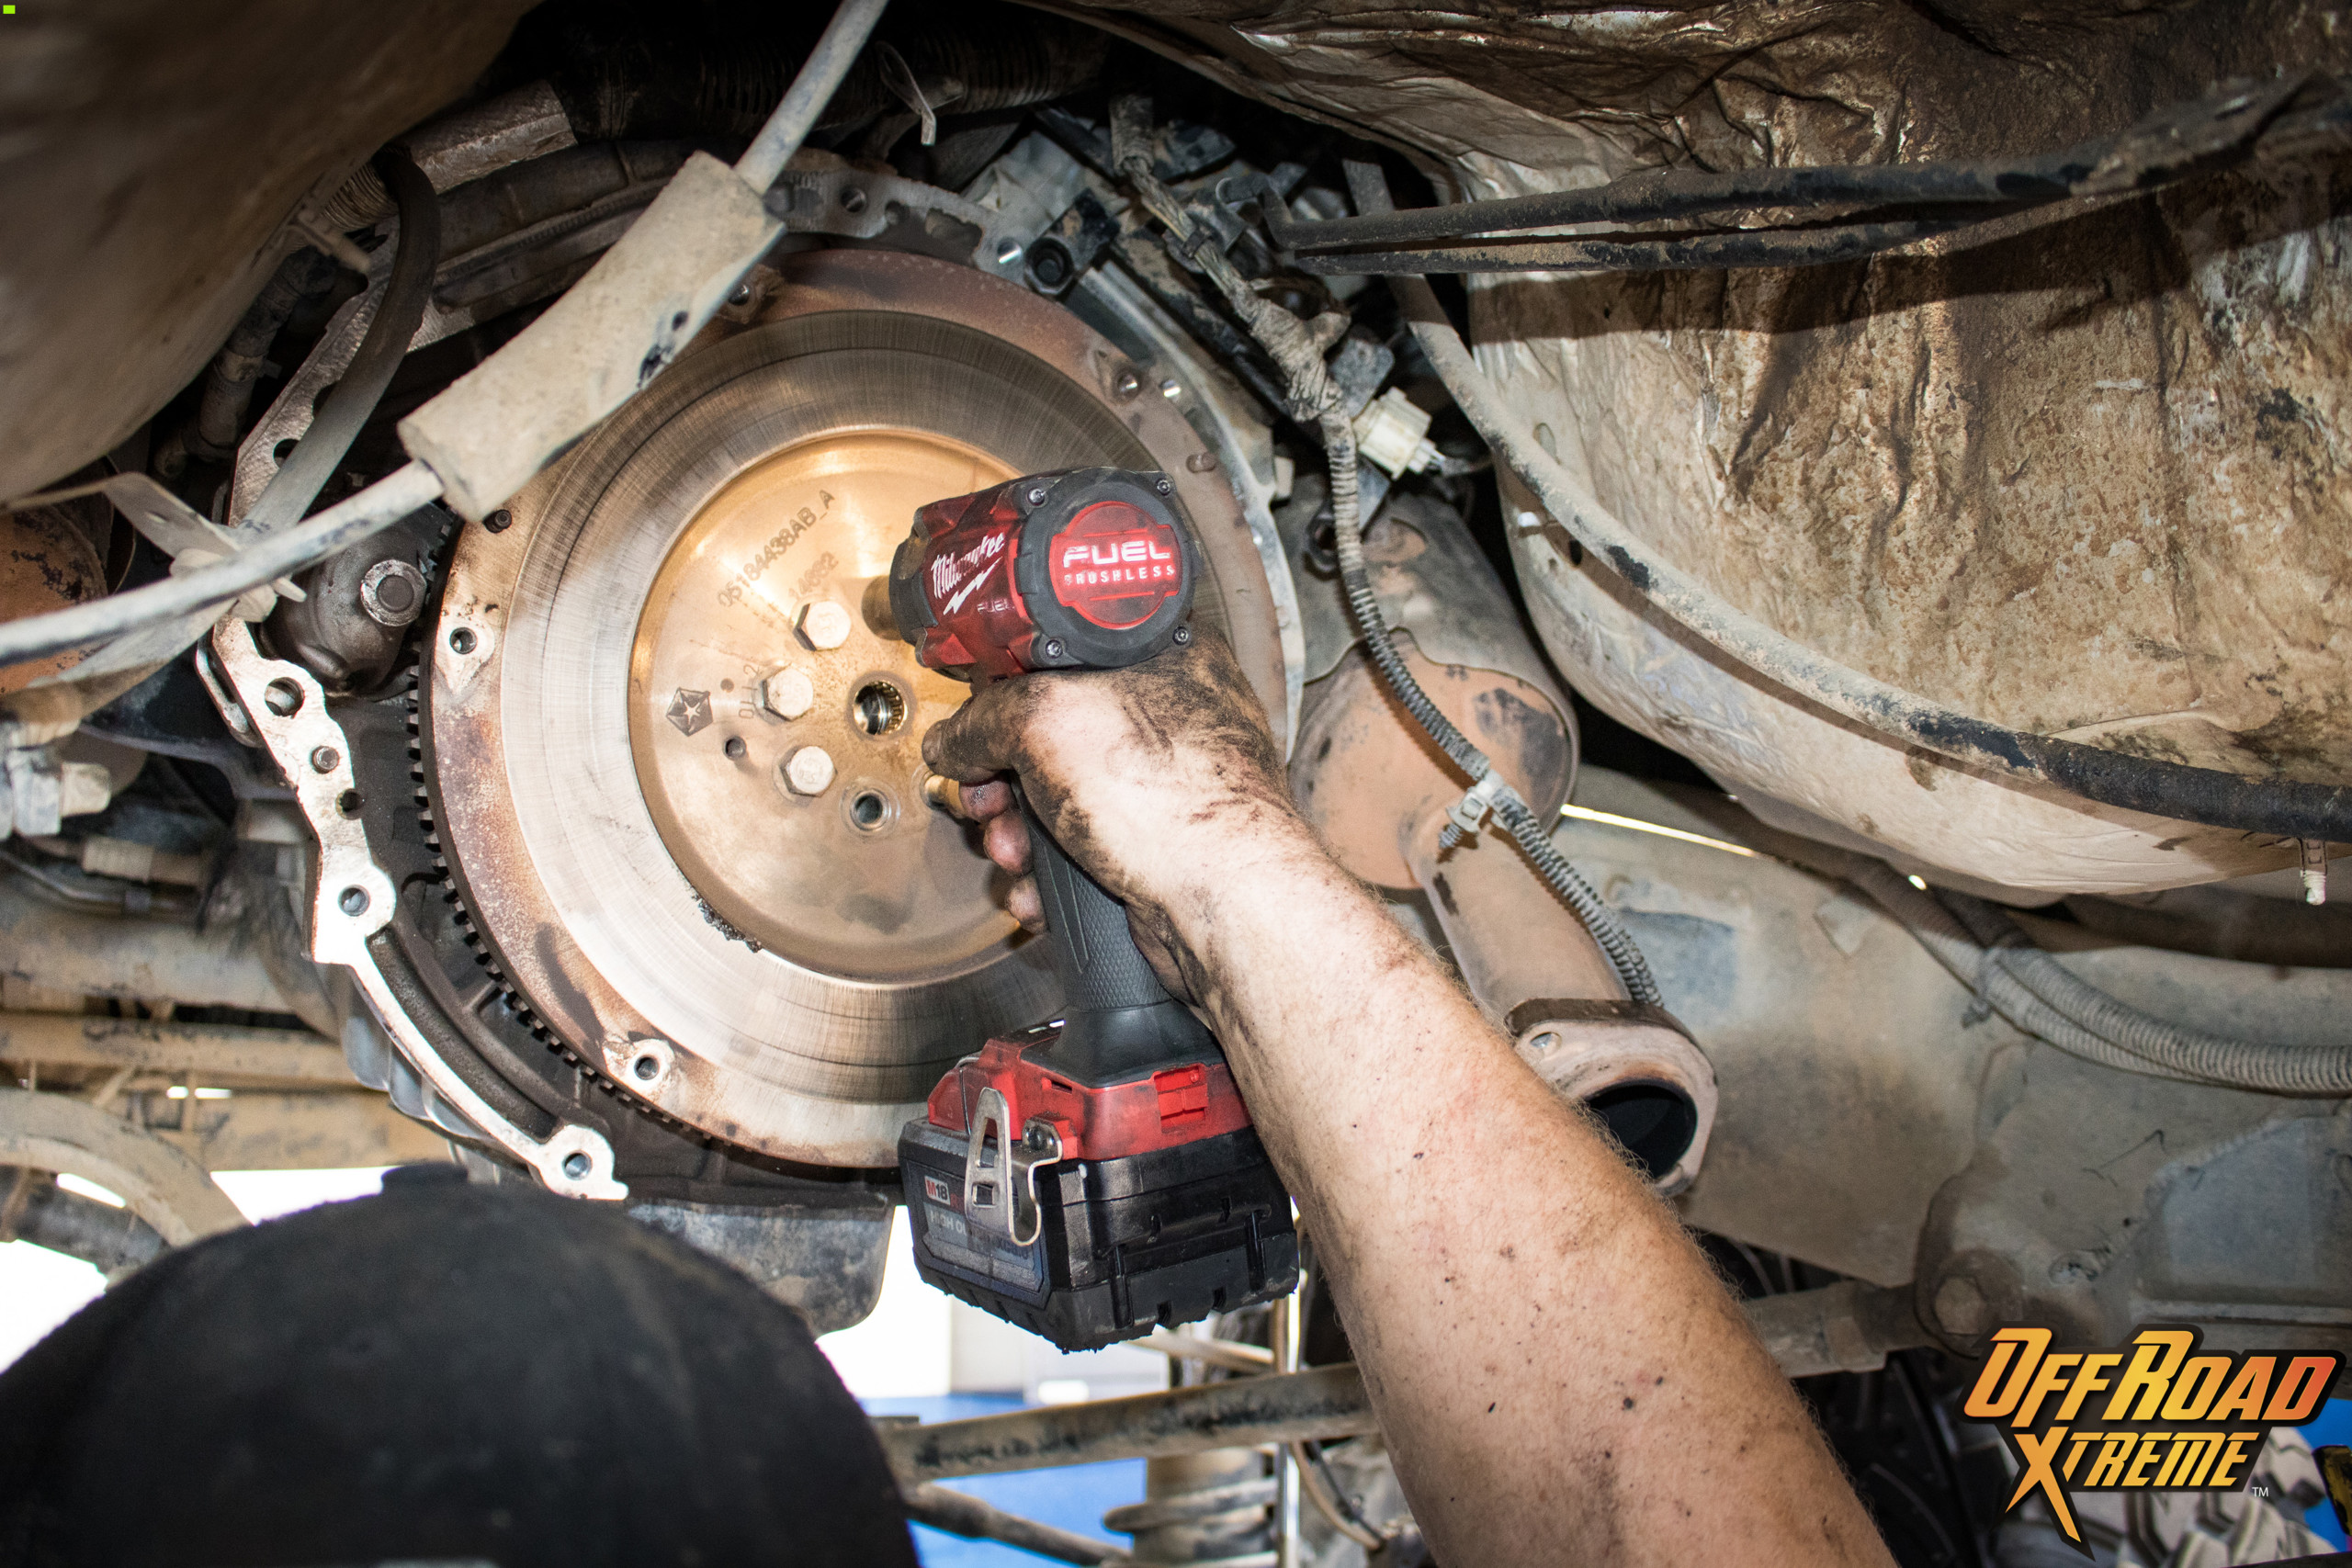
STEP 24:
Install new Centerforce flywheel by tightening eight 17MM bolts to 65 ft-lbs. Clean with brake cleaner after installation.


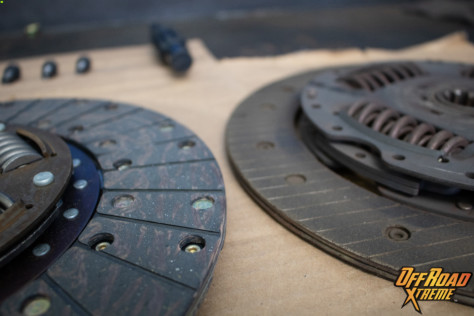
Adventure Off-Road advised comparing the old parts with the new premium off-road clutch to confirm proper fitment and compatibility. We also noted the beefy upgraded materials and components.


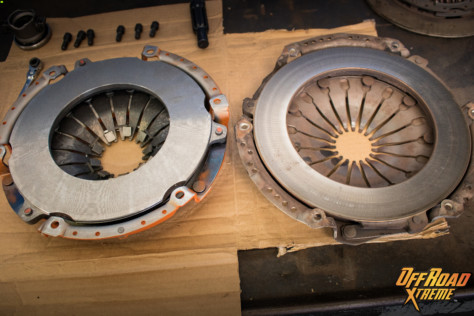
STEP 25:
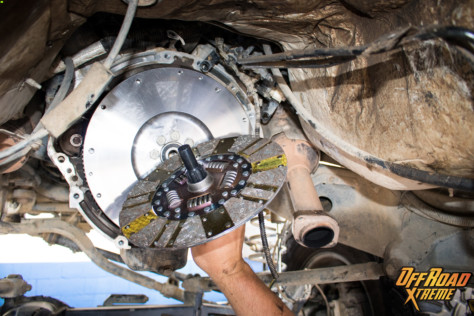
Insert clutch alignment tool into the pilot bearing.
STEP 26:
Slide the new Centerforce clutch onto the alignment tool.


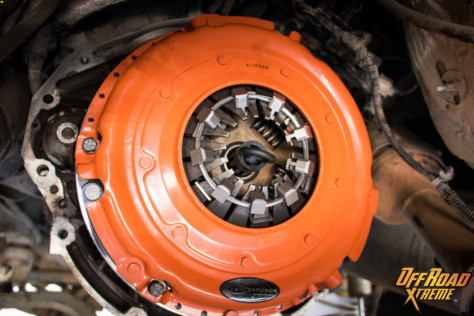
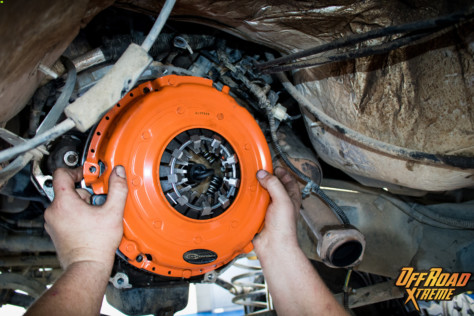
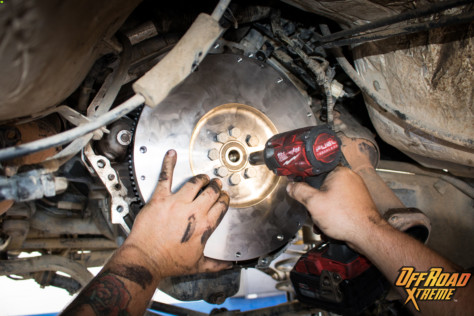
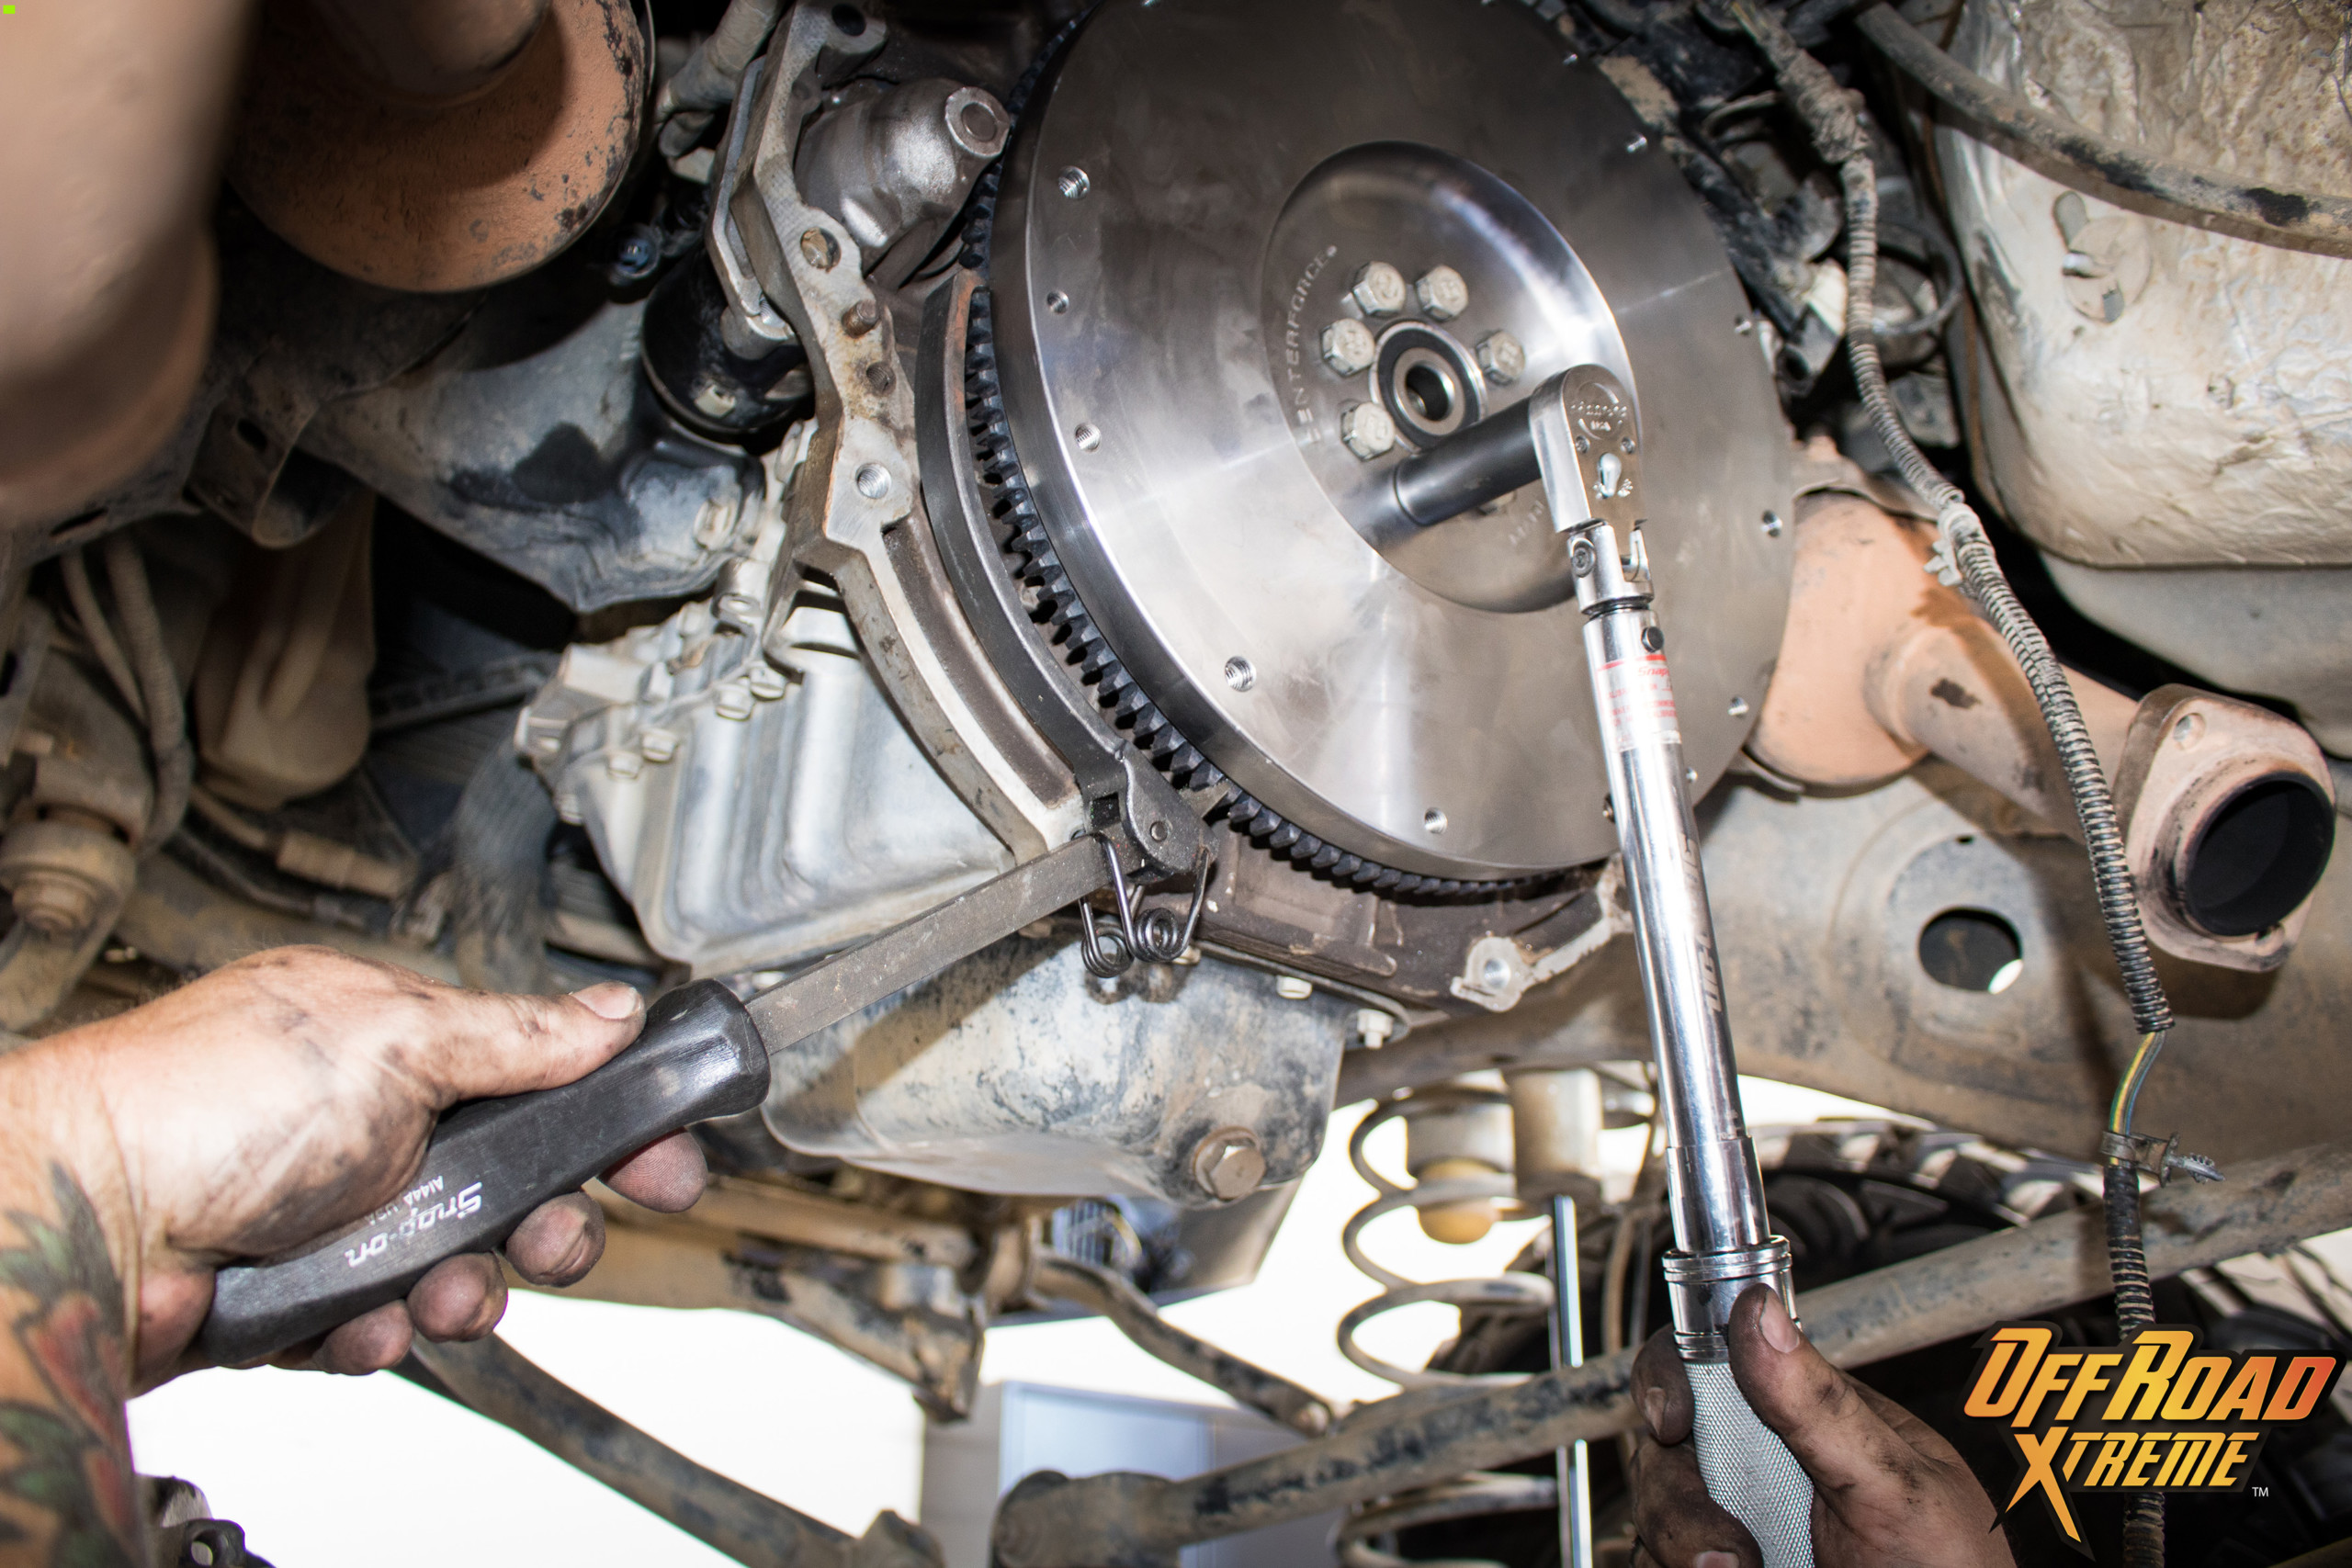
STEP 27:
Install the new Centerforce pressure plate with new Centerforce supplied hardware. Tighten down to the specified torque setting stated in the kit. DO NOT TORQUE TO OEM LEVELS.
With The Premium Off-Road Clutch Mated Up, The Job Is Nearly Complete.

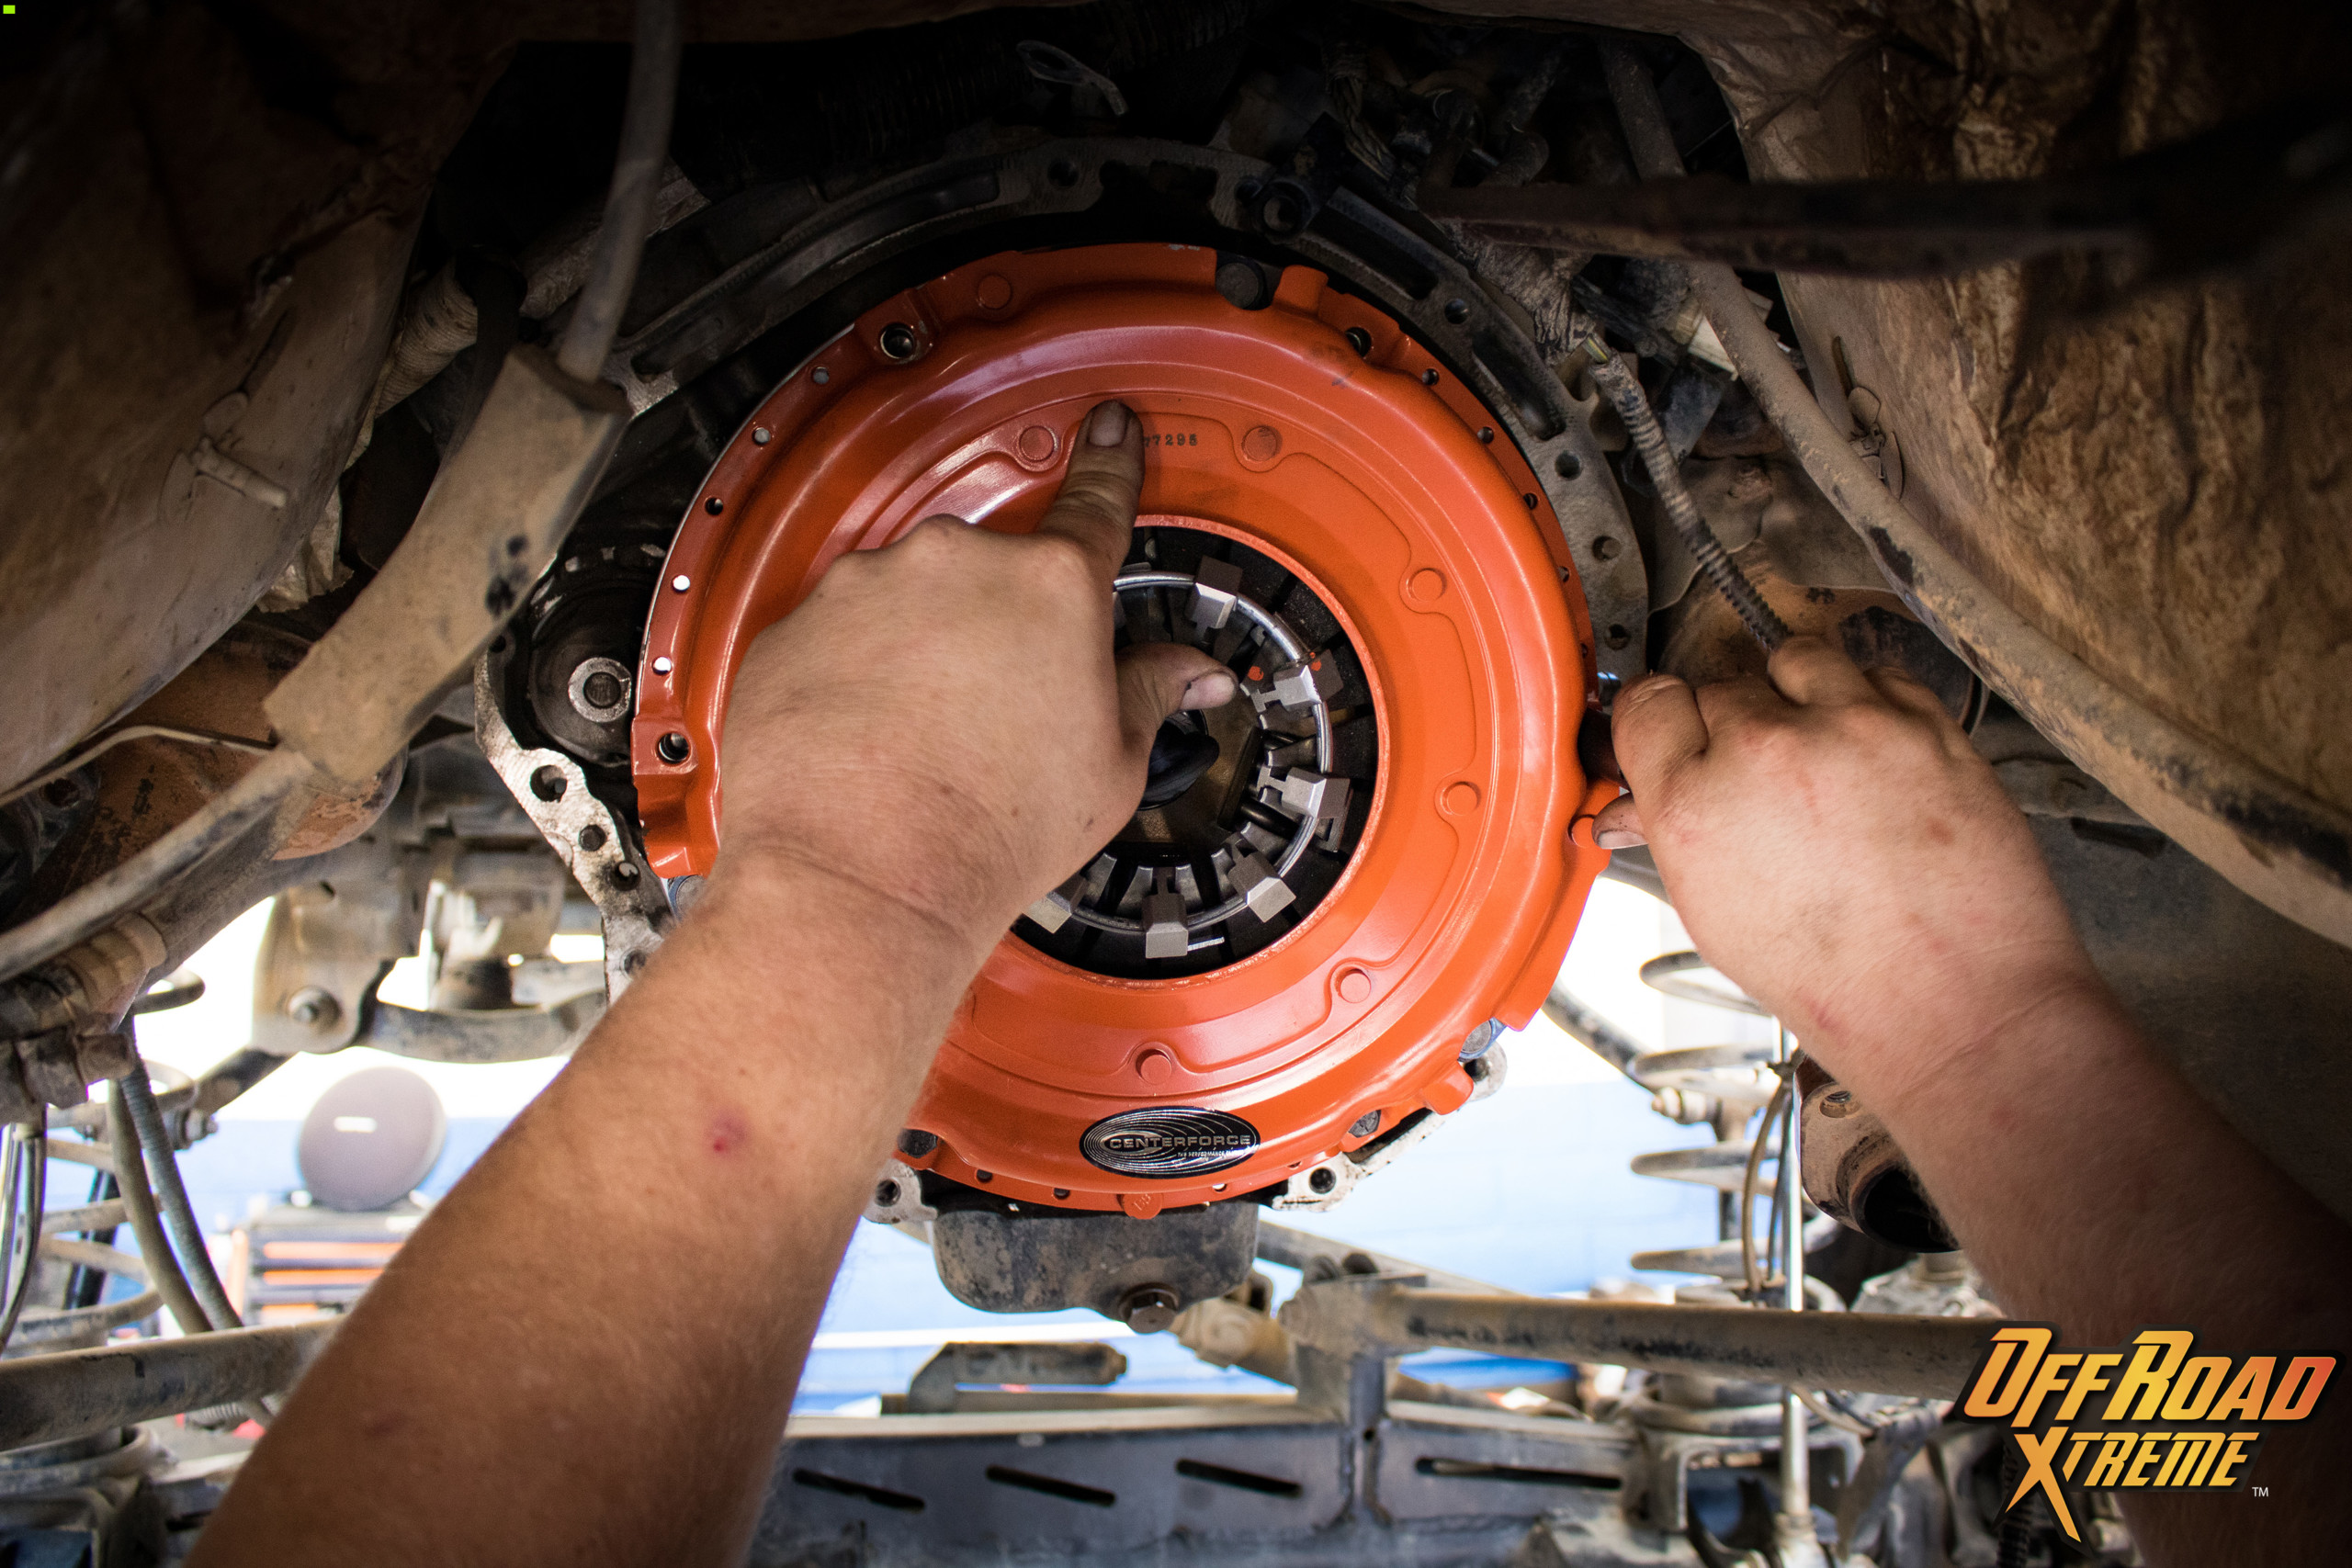

STEP 28:
Check the clutch alignment tool and then final torque down to 35 ft-lb. or factory specifications.
STEP 29:
Put into place and re-install the transmission, transfer case, driveshafts, skid plates and exhaust in the reverse order from which they were removed.
STEP 30:
Review your work with a final inspection and once over.
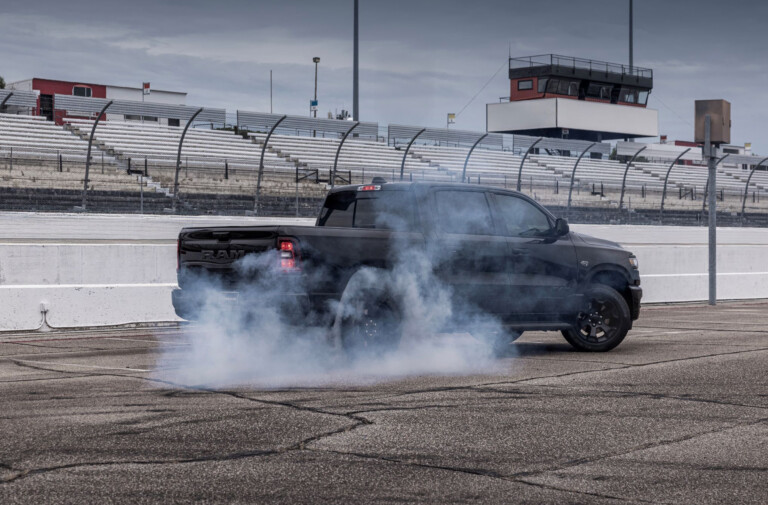
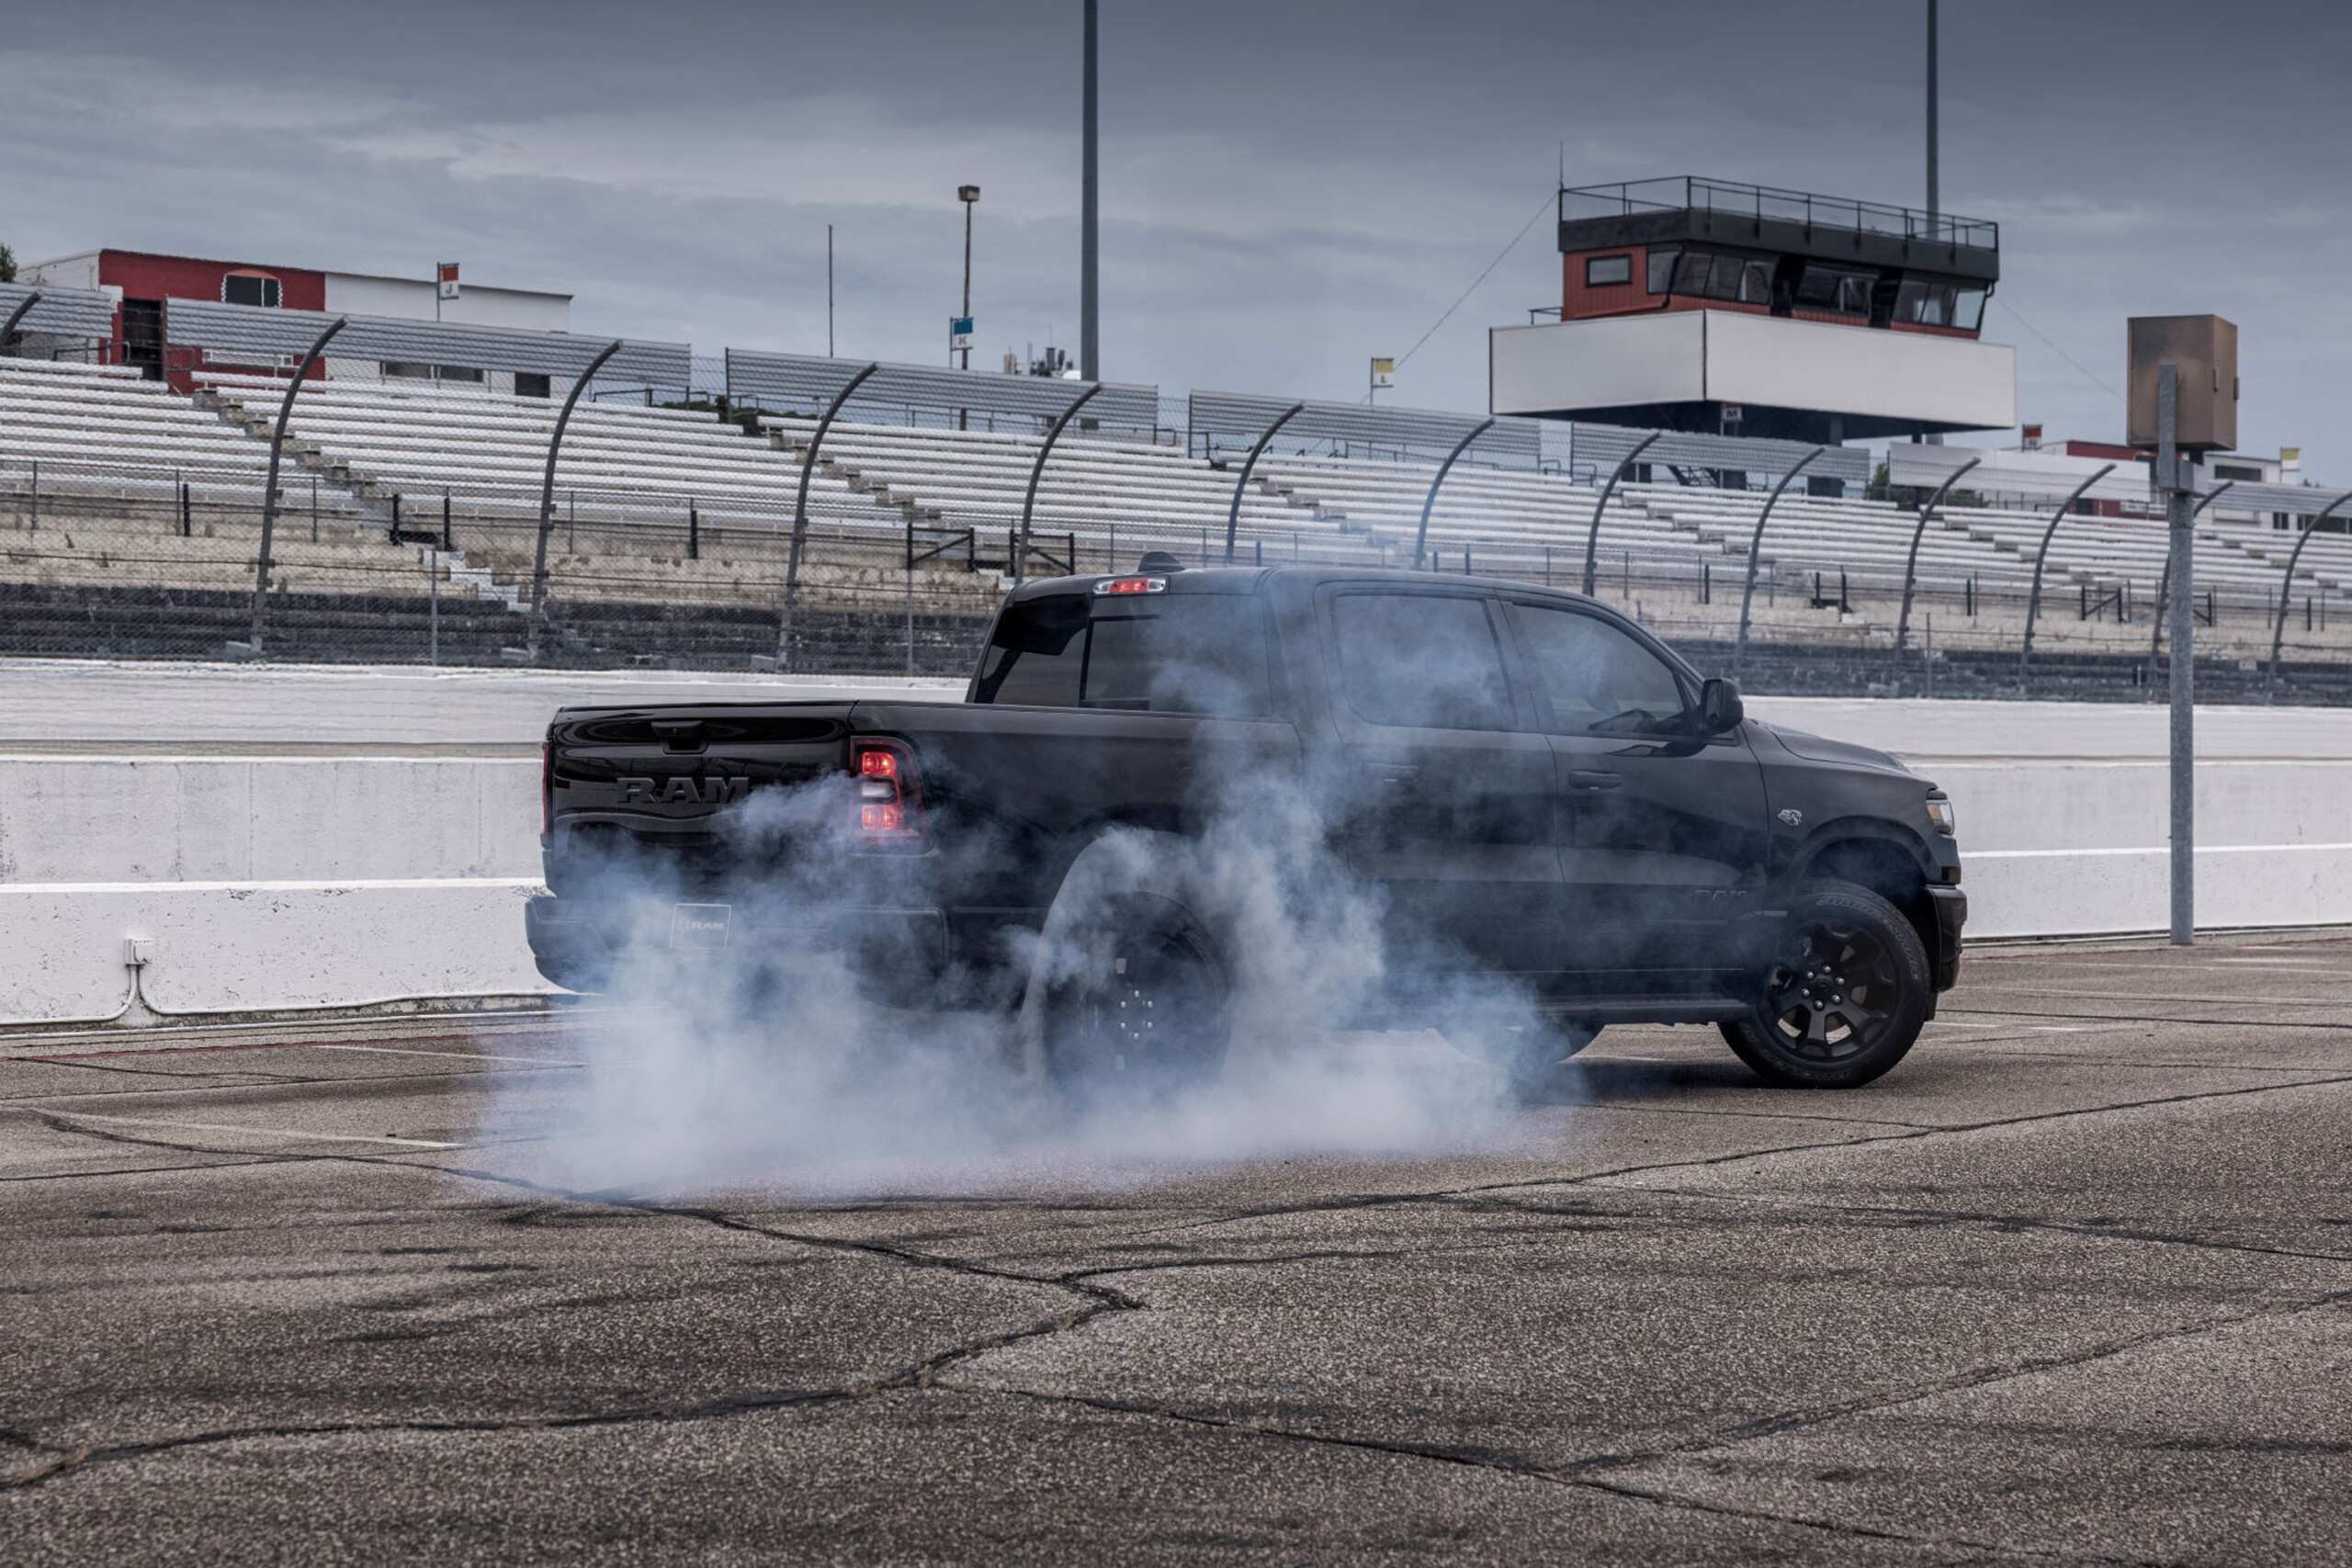
Your premium off-road clutch installation is complete. Go give it a test drive and get back out on the trails.
Reflect on a job well done and thank those that put in the effort.
Off Road Xtreme would like to recognize and thank the team at Adventure Off-Road’s Tustin, California location for knocking out this project for us.

Since the premium off-road clutch installation the vehicle owner, Derek, has reported his feedback. “It is driving great! I went through the break-in process of light driving for 500 miles, just so it would not wear badly. I want this to last over 100,000 miles if possible.”
Derek continued, “The new Centerforce Clutch is gripping great and it does very well on the street. I am happy about that because I had originally believed the dual friction disc would be too aggressive for getting around town. It is actually very comfortable and fits my driving style perfectly. I am very happy with everything and looking forward to getting this Jeep back out on the trails.”